Growing Cannabis With Hydro
Growing cannabis with hydroponics can really push a crop far past the natural potential. It offers many advantages to the grower willing to take on more of a challenge, and rewards hard effort and perseverance in kind with outstanding yields of top quality bud. However, for all of the many advantages held by hydroponic growing, there are also drawbacks – making it important to know both before decided to embark down this path.
What is Hydroponic Cannabis Culture?
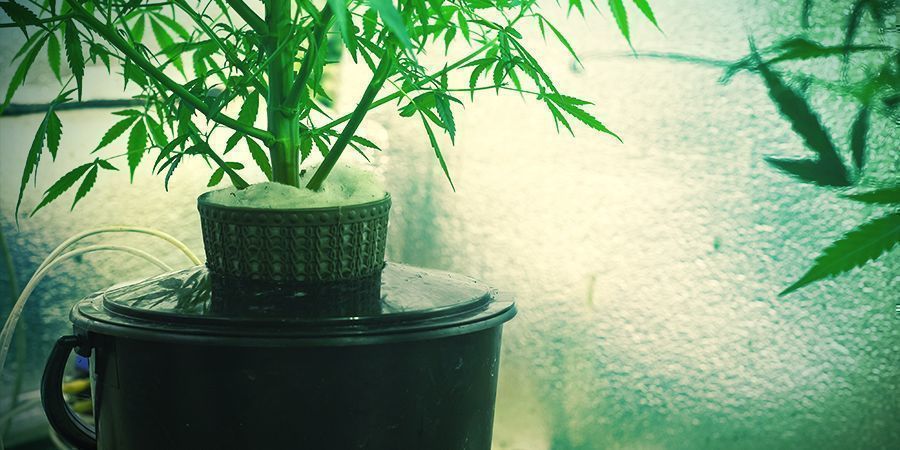
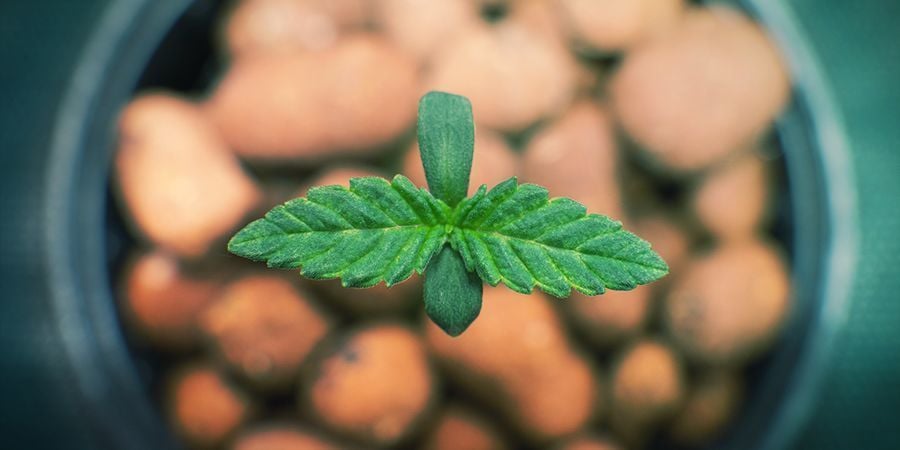
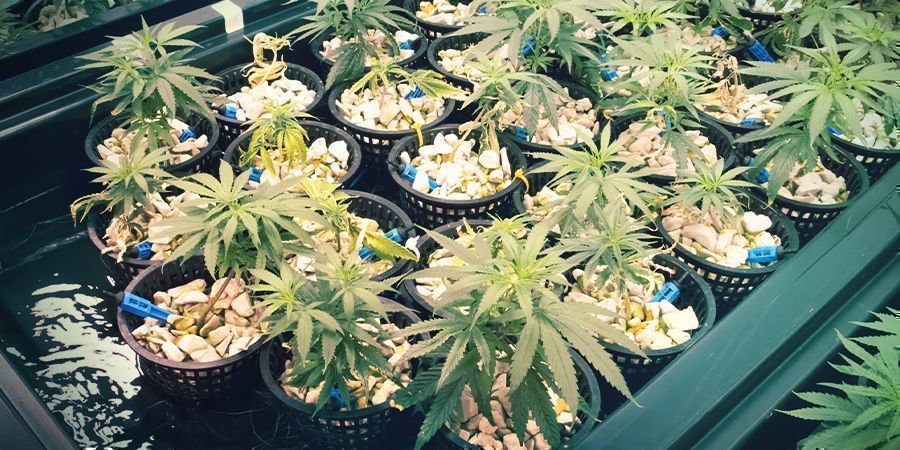
Hydroponic growing uses water as the primary growing medium. Instead of rooting in the soil, plants are suspended in specially designed baskets filled with inert media—usually coco coir, rockwool, or clay pellets. From here, the roots grow out of the bottom of the basket into a water reservoir below. Growers infuse this water with all of the nutrients plants need during different stages of the growing cycle.
When plants are grown in soil, they rely on microorganisms—including several species of fungi—to break down organic matter into usable nutrients. These molecules are then taken up via the roots and distributed throughout the plant. In a hydroponic setup, this first step isn’t necessary. The roots have instant access to liberated nutrients. This ease of access allows plants to grow bigger, faster, and produce superior yields.
Growing plants without soil might seem like a modern innovation, but evidence suggests farmers have utilised hydroponic methods for thousands of years. The technique dates as far back as 600 BCE, where horticulturalists supplied the Hanging Gardens of Babylon with water from the Euphrates river. The Aztecs also set up floating hydroponic gardens on Lake Tenochtitlan during the 10th and 11th centuries.
There are numerous types of hydroponic setups. These range from simple deep water culture (DWC) setups to more sophisticated ebb and flows systems. Continue reading to learn how to create your own setup.
How To Create a Hydroponic Setup
All hydroponic setups share the same basic principle: plants grow in a soilless medium and receive all of their nutrients through a water-based solution. Different methods utilise different means of supplying plants with this critical solution.
DWC is the quintessential hydro method. It’s relatively cheap, easy to grasp, and simple to construct. A DWC system consists of a tray, reservoir, net pots, and air stone, and a pump. Growers place plants into the net pots and slot each pot into the tray. The tray acts as a lid and rests over the reservoir. Eventually, the roots grow down into the solution below.
The cells in plant roots need oxygen to stay alive. In soil, this isn’t a problem. However, in water, it’s a bit hard to breathe. The air stone—powered by an electric pump—aerates the water and supplies the roots with a constant stream of oxygen.
Learn how to set up your own DWC with the help of our grow guide. If you’re a fan of cheap DIY alternatives, learn how to make one using a soda bottle!
Hydroponic Growing: The Pros and Cons

Growing cannabis using hydroponics is an excellent way to take things to the next level, just make sure you know what the advantages and disadvantages are.
The Advantages of Growing Cannabis With Hydroponics
• Increased Yields
Hydroponic growing allows for much larger yields from much smaller areas, boosting a grow room's yield to space ratio, and offering expert and cash crop growers much more bang for their buck.
• Better Quality Control
The nature of hydroponic growing allows for a great deal of control over how a cannabis plant grows. This total control often results in a much better quality of bud being produced than would have been possible in soil.
• It Can Be A Lot Faster
Cannabis grown in a hydroponic system matures faster. As a result, you get yields much quicker, and can move onto a new crop with greater haste. It is not unheard of being able to finish up to 6 crops a year with just one hydroponic system.
• Less Pests, Less Disease
As there is no soil involved, most pests and diseases, which originate from soil, are not something you need to worry about.
• Thus No Pesticides
Decreased likelihood of a pest infestation means there is little if any cause to use pesticides – increasing the quality of your cannabis crop.
• Less Stress
As long as a hydroponic system is monitored properly, it is much less likely to cause water stress than a soil based grow, even though hydroponics are based solely around water.
• More Efficient
Cannabis plants grown using hydroponics makes much better use of water and fertilisers than when grown in soil. This not only means you can get better results, but it also means you don’t have to use as much feed.
• A Tailored Service
As hydroponic systems offer a great deal of control, it is much easier to tailor your feeding schedule to the individual needs of a strain or plant. Whilst this takes practice, it offers veterans huge advantage.
The Disadvantages Of Growing Cannabis With Hydroponics
• It Takes A Lot Of Knowledge And Skill
The main disadvantage when it comes to hydroponics is that the majority of the above advantages do not apply unless the grow is conducted with a decent amount of skill. Once you have learnt how to grow using hydroponics, than the quality of your cannabis cultivation can go through the roof, but getting there takes patience and practice.
• It’s Not Cheap
A decent hydroponic system won’t come cheap, and the initial investment required can be a bit too daunting for hobby growers, especially when compared to the cost/benefit of soil based growing.
• Sanitation Is Key
Although there are fewer diseases to catch, those diseases that can be caught are caught with greater ease. Waterborne plant diseases spreads like wildfire, and once they are in, they are hard to get rid of. You need to keep everything sterile as possible, especially if you are growing using hydroponics outdoors.
As you can see, hydroponics have a lot going for them, but they require skill, patience, and quite a bit of dollar to get right. If you are thinking about giving it a go, make sure you do a lot of research on the matter first, know your shit when it comes to looking after cannabis, and have the money to burn. You will be rewarded like a king once you have it down, you just need to get over those initial large barriers.
What's a substrate?
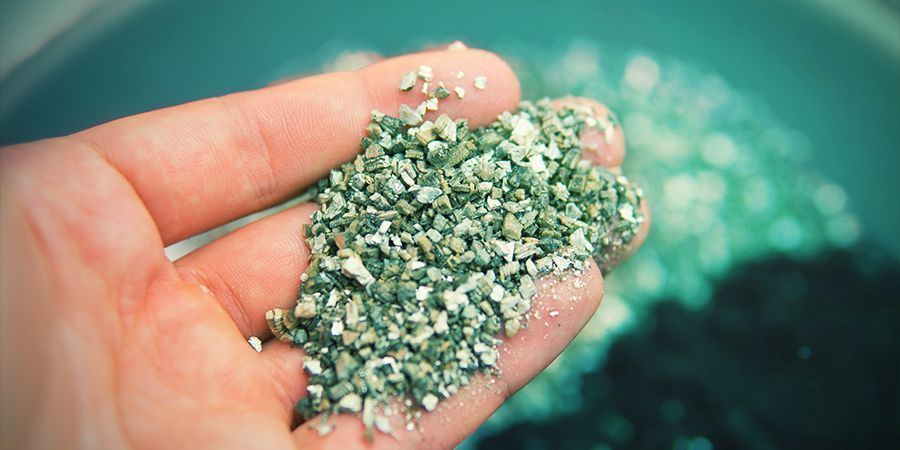
Anyone choosing to grow with a hydroponic system has to think carefully about the substrate they plan to use. These days there is a huge range available for the soilless grower. The most common are rock wool, expanded clay pellets, coconut fibre (coco), several turf mixes, lava stones, perlite and vermiculite. Of course, it is important to choose the one that most fits your grow system. But do you really even need a substrate? What does a substrate do, in fact? How does it work?
There is a misconception among growers that the task of the substrate is only something to do with the relation between air and water in the root system of the plant. In reality the role of the substrate is barely 15% responsible for the growth of the plant, and the other 85% is in the hands of the grower.
A substrate is a medium in which the plant grows. It is mostly a single, sometimes a combination of materials that handle the support, aeration, holding onto water and distribution to the plant. Actually, as far as the plant is concerned, the substrate must hold water, oxygen and nutrients, drain correctly and remain neutral so that it does not interfere with the development of the plant.
For thegrower, the substrate must also react to a number of other factors: it must be reliable, economic to use, and light. It must be easy to work with and to dispose of. Ideally it should not be polluting and be biodegradable. And if you’re a perfectionist, it should also be natural.
Do I have to use a substrate?
Some find all these parameters very tedious to try and bear n mind and stick to. So the next question is how necessary is the substrate anyway? Can you operate without one, or at least with one reduced to the bare minimum? This is where aeroponics or aero-hydroponics starts to pique their interest. This technology gives an answer to precisely these questions, and answers them quickly: no (or little) substrate any more! No more hauling sack after sack up stairs, no more fly tipping van loads of used materials, no infestations related to the substrate, no huge masses of stuff to clean and lug back and forth.
What are aeroponics and aero-hydroponics?
But what are aeroponics and aero-hydroponics? Have you ever seen a grow system that sprays the feed solution as a fine mist over the roots system? This is an aeroponic system, a technique whereby water is delivered by a high-pressure nozzle. This technique is not often used in its pure form. Although some companies like to call their systems “aeroponic”, you would normally only come across such set-ups in research institutes and universities.
Aeroponics
Aeroponics has its advantages and disadvantages. It saturates the feed solution with oxygen, giving the roots a very healthy environment, and the most interesting application is its use in plant propagation. But if you want to keep the plant until it’s ripe you will notice that the root zone develops too quickly and too profusely, to the disadvantage of the air-based part of the plant.
This is not normally what we’re growing for – cannabis is not a root vegetable. Even if you do want to grow root vegetables it is not always practical because with aeroponics, the roots tend to remain soft from being constantly immersed in water and never develop the crisp quality you look for in a root vegetable such as liquorice root.
Aero-hydroponics
Aero-hydroponics is a modification of aeroponics. It actually started out in the mid-80s in California, where Laurence Brooke decided to try and bring aero-hydroponics to the mainstream market. He began with “EGS” (Ein Gedi System), a unit developed at Davis University in California for studying the level of oxygen in water, which Brooke transformed into the best propagation unit to date, the “Rainforest”. This unit sprays water from a nozzle onto the roots, not in the form of a mist but more as swivel spray.
These days there are many variations of aero-hydroponic system on the market, some are efficient, others less so, depending on the experience and knowledge of the manufacturer. You can even build your own system with a little bit of help from the many magazines and books there are these days in the hydro stores.
In aero-hydroponics the water becomes saturated with oxygen by a number of methods: spraying, injection, or waterfall. It relies on a pump that squeezes water through different irrigation pipes and sprinklers, before falling back into the reservoir. A well-designed aero-hydroponic system must strike a good balance between the various components, the correct proportions between the different water currents and the forms of the various parts (hoses, reservoirs, sprayers and irrigation devices).
Substrate and aeroponics or aero-hydroponics

Neither aeroponics nor aero-hydroponics needs any (or very little) substrate. They only need some way of supporting the plants, usually in the form of small coco pots, plastic nets, or simple rubber rings, and have just water as a substrate. Now all that’s left is the water and the grower.
One thing you do know for certain is that you have eradicated most gruesome problems from your substrate, but you're probably wondering whether there are other problems that might be just as difficult... No, not really. To safely exclude the traditional substrates altogether, you do have to absolutely sure of your water supply for the plant, good air management, and a neutral environment. In aeroponics and aero-hydroponics this is the “basis”: perfect, well oxygenated water being provided for the roots and good drainage is ideal.
When this is said and done, the rest, once again, is in the hands of the grower. He has to make sure that he has a well-balanced, comprehensive nutrient solution, the right EC and pH, good ventilation, temperature, air moisture and hygienic working methods, just as you would need were you growing any other plant or using any other growing technique.
Is aero-hydroponics a difficult technique?
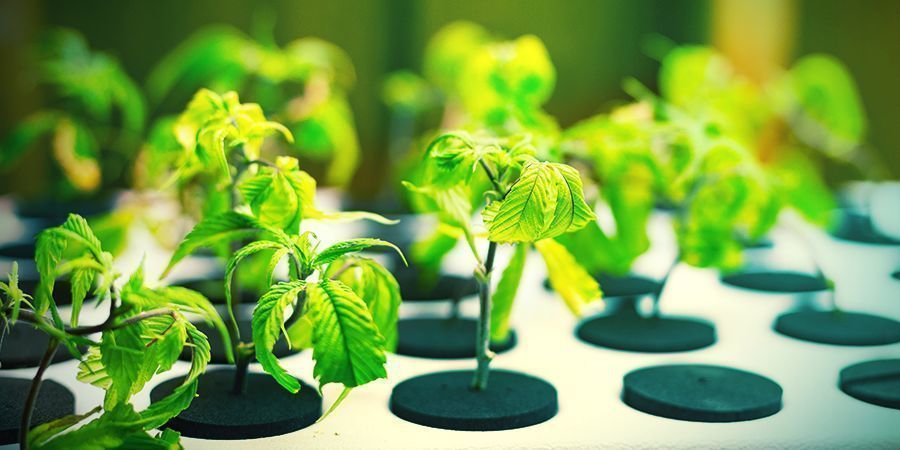
Some people think that aero-hydroponics is a difficult technique, and to a certain degree they are right. The only real benefit of a substrate is to act as buffer capacity. What that means is that unlike water, where bare root parts hang unprotected, the substrate completely encircles the roots and therefore will protect them from changes in climate such as temperature or air moisture, or other “accidents” that can happen.
That’s why beginners are usually recommended to start with a substrate system and later step over to an aero-hydroponic system once they’ve built up some experience. Some manufacturers offer a “duo” grow system, with a special kit with which you can switch from a “substrate system” to a “non-substrate” system, as you gain more confidence. They guarantee quick and free technical support and offer service to their customers. You can even as a beginner choose for aero-hydroponics, if you think it sounds your thing. Follow the instructions that come with your grow systems and you will see how simple it is. And don’t forget that whichever technique you choose, it is not the system or the nutrient alone, but the grower who is responsible for a healthy development.
Questions & answers
Q1 – In the instructions about substrates I read that the clay granules have to be washed. But do I need to wash new clay granules too?
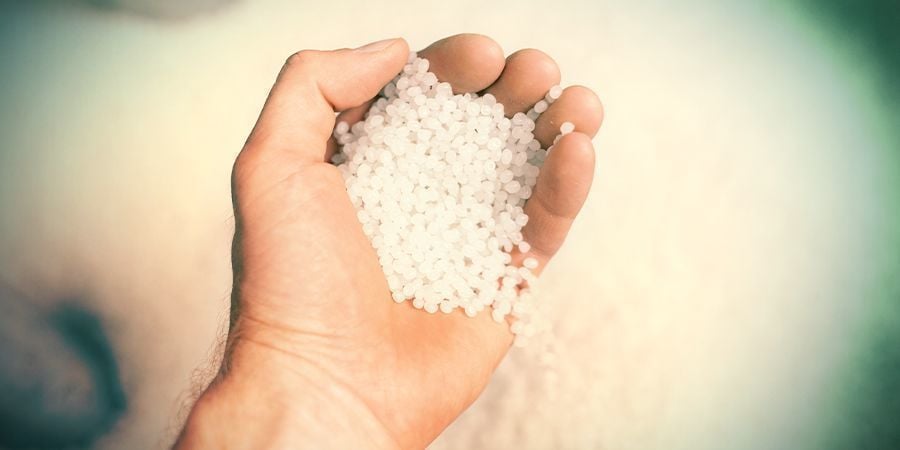
A1 – Not all clay granules are the same. Most of the ones you can buy for growing with are pH stabilised, and this is something you have to test until you find a brand that you’re happy with. It is an easy test to do: drop a handful of granules into a container, fill the container with tap water adjusted to pH 6, let them soak for a night, and the next morning check the pH again. It will never be perfect, the pH will rise a bit, but it should not go over 7 if the clay granules are good.
Don’t use distilled or demineralised water for this experiment. They have no buffer capacity and I suspect that each type of stone will raise the pH to unacceptable levels. If the new clay granules do raise the pH to unacceptable levels, then you have to let them soak for a night in an acid solution. Use phosphoric acid or nitric acid with a pH of 1 to 3.
Again, don’t work with the expectation that the pH will be perfect. There are more x-factors than just the clay granules that have an effect on the pH of the solution, even before the plants have been added to the system. It is normal that in the first couple of days the pH will continue to rise. You will have to add small amounts of acid each day before you reach real stability. There are pH regulators on the market with buffer capacities that can help the pH to stabilise.
Besides the pH problem, most clay granules are very dusty. They are covered with a layer of fine clay particles. These particles can clog your dripper tubes or pump inflow. It is better to wash the granules before you use them. An easy way of doing this is get a cheap plastic bucket and bore holes in the bottom. Put the clay pebbles in the bucket and pour water over them; the clay particles will be washed away.
This procedure is enough to prepare your clay substrate. If you’re not concerned about possible blockages and not put off by the red water (it doesn’t damage your plants) you can skip the wash, but you will still need to stabilise the pH to ensure the success of your growing adventure.
Q2 – It is advised that you stop growing indoors during the winter months, when the outside temperature is colder. Is it harder to keep a constant temperature in the grow space?
A2 – It is not recommended to stop in the winter, but people mostly do the opposite and stop in the summer. The cold is much easier to deal with than heat. The HPS lighting used indoors is very inefficient, generating more heat than light. You can run the lamps during the night, when it’s the coldest. When it’s light there’s no need for any extra heating, even when you have good ventilation.
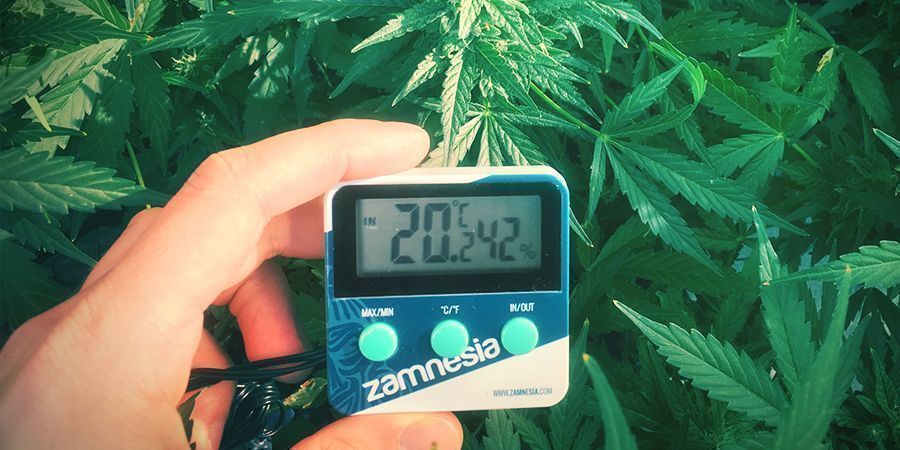
During the dark period, you can set the ventilation to minimum, a couple of minutes each session just to clear the air moisture. A small electric heater is enough to keep your room at a desired temperature (around 15°C, depending on the sort of plant). In order to make root clones you need a temperature of about 20°C, which is also not difficult.
Q3 – Does the strong light from sodium lighting have any effect on the plastic pipes and does it make them brittle over time?
A3 – What does have an effect on plastic is the UV spectrum. This section is usually filtered out in a grow lamp. In fact the outermost layer of glass is effectively a UV filter. The lamp will still function when the glass is broken, but would be rather dangerous. I once had a piece of bulb break on me, probably from a defect in the bulb. The hole was at a place that was not easy to spot (who looks directly into an HPS lamp anyway?). I noticed it because in a perfectly marked out section of my garden the plants had turned yellow and died off.
So indoors or in a glasshouse, your plastic will last longer than outdoors. Some kinds of plastic have more resilience than others: PVC (polychloride vinyl) ages more quickly than PE (polyethylene) or PP (polypropylene). Choose grow buckets with UV and light protection; they’ll last longer. Outdoors, not only is UV completely unfiltered, and that seems to be more and more so, but also the total amount of radiation is enormously higher than from a grow lamp, even if it appears very bright to you.
Q4 – The water where I live is very hard. Will this have an effect on my pump thanks to lime scale building up in my hydroponic system?
A4 – The hardness of your water is mostly down to calcium. After you’ve mixed the feed solutions, the calcium is part of the total dissolved salts. Consider it a plant nutrient you don’t have to add yourself. In other words, if your water was soft, then you’d have to supplement it
Obviously you want to use a hard water formula plant nutrient with little to no calcium, not for your pump, but for the benefit of your plants, to keep them on a well balanced diet. Now a little of this calcium, as with other elements in the nutrient solution (phosphorus, magnesium…) will form an insoluble compound, mostly carbonate, that builds up in the piping. It is just part of the crud that’s made by the system (dust, dead organic material, etc). You have to protect your pump against all this by using a good filter.
Q5 – I grow outdoors in a greenhouse, is it possible to take the plants indoors to force them to bloom? If so, how?
A5 – What is usually done is the opposite: grow a plant in the winter indoors in order to put it outdoors in the spring when it’s already grown, and then you get a nice early harvest, mostly followed by a late harvest in the autumn. Most yearlings grown in our region are photoperiodic: that is, their bloom cycle is determined by the quality of the light (in the autumn, thanks to the position of the sun, the light changes to the red end of the spectrum) and the hours of daylight.
In fact it is more complicated and the plant is brought in to bloom by the time that she spends in unbroken darkness. You can bring almost any photosynthetic plant in to bloom by giving it 12 hours’ total dark and 12 hours with a grow lamp that has plenty of yellow and red wavelengths, such as sodium bulb. Don’t forget to tailor your nutrient solution with a higher phosphate and magnesium concentration. This will help the bloom.


 United States


