What Is Mushroom Spawn (And How To Make It)?
Mycology is like a super power. Once you've learned the skill, you can easily grow kilograms of your favourite mushrooms. One key milestone is learning to make mushroom spawn. This material can be used to inoculate large amounts of bulk substrate.
Growing mushrooms is fascinating. These ancient life forms are neither plants nor animals, belonging to their kingdom and manufacturing an array of medicinal and psychoactive compounds. Learn how to make spawn using the tips below.
What is mushroom spawn, exactly?

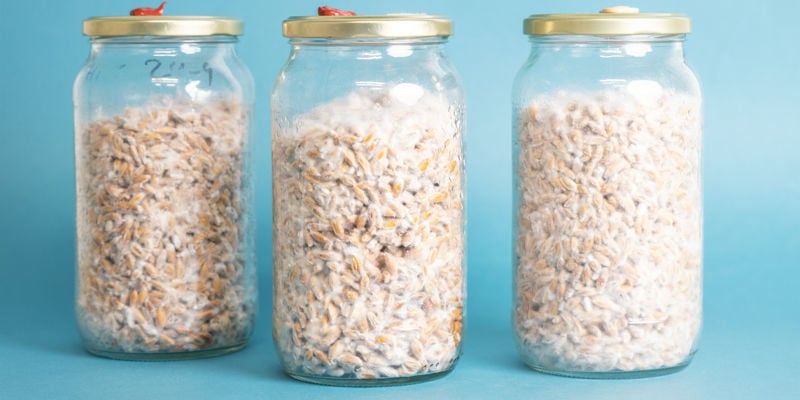
In mycology, mushroom spawn simply refers to a jar or bag filled with healthy mycelium. Mushroom spawn production is one step in the mycelium stage. Spawn is allowed to fully colonise the substrate, and is then transferred into a larger bag or jar to multiply further before fruiting.
Types of mushroom spawn

There are numerous types of mushroom spawn, and each has its own set of advantages, drawbacks, and uses. The type of spawn a grower uses will depend on the resources they have available and their own personal preference.
Sawdust spawn
Sawdust spawn is made by inoculating sterilised sawdust with mycelium. Mycologists often use sawdust as a bulk substrate as opposed to a spawn substrate, largely because it’s less nutritionally dense. However, it does work well as a spawning substrate, especially with more aggressive species such as oyster mushrooms.
Grain spawn
Grain is an extremely popular method of creating mushroom spawn. To begin with, the mycelium will form small islands on several grains. After colonisation, strains of hyphae move forth and eventually merge. It doesn’t take long for the mycelium to take over the entire jar.
Plug spawn
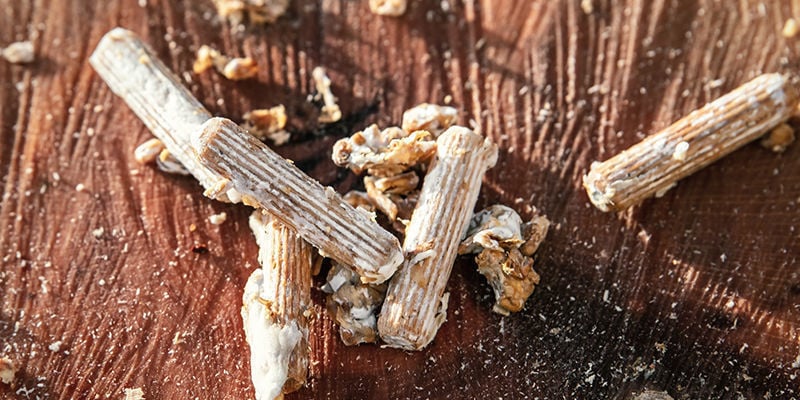
Plug spawn refers to the colonisation of sterilised wooden dowels. Once colonised, they can be used to inoculate the bulk substrate. However, they have a much more specific purpose. Growers use plug spawn to inoculate large logs. Species such as lion’s mane and shiitake thrive on this substrate.
Other types of mushroom spawn
Another type of mushroom spawn is straw spawn. Straw spawn isn’t usually inoculated using a fresh mushroom culture. Instead, it’s used as a bulk substrate to expand an established spawn culture.
Cardboard spawn is another tried and tested method of mushroom cultivation. It’s a low-tech way to produce mushrooms, such as oysters, that isn’t prone to contamination. A tissue sample can be rolled up in wet cardboard and placed in the fridge. Add the fully colonised cardboard to a bulk substrate to expand the mycelium.
The best mushroom spawn

The truth is, there isn’t really a superior type of mushroom spawn. What is best depends on several variables. What resources do you have available? What is your end goal?
If you’re growing at home on a small scale, grain spawn is probably the best option. It’s easy to sterilise and requires no supplementation. Below, we’ll cover how to make your own grain spawn at home.
How to make grain spawn
Making grain spawn is a simple process. However, things can easily go wrong if the environment isn’t kept clean. Flow hoods and still air boxes (SABs) are key tools in the mycologist’s toolbox, helping to minimise contamination when making transfers. Flow hoods are expensive, but a SAB can be made at home using a plastic box. It’s a simple piece of equipment, but can really help to bring down your contamination rate. You’ll also need a pressure cooker to sterilise your spawn substrate.
Equipment
- Mason jars
- Micropore tape
- Clean Petri or liquid culture
- Rye grain
- Pressure cooker
- Aluminium foil
- Hammer and nail or drill
- Large pan
- Gypsum
- Drying rack/window screen
- RTV silicone
- Marker pen
- Latex gloves
- 70% isopropyl alcohol
- Lighter
Directions
Step one: cook your grains
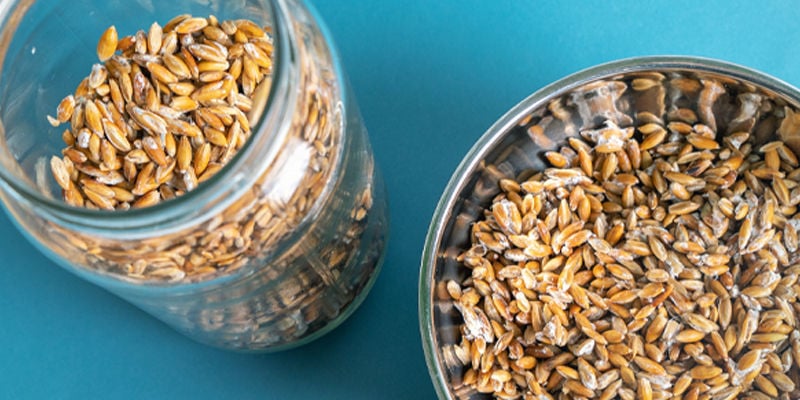
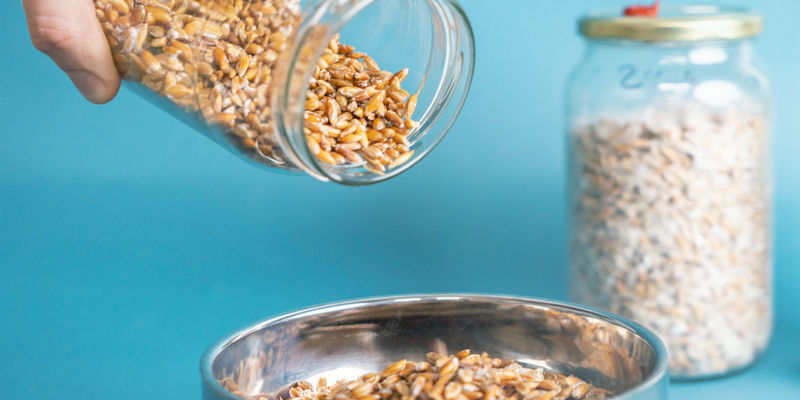
Carefully place your rye grain in a large pan full of boiling water. Add a teaspoon of gypsum to stop it from sticking together. Boil your grain for around 20 minutes. Proceed by straining the water and spreading your grain across a drying rack or window screen.
Step two: divide your grain
First thing’s first, we need to measure out our grain. You don’t need to be too specific. Simply fill up each mason jar to around 70% capacity. This will leave enough room so you can shake the grain and help the mycelium spread.
Step three: modify the lids
If you have a drill, keep the lids on the jars. Use a marker to make a dot on either side on the lids. Use the drill to create two separate holes. Place a piece of micropore tape over one of the holes. This will allow fresh air exchange while preventing microorganisms from invading the jar.
- Self-healing injection port (liquid culture only)
If you plan on inoculating your jars from Petri dishes, move on to step four.
Self-healing injection ports allow growers to inoculate jars with liquid culture syringes. Cover the second hole up with RTV silicone. Apply the material to both sides of the hole. Leave it to dry for 2–3 hours.
Step four: sterilise your jars
Next, you’ll need to sterilise your grain. Pour in the appropriate amount of water into your pressure cooker. Wrap a square of aluminium foil over the top of your jars and load up the pressure cooker. Sterilise your jars at 15psi for two hours. Once the time is up, turn off the stove. Let your pressure cooker cool off and depressurise overnight.
Step five: inoculate the jars
If you’re using a SAB, wipe down the inside of the box thoroughly. Spray the outside of your jars and wipe those down too. If you’re using a liquid culture syringe, wipe down the injection port. Remove the cap from the needle and flame-sterilise the tip with a lighter. Inject 1–2cc of liquid onto the grain.
If you’re using a Petri dish culture, wipe down your dishes. Loosen the lid of a single mason jar. Flame-sterilise your scalpel and let it cool. Cut out a wedge of agar from the dish, remove the lid from the mason jar, and drop the wedge onto the grain. Replace the lid of the jar immediately.
Step six: store and shake
Store your jars in a dark and slightly warm space. Within a couple of days, you’ll see brilliant white hyphae start to form. Shake the jars once every few days to help evenly distribute the mycelium. With 1–2 weeks, the mycelium will colonise the entire jar.
The next step: inoculation of bulk substrate

Once your jars are fully colonised, it’s time to expand them onto a bulk substrate. Doing so will help you maximise your yield and provide as many fresh fruits as possible.
-
 5 min
April 7, 2025
Fresh vs dried Magic mushrooms: Which one is better?
Dried magic mushrooms are popular for their long shelf life, lasting indefinitely compared to fresh ones that spoil within days. However, drying alters their potency, flavor, and effects. Read on...
-
 5 min
July 29, 2024
How To Store Magic Mushrooms
If you want your shrooms to stand the test of time, then you'll need to not only dry them properly, but store them adequately too. While not difficult, it is important to get this right if you want...
-
 3 min
August 17, 2020
5 Surprising Benefits of Magic Mushrooms
There are so many factors to consider when taking magic mushrooms, and it can be daunting overall. However, there are many benefits to taking this psilocybin-packed hallucinogen. Continue reading...
-
 4 min
November 24, 2017
How To Identify Different Types Of Magic Mushrooms
Looking for help identifying your favourite magic mushrooms? In this article, we take a look at the most common types of shrooms that you can encounter.


 United States


