
7 Tips For Storing Dried Herbs
What are you planning to do with that large harvest of herbs waiting in your garden? If you feel stuck or overwhelmed, fear not! We've devised 7 key tips to help you preserve their flavour and aroma while minimising the threat of mould. Rest easy knowing you're not far away from a big stash of delicious, aromatic delights.
Herbs have all sorts of applications and show up in all manner of products, from dietary supplements and cosmetics to herbal tea. By growing, harvesting, and processing your own herbs, you can create practically any herb-infused dish or product you could imagine!
A useful skill in and of itself, growing your own herbs allows you to become more self-sufficient. However, you can’t just pluck your herbs out of the ground and forget about them—you need to learn to dry and store them properly to avoid mould and extend their shelf-life. Below, you’re going to learn all you need to know about storing your homegrown botanicals.
Why should you dry herbs?
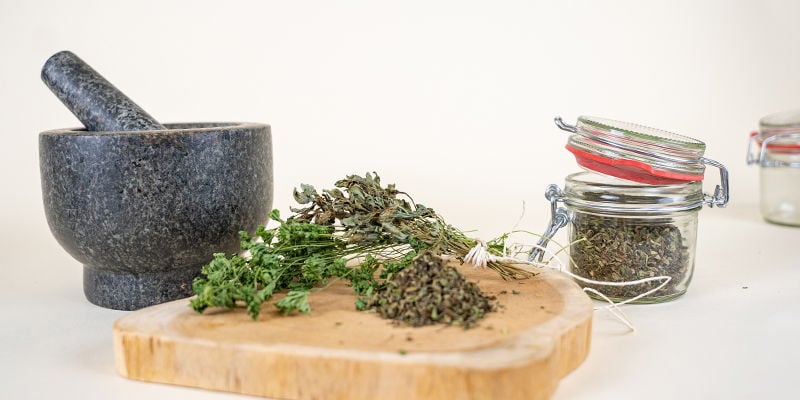
Just like our bodies, herbs are composed primarily of water. While good old H₂O keeps them alive and kicking during growth, excess moisture can quickly become problematic after harvesting. Throwing your herbs into a bag or jar without properly drying them will create a humid environment filled with stagnant air. In other words, you’ll inadvertently create an ideal home for mould to start growing. Preservation aside, drying your herbs also offers other advantages, including:
- Enhanced flavour and aroma: Drying herbs removes water and shrinks them down, which concentrates the molecules responsible for their unique scents and tastes.
- Cost-effective: If you grow herbs yourself, you’ll remove the need to keep buying herbs from the shops. You’ll develop a stash in your kitchen that you can delve into at any time.
- Access through winter: Even when your herbs die back at the end of the season, you’ll have jars filled with dry herbs on hand all throughout the colder months.
Drying herbs: Use these tips for success
Now that you know the key benefits of drying herbs, it’s time to learn how to store them. After harvesting herbs from your garden, or buying fresh herbs from the shops, follow the tips below to make the process as effective and easy as possible.
1. Make sure your herbs are totally dry
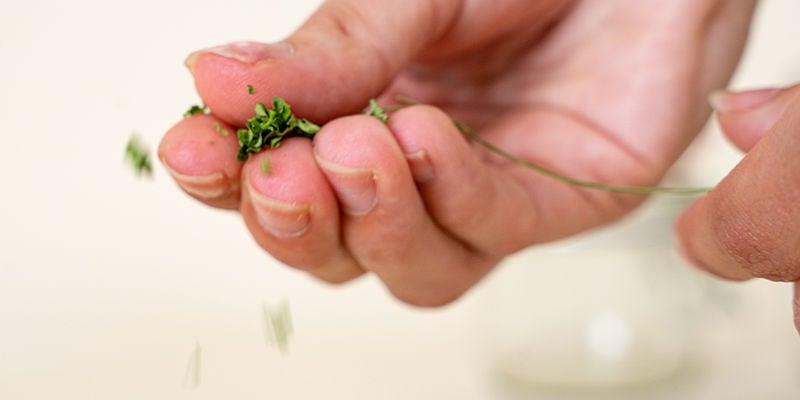
Before you pack your herbs away into storage, you need to ensure that they’re completely dry. Even slight residual moisture can spoil a batch by promoting the growth of mould and other nasties. There are various ways you can dry herbs at home, including placing them in a dehydrator or inside an oven on a low setting. After drying them for several hours, you can test their dryness by rubbing some between your fingers. In the case of excess moisture, they’ll smudge under pressure and leave a wet residue on your skin. When totally dry, they’ll simply crack, crumble, and flake.
2. Keep out of direct sunlight
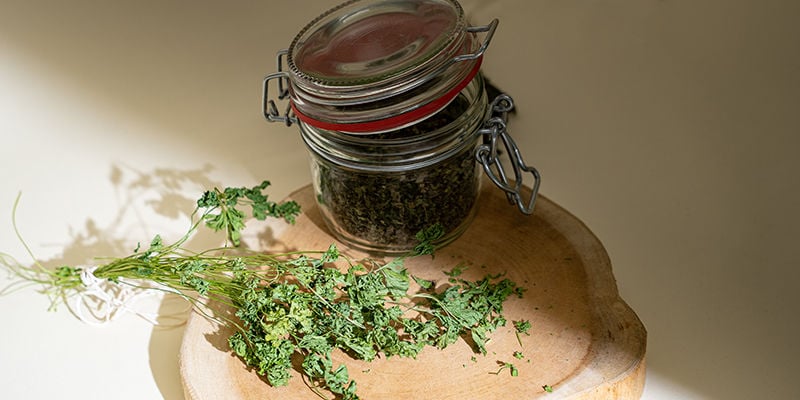
When it comes to storing your dried herbs, you need to stash them out of direct sunlight. It doesn’t take long for the rays of the sun to degrade processed botanicals and the valuable phytochemicals within them. To protect your stash, place your jars in a dark location, such as a kitchen cupboard or pantry.
If you’re struggling for space and have no choice but to store them in a light place, consider investing in several Miron glass jars. These violet-coloured vessels help to filter out sunlight and protect the stored herbs within. Alternatively, stash them inside any airtight opaque container.
3. Keep herbs in a cool and dry location
Sunlight aside, temperature and humidity are major factors when storing dried herbs. Why? Because warm temperatures and high levels of moisture can cause herbs to degrade and lose their flavour over time. To prevent this from happening, store them in a place with a relatively stable temperature. Pantries and cool basements are the best options. Kitchen cupboards away from the cooker also work well. However, the heat and moisture generated in kitchens have the potential to reduce the shelf-life of your herb stash.
4. Store in airtight containers
While alive, with roots stretching out into the soil, plants depend on oxygen to transform the sugars they make during photosynthesis into energy. However, oxygen becomes considerably less useful following harvest. In fact, it can do a number on your stash if you aren’t prepared for it. If you’ve ever left an apple core on the kitchen counter for a couple of minutes, you’ll have an idea of how powerful oxygen is at quickly oxidising tissues. While it takes longer for dried herbs to show signs of oxidation, the process can drastically reduce the flavour and quality of herbs. To prevent this, always keep your herbs in sealed and airtight jars and bags.
5. Whole herbs last longer
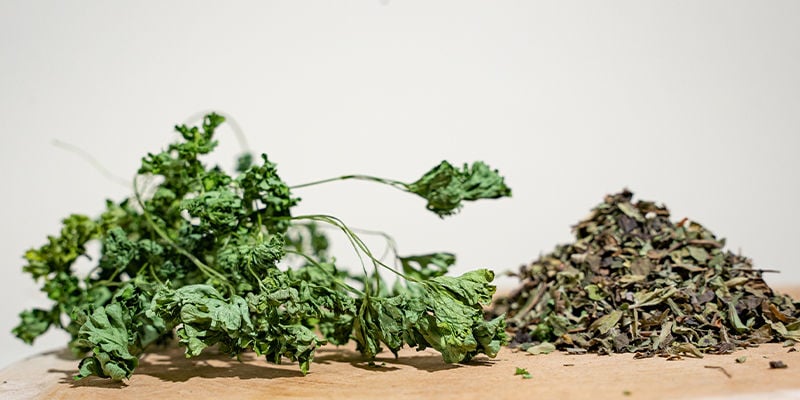
If you plan on stashing your dried herbs for longer periods of time, consider keeping them as whole and intact as possible. After harvest, hang them upside down in a polytunnel or greenhouse and wait for them to passively dry out as thoroughly as possible. Next, cut them up small enough to store in large, airtight jars, keeping leaves and flower heads attached to stalks where possible. In contrast to shredded and ground herbs, the decreased surface area of whole herbs further protects them from oxidation. Simply process them as needed directly before using them.
6. Label your harvests
Labelling your harvest will keep you from having to play a guessing game, and will help you to document the age of each jar. After filling a jar, use a sticky label and write down the species of the herb, the specific variety, and the date that you harvested it. This will help you to ensure you use the older jars before the newer ones. Plus, it’ll keep you from mixing up similar species and varieties of herbs.
7. Store your fresh herbs in the freezer
If you’d rather use fresh herbs to make teas or to add to recipes, you can simply load them into the freezer. Here, they’ll stay fresh for up to a year. If you like to use herbs in cooking, then why not harness the power of olive oil? Finely chop your herb of choice and proceed to place the pieces into an ice cube tray. Next, fill the remaining space within each cube with olive oil. Place the tray into the freezer and pop out a couple of cubes whenever you want to add some flavour when frying foods.
Become a self-sufficient herb aficionado
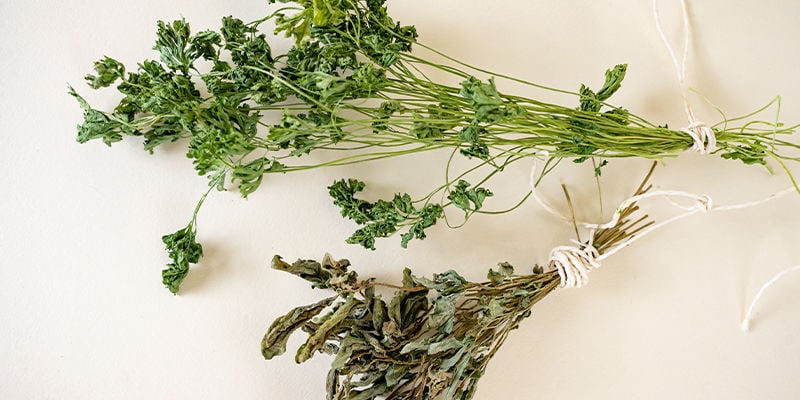
Congratulations, you’re ready to take your first steps toward herbal self-sufficiency! Now you’re equipped to process and stash everything from rosemary and oregano to basil and thyme. Not only have you learned how to dry herbs properly, but you’ll stash them in a way that will maximise their shelf-life. Good luck in your herbal endeavours!
-
 5 min
July 29, 2024
How To Store Magic Mushrooms
If you want your shrooms to stand the test of time, then you'll need to not only dry them properly, but store them adequately too. While not difficult, it is important to get this right if you want...
-
 4 min
May 16, 2022
How To Store Chilies And Peppers (Short And Long Term)
There's no doubt about it; cultivating pepper and chili plants is a hugely rewarding experience. But it's the harvest we really do it for. Having a supply of great-tasting and spicy chilies at your...
-
 4 min
June 9, 2019
How To Prevent Mold When Storing Cannabis
Mouldy weed is no fun. Seeing hyphae grow on a stash that took an entire season to cultivate is heart-breaking to say the least. Use these tips to prevent such situations.
-
 3 min
August 19, 2018
Store Your Cannabis Like A Pro With Smokus Focus Stash Jars
It's time to ditch the plastic baggie and display your weed with pride—with Smokus Focus.


 United States


