
How to make liquid culture
Packed with live mycelium, liquid cultures fast-track home mushroom cultivation and produce bountiful flushes with minimal effort. Best of all, our simple recipe makes creating your own liquid culture easy, even for beginners.
Not to be confused with spore syringes, liquid cultures contain live mycelium (the root-like vegetative structure of mushrooms). Offering faster inoculation and colonization, liquid cultures can streamline home mushroom grows and are perfect for mycologists of all skill levels.
If you want more information on the unique properties and benefits of liquid cultures, as well as how to use liquid culture to grow mushrooms, consider our detailed guides. Otherwise, read on to learn how to make liquid culture from spore syringes.
Ingredients & equipment
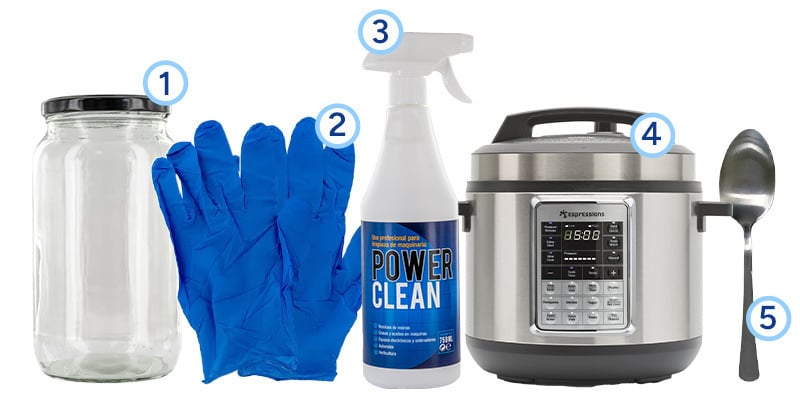
Making liquid culture might seem daunting, especially to beginner mycologists. However, it’s simple: with a few basic ingredients, some household equipment, and the fool-proof liquid mushroom culture recipe below, you’ll be growing your own mushrooms in no time!
Note that some mushroom liquid culture recipes use a colonized plate of agar. While this technique is very successful and popular, we recommend the following recipe (which uses sterile spore syringes, sugar, and water) for its simplicity and low margin for error/contamination.
Ingredients:
- Distilled water
- Honey, light malt extract (LME), or corn syrup
- Spore syringes containing spores of the mushroom species you plan to cultivate
Equipment:
- Glass jar
- Sterile gloves
- Isopropyl alcohol
- Pressure cooker or oven (for sterilizing your jars)
- Magnetic stirrer/mixer (optional) or a sterile metal spoon (for stirring your liquid culture)
Do not use regular sugar to make liquid culture
Unfortunately, regular sugar (sucrose) isn’t suitable for making liquid culture because fungi do not as easily digest it as simpler sugars such as malt extract or honey, hence the following honey/LME liquid culture recipe.
Moreover, sugar doesn’t contain any of the beneficial trace elements like vitamins, minerals, and amino acids that help mycelium thrive. Meanwhile, bacteria like Bacillus or Lactobacillus rapidly digest sucrose, meaning there’s an increased risk of contamination when using it to make liquid culture.
Why you need a spore syringe to make liquid culture
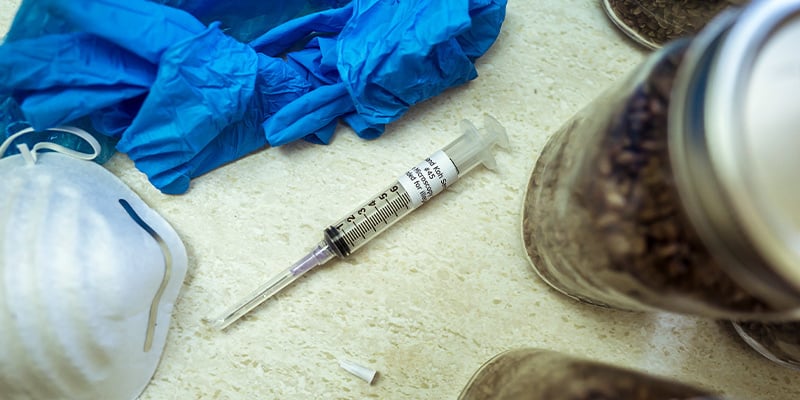
Spore syringes are essential for making your own liquid culture as they contain the spores of the mushrooms you’ll be cultivating. After being injected into a sterile sugar-water mixture, the spores will germinate and form mycelium: the vegetative part of a fungus that, in optimal conditions, produces the fruiting bodies that we know as mushrooms.
The easiest way to make liquid culture from spores is to use our pre-made spore syringes. Spore syringes come in various forms, but ready-to-use syringes are by far the most convenient and beginner-friendly option. Zamnesia Magic Mushroom Spore Syringes are prepared in sterile conditions to help you avoid contamination and ensure excellent harvests every time, straight out of the box.
While most users prefer the simplicity of ready-made syringes, some advanced growers may choose to prepare their own spore syringe from a spore print. This approach offers more control over the process, but demands sterile conditions and a good understanding of mushroom cultivation.
For more information on how to make your own magic mushroom spore syringe, check out our blog: How to make a magic mushroom spore syringe.
Instructions
With your ingredients and equipment assembled, it's finally time to start making your liquid culture. Follow each of the steps below with care, and you're sure to achieve good results.
1. Sterilize your workspace and tools
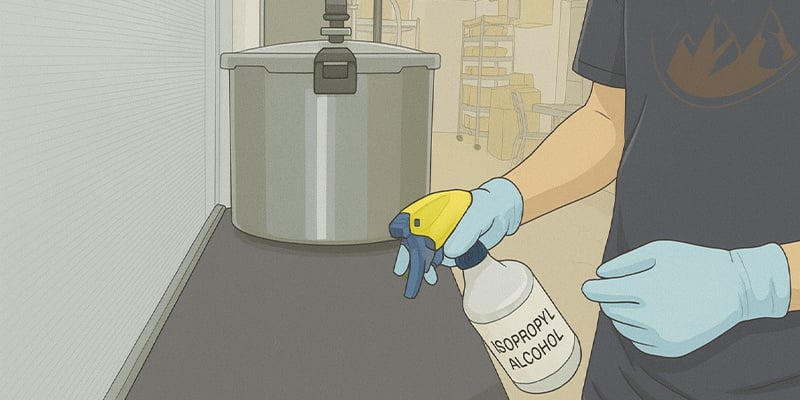
Good sterile technique is the backbone of all aspects of magic mushroom cultivation, including making liquid culture. Wash and sanitize your hands, wipe down your workspace and all the equipment listed above using isopropyl alcohol, then put on sterile gloves. Contamination is the most common pitfall of home mushroom growing, and it's important to take the necessary precautions right from the get-go.
2. Fill your mycelium growing jar
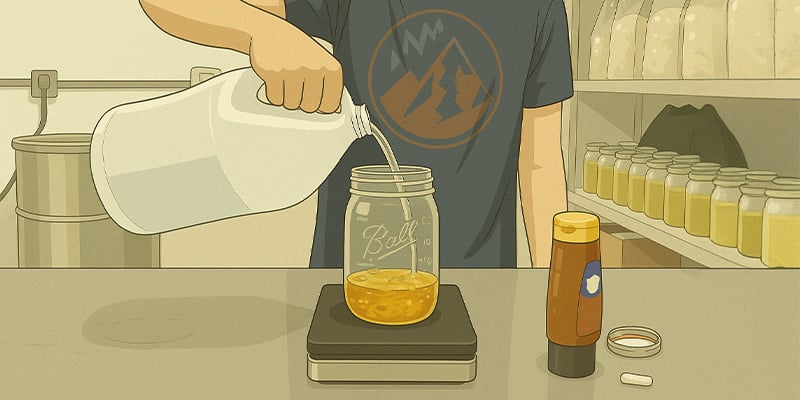
Now that you have a clean surface to work on, it's time to prepare the medium and container you'll be growing your liquid culture in. To do this, start by filling your glass jar with 13.5 fl oz of distilled water (chlorinated water can inhibit mycelium growth, and rainwater may contain bacteria or pathogens that lead to contamination). To the water, add 0.5 fl oz of honey (you can also make liquid culture with Karo/corn syrup or malt extract).
These substances contain simple carbs that'll feed your mycelium and provide it with the energy it needs to grow. Make sure to stir the mixture gently using a sterile metal spoon, then loosely cover the jar with aluminum foil.
3. Sterilize your jar
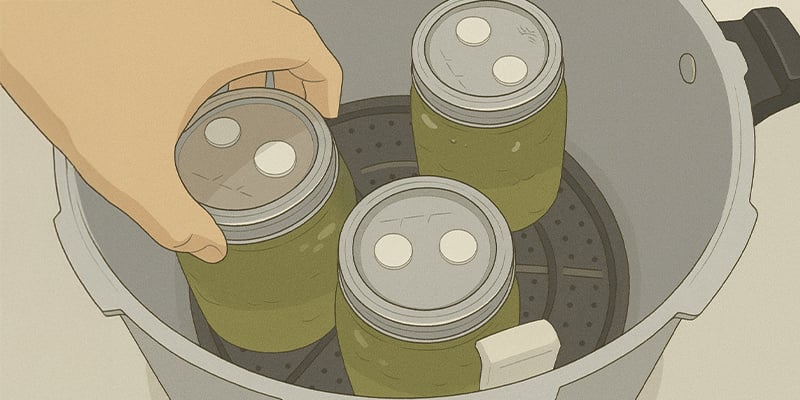
Next, you'll need to sterilize your mycelium growing jar to further prevent contamination. We recommend the following ways to do this:
- a) Place the jar and lid in a pressure cooker with 3.4 fl oz of water. Once your pressure cooker reaches 15 psi, heat the jars for 10 minutes.
- b) Place the jar and lid in a preheated oven at 355°F and heat for 60 minutes.
Note: Do not close your jars when sterilizing them. They will explode.
4. Inoculate your jar
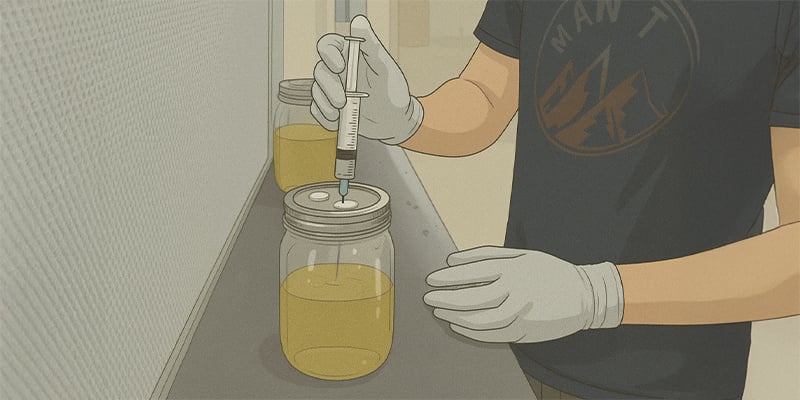
Remove your jar from the oven or pressure cooker and let it cool completely. A hot mixture will kill your spores and keep them from germinating and growing into mycelium. Once the mixture has cooled, inject at least 1–2 ml of spores from your syringe into the water-honey mixture. For the best results, use our sterile spore syringe.
If you're not using a pre-made sterile syringe, make sure to sterilize whatever syringe you're using by heating its tip in a flame until it glows red.
5. Incubate your spores
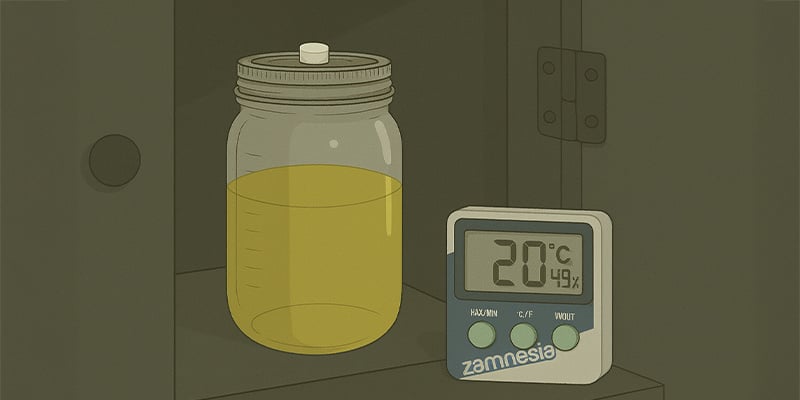
Close the jar and store it in a dry, dark place at a stable temperature of 64–68°F. Light and abrupt temperature shifts will inhibit your spores from germinating and could hinder liquid culture development. Make sure to use a thermometer to track the temperature in your incubation space, and consider using a heat mat or space heater if necessary to bring temperatures up to where they should be. Wait at least 2–3 days for the spores to germinate and begin colonizing the culture.
6. Oxygenate your liquid culture
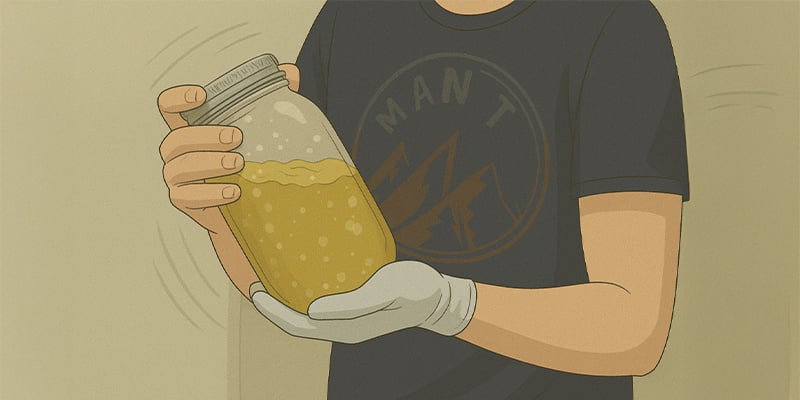
Oxygenating your liquid culture is key to supporting its growth. Do this by shaking or stirring and opening your jar once daily (always in a sterile environment). The shaking/stirring will help break up large clumps of mycelium, which keeps it growing evenly throughout the entire mixture. Meanwhile, opening your jar will also allow for important gas exchanges to occur. To stir your mixture, use either a sterile metal spoon or a magnetic stirrer/mixer (these help minimize contamination).
7. Be patient
Wait 10–20 days for your culture to mature. Colonization timelines vary depending on the mushroom species you’re cultivating.
How do I know if my liquid culture is ready to use?
Healthy liquid culture will contain white mycelium that forms into fine threads or snowflake-like clumps. If your liquid culture doesn’t develop any mycelium after 14–21 days, it may not have inoculated properly. If your homemade liquid culture shows signs of contamination (green/black mold or a foul smell), discard it immediately.
Cultivate in confidence with your own homemade liquid culture!
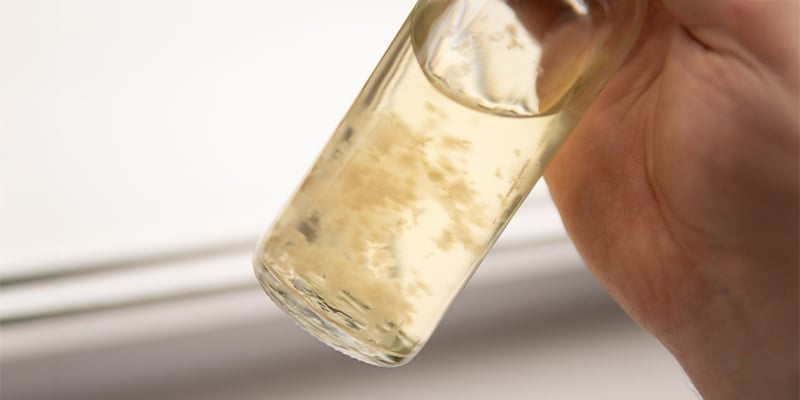
Liquid cultures harness the power of live mycelium to produce excellent mushroom harvests in express time. With good sterile technique and the best liquid culture recipe we covered above, you can learn how to make a liquid culture at home with ease.
If you're new to growing magic mushrooms, use one of our ready-made liquid culture syringes. Alternatively, if you have some experience, consider ordering a spore syringe and turning it into an active, fast-growing culture yourself! Once you've got your liquid culture, make sure to learn how to use it, too. And remember, our shroomshop is your one-stop shop for everything you need to grow potent magic mushrooms at home!
-
 6 min
December 11, 2025
What is mycelium?
Before mushrooms come mycelium, the hidden network that gives life to every psilocybin species. Discover what mycelium is, how it grows, and why this underground web is key to cultivating magic...
-
 4 min
August 25, 2025
How to use magic mushroom liquid cultures
Liquid cultures are a must-have for anyone growing mushrooms at home. Learn how to use them to produce large flushes of potent mushrooms in express time!
-
 4 min
September 27, 2022
How To Take Magic Mushroom Spore Prints
In order to grow magic mushrooms from scratch, you need spores. It's from these tiny things that everything else grows! Taking your own spore print is easy enough, and can be the beginning of a...
-
 5 min
June 25, 2021
How To Make A Magic Mushroom Spore Syringe
There are a couple of ways to inoculate a substrate to grow magic mushrooms. From ghostly liquid cultures to Petri dishes, it can be hard to decide which method is best when starting out. Using a...


 United States


