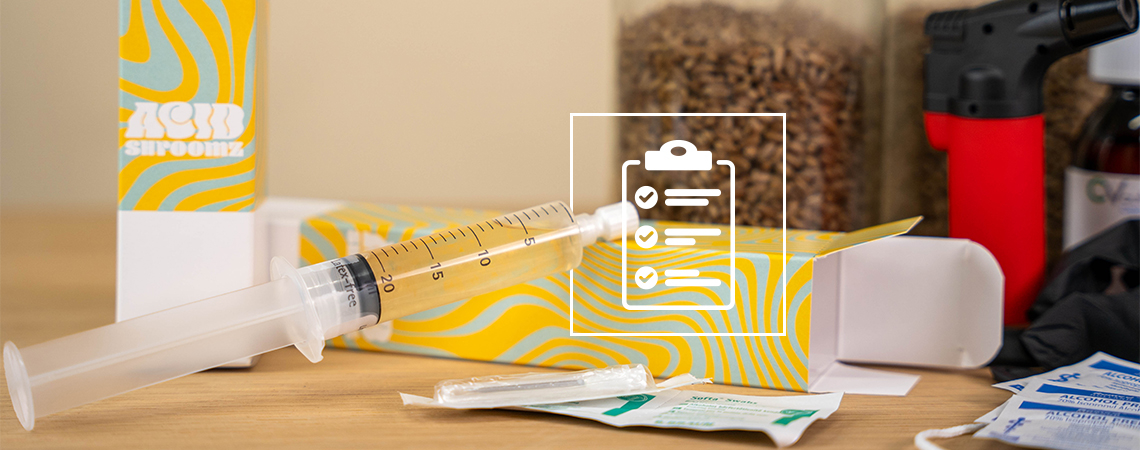
How to Use a Liquid Culture Syringe for Mushroom Spawn
Liquid cultures develop rapidly and are great at outperforming microbial competition. Using them can speed up the colonisation of grain spawn by a huge margin and help to ensure your grow doesn't fall victim to contamination. Follow along to learn how to inoculate grain spawn with a liquid culture syringe.
There are numerous techniques you can use to inoculate mushroom substrates at home, but perhaps the most effective for starting a grow is a liquid culture. These solutions are already colonised with mycelium that is raring to go—all you need to do is give it a home.
In this article, we explain what liquid cultures are and how to use them.
Why use a liquid culture syringe for mushroom spawn?
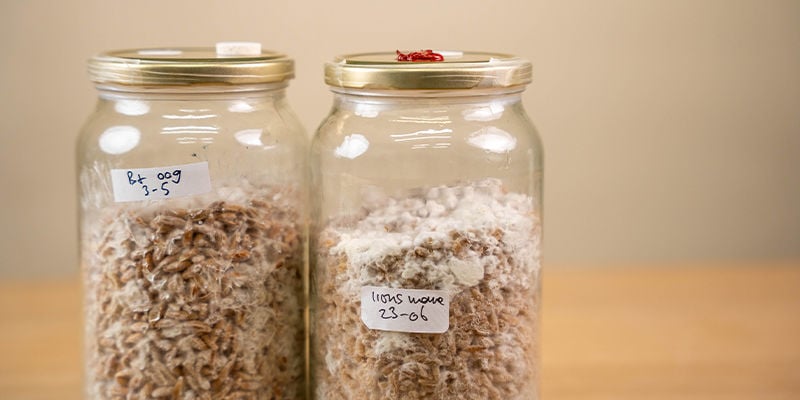
A liquid culture syringe is a tried and tested way to inoculate grain spawn. Grain spawn can then go on to inoculate a bulk substrate, which in turn can yield very large amounts of magic mushrooms.
Liquid cultures are made up of already developed mycelium suspended in a solution. So when this is added to a substrate, the mycelium begins growing immediately. This results in rapid development, and has a much higher chance of success compared to using a spore syringe.
Spores have a much tougher time contending with competing microbes (bacteria and other fungi) on the substrate, and will often be outcompeted. Using a liquid culture helps to mitigate this problem, though it doesn’t fully remove it.
How to use a liquid culture syringe for mushroom spawn
Using a liquid culture syringe is incredibly easy. If you carefully follow the steps outlined below, you have a very high chance of successfully cultivating magic mushrooms in very little time.
Equipment
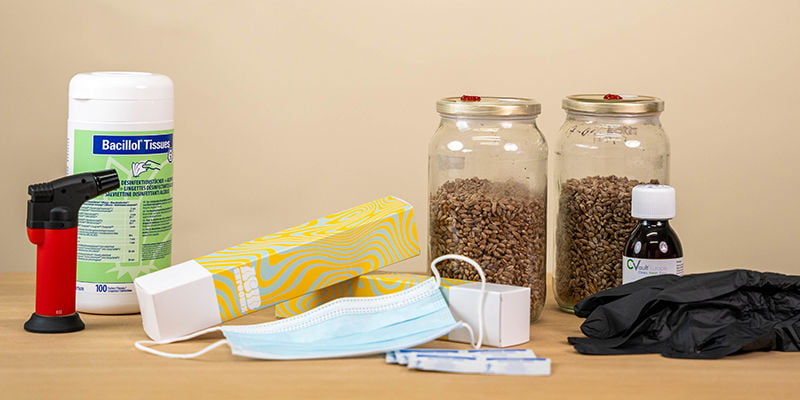
• Liquid culture syringe
• Sterilised grain spawn with injection port
• Flame source
• Latex gloves
• Still air box (SAB) or flow hood
• Disinfectant/isopropyl alcohol
Directions
1. Prepare the area. Wipe down surfaces and the outside of the grain spawn jars with disinfectant/isopropyl alcohol. Also, wipe down the insides of the SAB or flow hood (except the filter). Put on your gloves.
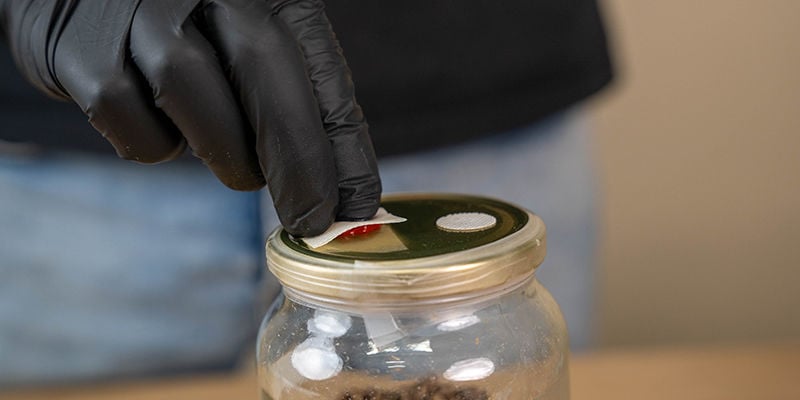
2. Attach the needle to the syringe. Take the sheath off and hold the needle in a flame until it is red hot. This will sterilise it. Allow it to cool before moving on to the next step.
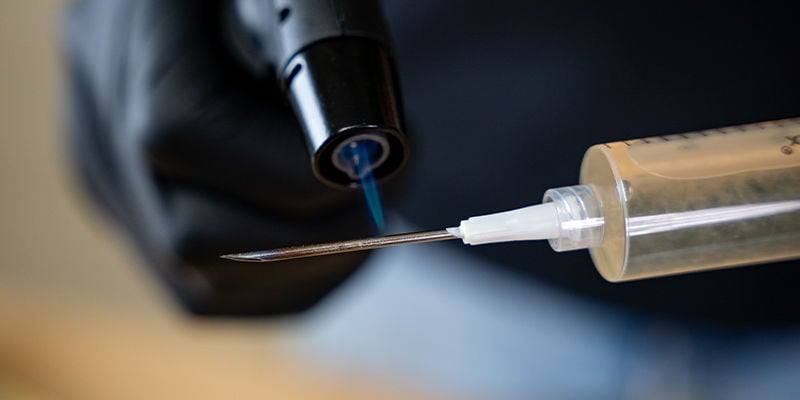
3. Place the grain spawn jars/bags inside the SAB or flow hood.
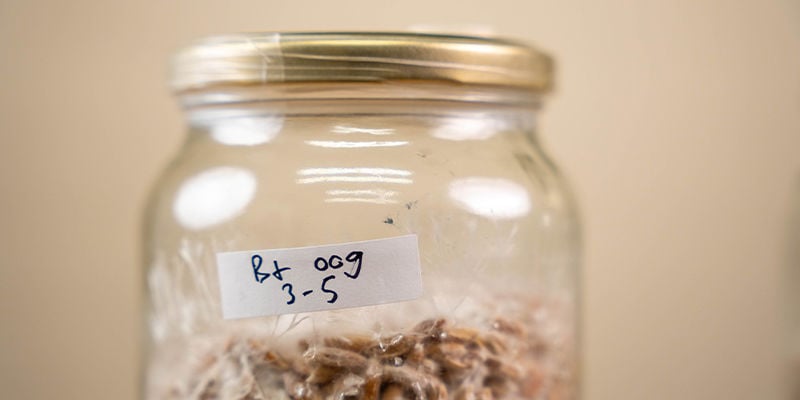
4. Push the needle through the injection port on your grain spawn. Squirt around 1–5ml (more information on this below) down the inside of the jar (if using a jar). If using a bag, just inject into the grain spawn.
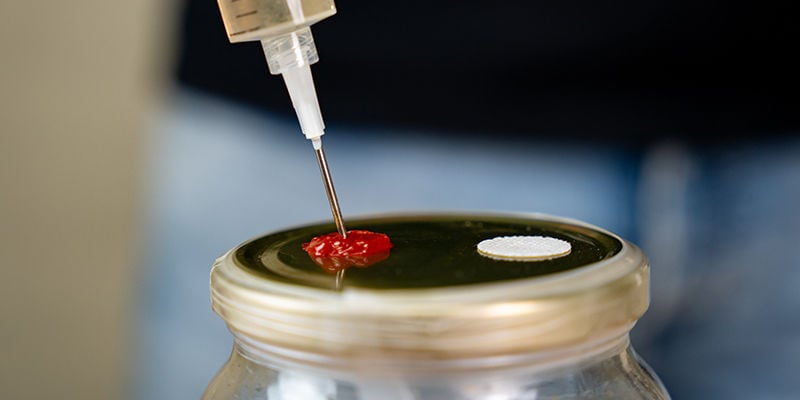
5. Remove the needle.
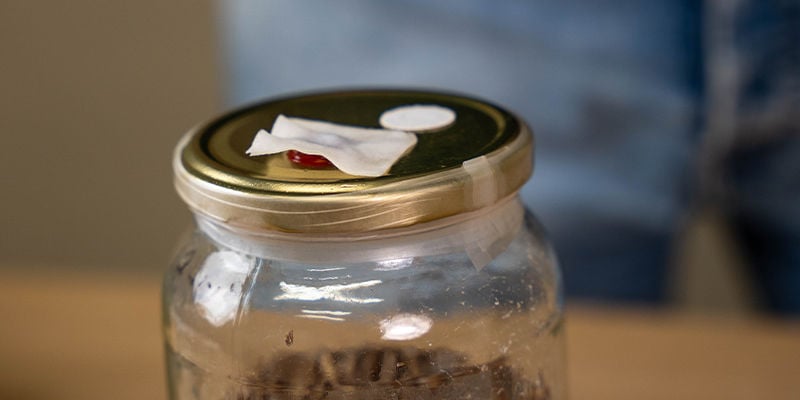
6. Place your jars/bags somewhere where they will incubate.
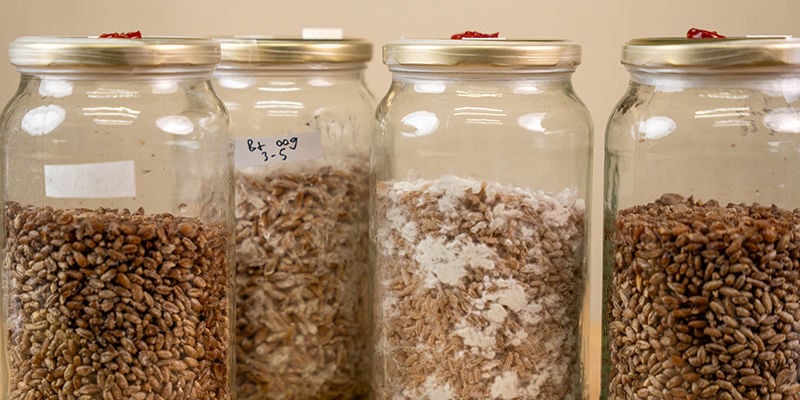
Incubation and spawn shaking
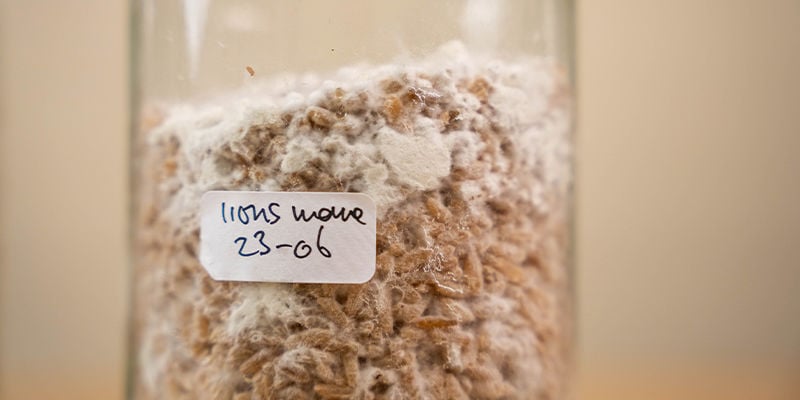
For mycelium to develop healthily, it needs to be stored appropriately.
Psilocybe mycelium should be incubated at around 28ºC for optimal results. Many sources say to use heat mats to achieve this, but you can get better results using small heaters and storing your grain spawn in small, enclosed spaces. This works better as you can achieve an ambient temperature of 28ºC, leading to more consistent growth.
Otherwise, grain spawn should be stored somewhere out of direct light, though some light is okay. Just know that mycelium doesn’t require light to grow, so you can store it in total darkness.
You can also speed up the process by shaking the jars and grain spawn, thereby spreading the mycelium that is already growing. After a few days to a week, you should notice many small spots of mycelium growing. If you leave them, they will continue to grow healthily. But if you shake the jar/bag and displace the mycelium, then you can speed the process up by weeks.
Don’t be shy with this part; you won’t hurt the mycelium by shaking it. Be vigorous and thoroughly break it up.
How much liquid culture per jar or spawn bag?
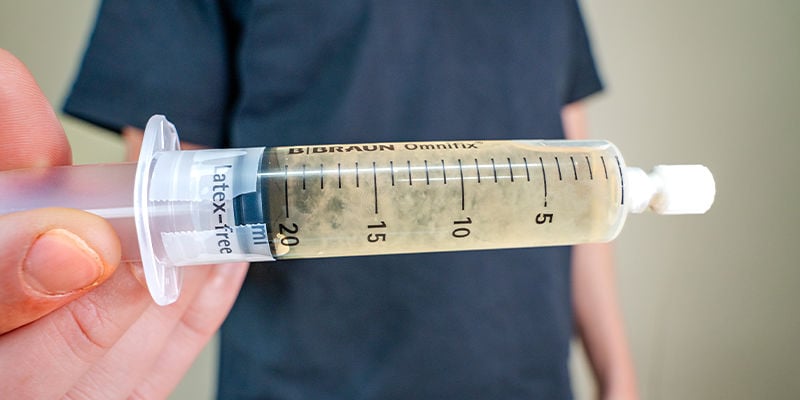
As mentioned, it’s best to use around 1–5cc (i.e. ml) of liquid culture per grain spawn jar or bag. As you’re inoculating with already developed mycelium, you need very little for it to begin its work.
Larger doses will cause faster development but also add more moisture to the grain jar/bag, increasing the risk of contamination. Less is safer, but will result in slower development. In most cases, 2–3ml is safe and effective.
Hints and tips for using liquid culture
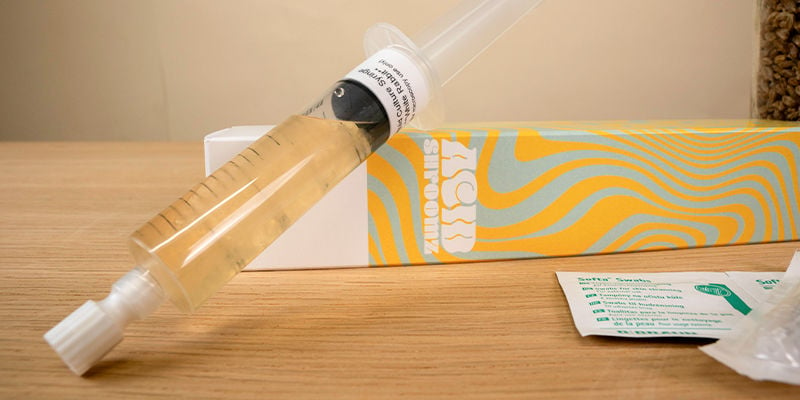
In addition to the above-mentioned advice, consider the following tips to maximise the success of using liquid culture to inoculate grain spawn.
- Use liquid culture syringes within two months of delivery or creation.
- Store in a cool place, such as a fridge. Protect them from UV light.
- After using, dry the needle thoroughly before storing, in order to prevent rust. You can do this with a flame to dry the inside too.
- Prepare everything before inoculation, as a quick and seamless process reduces the risk of contamination.
Growing mushrooms with a liquid culture is one of the most effective ways to inoculate a substrate and get a mushroom grow going. While other methods have some benefits, a liquid culture is probably the best choice for the vast majority of people who want a fast and reliable grow.
Shroom Shop
Zamnesia's Shroomshop offers an extensive selection of mushroom cultivation supplies, including spore prints, liquid cultures, grow kits, and much more.
You can either buy liquid cultures at the Zamnesia Shroomshop, or make your own at home from a spore print. If you’re new to growing, then buying one can get you into the game much faster. But once you’ve got a few harvests under your belt, making one yourself can be great fun—and guarantees you free mushrooms for life!
-
 3 min
August 11, 2023
Liquid Culture Syringes Vs Spore Syringes: A Comparison
Fancy yourself a budding mushroom cultivator? If so, you need to know the differences between spore syringes and liquid culture. In this comprehensive guide, we clear up any misinformation...
-
 7 min
November 4, 2021
What Is Liquid Culture, And How Do You Make It?
Favoured by the casual mushroom connoisseur and those well-versed in mycology, liquid culture is frequently used to produce high-quality mushrooms at home. But what is liquid culture, and how is it...


 United States


