
How To Make Your Own E-Liquids
If you love vaping, you can save a lot of money by making your own e-juices. Even better, you can infuse your DIY e-liquids with CBD, kanna, or damiana for a whole new vaping experience! Find out how to do it in our DIY e-liquid guide.
Vaping has become very popular in the decade or so since e-cigarettes first appeared on the market. Along with e-liquid (“e-juice”) vapes, you can also find a vast selection of vaporizers for weed and cannabis concentrates. But did you know that you can craft your own e-liquids? Not only can you make DIY e-juices with your favourite flavours, but you can also infuse them with other ingredients, including CBD, kanna, or damiana. Follow our guide to learn how!
ADVANTAGES OF MAKING YOUR OWN E-LIQUIDS
Why would you want to make your own e-liquids? Easy: it will save you a lot of money! The ingredients for making e-liquids are cheap, and you can create your own at a fraction of the price of commercial varieties. But the savings aren’t the only benefit of making your own e-juice for vaping.
Another advantage is that, in addition to making “normal” e-juices with or without nicotine, you can also make e-liquids with CBD, kanna, flavours, or other suitable substances and herbs. This allows you to tailor your e-liquid to provide exactly what you want. This isn’t always possible with premade alternatives.
Yet another advantage of making e-liquids at home is that you will always know exactly what they contain. If you vape e-liquids from less-reliable sources, you’ll never know what substances you’re inhaling.
IS MAKING YOUR OWN E-LIQUIDS SAFE?
If you do it properly and know which ingredients to use, homemade e-liquids are as safe to consume as those you can buy. Still, it’s important to be aware that, if not handled with the utmost care, the substances you’re using to make your e-liquids can potentially cause you harm.
Be mindful when mixing and measuring, as incorrect measurements of substances like nicotine can pose a major risk to your health. Moreover, the inclusion of any amount of nicotine can pose negative side effects, and can lead to addiction.
IMPORTANT: Never use ingredients that are not explicitly made, and deemed safe, for vaping. If there is no information about an ingredient’s safety in regards to vaping: DO NOT USE!
DISCLAIMER: ZAMNESIA CANNOT BE HELD RESPONSIBLE FOR THE INCORRECT HANDLING OF HARMFUL SUBSTANCES OR THE SIDE EFFECTS AND ADDICTIVE POTENTIAL OF NICOTINE.
WHICH INGREDIENTS DO YOU NEED TO MAKE E-JUICE?
If you want to make a basic flavoured e-juice, you will need a few ingredients. You can get these ingredients in vaping stores.
- Base (PG or VG) without nicotine
You need a “base” for your e-liquid, which can be polypropylene glycol (PG), vegetable glycerine (VG), or a mix of the two.
PG carries flavour better than VG and gives more of a “throat hit” as you vape, similar to smoking cigarettes. PG does, however, produce less vapor than VG.
VG is thicker than PG and doesn’t “hold” as much flavour as PG, but creates more vapor. It also has a subtle sweetness to it and makes for a slightly “smoother” vaping experience.
So which is “better”, PG or VG? It depends: If you’re vaping mostly for clouds and not so much for maximum flavour, you can use a base with a high percentage of VG. If you want the best flavour and don’t care too much for clouds, use PG. In practice, it is usually best to use a mix of both for your base. It really is a matter of personal taste and vaping style.
- Base with nicotine (optional)
To make e-juice with nicotine, you’ll need a nicotine base as well. These “nicotine shots” or “nicotine kits” as they’re now called are essentially the same as the base (as they are also made from PG, VG, or a mix), except they also contain nicotine. The most common strengths for these are 10 and 20mg/ml. Recently, nicotine “salts” have also become available for crafting your own e-liquids. You will eventually need to add the proper amount of your nicotine base to your neutral base. More on this below. If you don’t care about nicotine in your e-liquid, you can skip this step.
- Flavour
In addition to the bases and nicotine shots, vaping stores normally also carry many different vaping flavours. These flavours, which can be anything from fruity and candy flavours to tobacco, differ from ready-made products as you do NOT vape these directly, but dilute and add them to your base to make your e-juices.
- Other ingredients (CBD isolate, kanna powder, damiana extract, etc.)
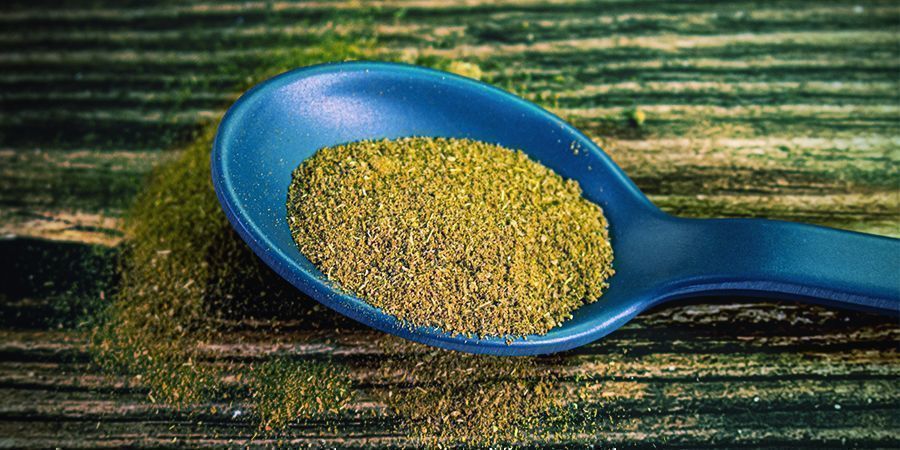
How about making your own damiana e-juice or enjoying the relaxing effect of kanna when you vape? If you want to make CBD e-juice, for example, you will need to source CBD isolate/crystals that you can add to your juice. Kanna powder or damiana extract also work to infuse your e-liquids.
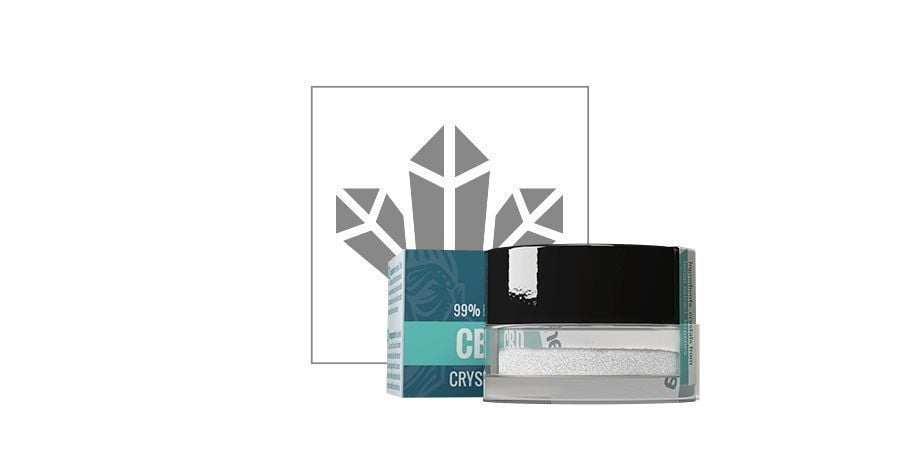
IMPORTANT: DO NOT USE CBD OILS TO MAKE E-JUICES. VAPING OILS IS VERY BAD FOR YOUR HEALTH
TOOLS NEEDED TO MAKE E-LIQUID

In addition to your PG/VG bases, your nicotine “shots”, and your flavours and other ingredients, you want to make sure you have a selection of tools to assist you in making your e-liquids:
- E-liquid bottles
Get yourself a collection of e-liquid bottles that you can fill with your homemade juices. You can get these bottles in all sizes from vaping stores or pharmacies. The bottles normally come with a suitable tip to refill your vape, and a secure cap. A good size is 50ml, but if you’re making larger batches of e-juice, you should probably get larger bottles with 100–150ml capacity. You can also get a bunch of tiny 5 or 10ml bottles, which come in handy if you want to experiment with juices before making larger batches.
- Syringes
Among the most useful tools for handling e-liquids are syringes—so get plenty of them. Syringes with various capacities, such as 5, 10, or 20ml, make it easy to measure out exact amounts of ingredients.
Since we’re handling potentially toxic substances such as nicotine—and to help keep everything nice and clean—get yourself disposable nitrile gloves.
MAKING YOUR E-LIQUID — STEP-BY-STEP INSTRUCTIONS

Do you have all the ingredients and tools? Then let’s get started!
DIRECTIONS
-
Make sure you have a clean, stable working surface such as a desk or counter. Put all your ingredients somewhere you can easily reach them. Put on your gloves.
-
Determine the amount of e-liquid you want to make, and ensure you have adequately sized bottles.
-
Determine what flavour strength (plus nicotine strength if desired) you want to mix. Typical flavour concentrations are 5–15%; this, however, depends on the flavour and your personal taste. If you’re unsure, start with 10%. As for nicotine strength, 6mg nicotine/ml for your final e-liquid equals an ultra-light cigarette, 12mg/ml will be medium strength, and 18mg/ml will be high strength.
But don’t take this as gospel since the nicotine strength of your liquid will also depend on your vaporizer, what wattage you are vaping at, and whether you vape often or only occasionally. We recommend you start out low and shoot for a nicotine strength of 6–8mg/ml. And of course, you can also make e-juices that do not contain any nicotine at all!
-
When you have established how much liquid you want to make and at what strength, it’s time to calculate how much of your base, nicotine base, and your flavour(s) you will need. Some other guides at this point will slam you with lots of math, showing you how you can establish the required amounts of everything. But we want to keep things easy. On the internet, you can find helpful e-juice calculators that will do the math for you. These calculators will tell you how much of each ingredient you need to add.
-
When you know how much you need of everything, mix your VG/PG base, your nicotine base, and your flavours together. To ensure you do not compromise the purity of your bases and flavours, use a separate syringe for each type of ingredient.
-
Once you’ve mixed your desired amount of e-liquid, close the bottle and shake well for a minute or two to make sure everything is evenly distributed. Store your freshly made liquid in a dark and cool place.
-
Clean up your working area and supplies.
WHAT TO DO AFTER YOU'VE MADE YOUR E-JUICE (STEEPING, ETC.)
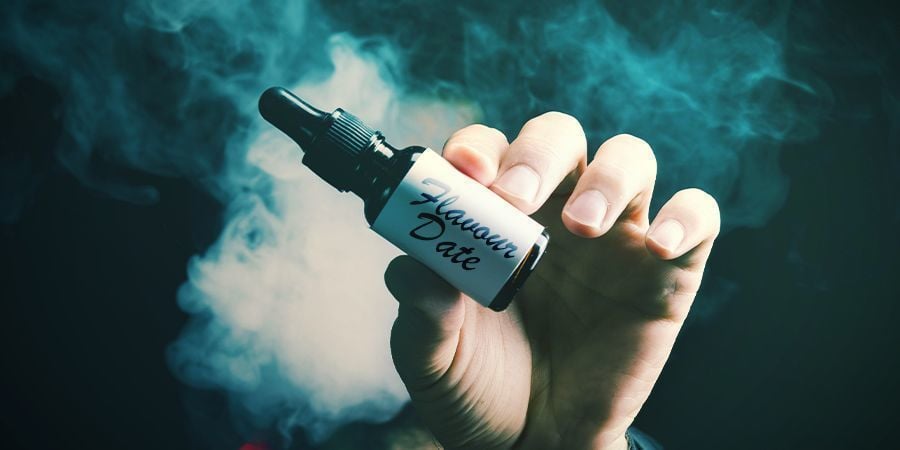
Most homemade e-liquids (unless you’re making liquids with fruity flavours that you can often “shake and vape” right away) require that you “steep” them. Steeping (or ageing to be more exact) your e-liquid is what brings the flavours together.
Some freshly made liquids may indeed taste awful and unvapable right after mixing; this is why you need to allow them time to fully infuse. How much time? It can take anywhere from a week to a couple of months. So keep them in a dark and cool place for some time, shaking the bottles every once in a while.
It will also be helpful to label your bottles and write down the exact ingredients you used for each recipe. This way, you won’t forget what’s in your juices after leaving them to steep for a couple weeks or months. Be sure to record the date of production, and how long each type of juice has been steeping.
HOW TO MAKE E-JUICES WITH CBD, KANNA, DAMIANA, AND OTHER INGREDIENTS
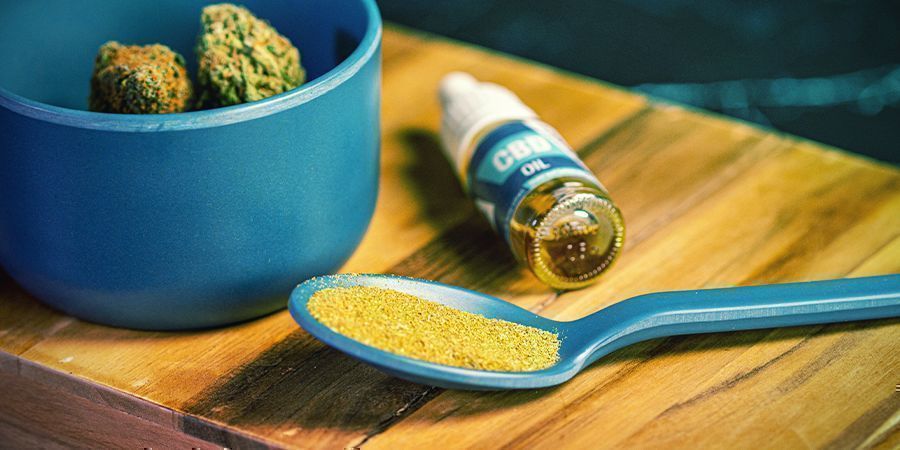
The above steps for making flavoured e-liquids also apply if you want to make liquids with CBD, kanna, or damiana. A safe way to go about making CBD juice is to add CBD isolate, which is pure CBD (99%) in powder form, to your e-liquid. The reason for this is that CBD isolate doesn’t contain any carrier oils, and vaping oils can be VERY bad for your health.
You can also use kanna powder or damiana extract, and, depending on your taste, add other flavours. Again, just make sure that the concentrates and powders you are getting are suitable for vaping in e-liquids.
To add powdered herbs like kanna or damiana to your e-liquid, add the herbs into a jar and cover them with VG or PG. Secure with a lid. Let the mix sit for several days and shake every day to speed up the extraction process. After about a week, filter the mix through a cheesecloth.
You can now add the kanna/damiana mix to your e-liquid! How much of either substance you want to use will depend on the strength of the product, your experience, and personal preference. It’s always best to start with a small dose at first. If desired, you can always increase the amount of kanna or damiana you add next time.
USING CANNABIS BUDS TO MAKE E-LIQUID
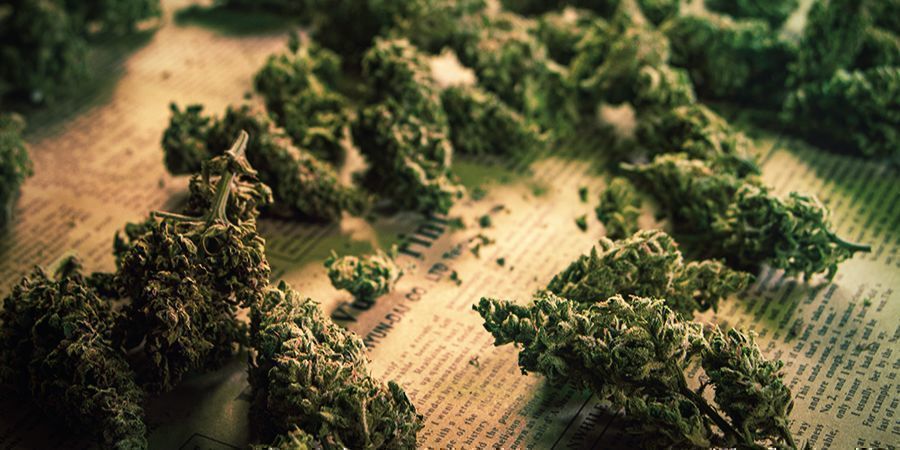
Instead of CBD isolate, you can also use cannabis plant matter to make e-liquid. Grind up your weed, put it on a sheet of baking paper on a baking pan, and “bake” in the oven at 110–120°C for about 45 minutes. This process is called decarboxylation, and is what activates the CBD or THC in your weed. Once time has elapsed, add your cannabis to a mason jar and barely cover the plant matter with high-proof, food-grade alcohol. The alcohol functions as a solvent that will extract the “good stuff” from your weed.
Keep the weed in the jar with the alcohol and store it for several weeks, shaking once every day. After some weeks (the longer you allow the alcohol to extract the good stuff from your weed, the better), you will have a cannabis concentrate. Strain the weed concentrate through a cheesecloth or filter and bottle it. You can add small amounts of this cannabis concentrate to your e-liquid for vaping. Alternatively, you can also put decarboxylated weed in PG or VG instead of alcohol, although it will take longer to extract the CBD, THC, etc., and the mix will be less potent than if you start out with alcohol.
And there you have it—all the tools you need to create your very own e-juices, from the comfort of your own home!


 United States


