
How To Grow Tobacco Seeds
It's not uncommon for people to show interest in growing a few tobacco plants in their yard, whether it's for personal use or simply decorative. Read on to see how to grow your own tobacco at home.
For anyone with a green thumb, growing tobacco should pose no difficulty; they don't require any more care than a typical garden plant. Many people say it's similar to growing tomatoes, and ironically, cannabis.
Most often, tobacco plants are grown as ornamental pieces, but the leaves can be cured and smoked as well. However, the procedure of curing, aging and processing tobacco without any specialised equipment is known to be rigorous.
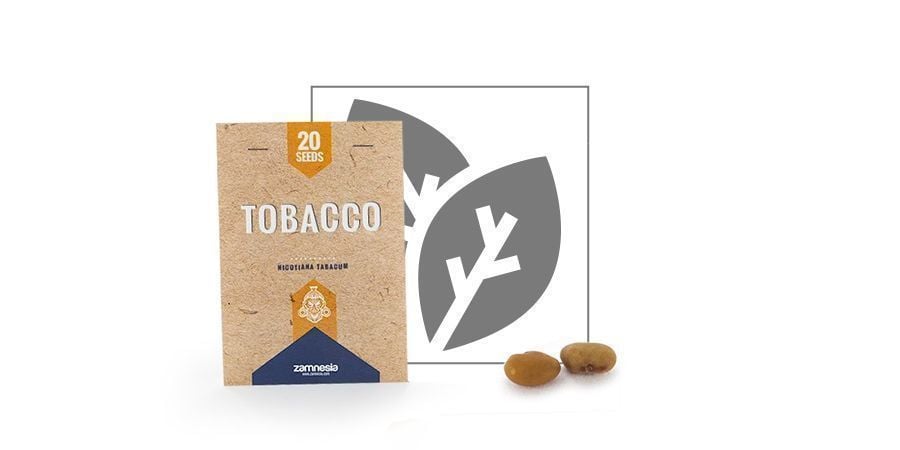
LEARN THE STEPS TO GROWING TOBACCO AT HOME
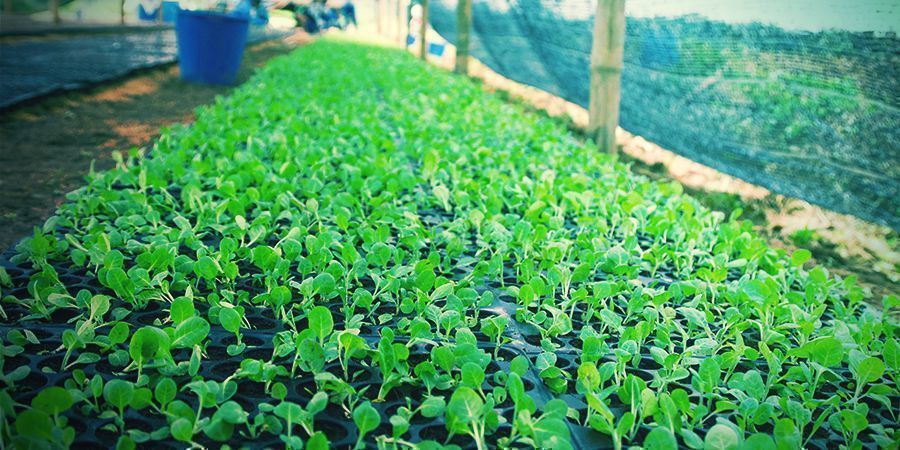
First thing’s first, you need to decide how much tobacco you need. For reference, a typical plant will produce around 4-6 ounces of dry, cured tobacco; however, experienced gardeners suggest calculating 2 ounces per plant, allowing a little room for error.
Next, you'll have to figure out if you'll be growing indoors or outdoors and what growing medium to use. Tobacco grows very well outside, but indoor cultivation offers a more controlled environment, which can be highly beneficial. It does well in regular soil, coco coir and perlite; it can also be grown in containers that can hold 3 gallons or more.
After you get all the initial logistics figured out, it's time to start growing! Similar to cannabis, you'll need to sow the seeds and allow the germination process to take place before you plant them in their final location. Keep in mind, you'll need some supplies: fertiliser, pesticides and some smaller items like pots and plastic wrap.
CLIMATE AND SOIL

Tobacco should always be grown in a dry, warm climate with a frost-free timeframe of approximately 4 months. Excess water leads to thin, flaky and undesirable tobacco, so it's best ripened with minimal water/rainfall. Temperature wise, we're looking at a mild 20-30°Celsius (68-86°Fahrenheit) to keep your plants happy and thriving. If your climate does not meet these requirements, we would suggest growing indoors.
Moving on to choosing a growing medium, which is probably one of the easiest steps. Tobacco is very versatile and grows well nearly anywhere. Regardless of the type of soil you choose, make sure to pick one that drains well.
It's also important to note that even though the quality isn't affected by the type of soil, your tobacco's appearance definitely will be. Lighter soils cause tobacco leaves to be lighter-coloured and darker soil produces darker-coloured tobacco.
PLANTING AND TRANSPLANTING TOBACCO

1. Get the seeds started
Tobacco seeds are easy to get started, but you must be cautious when handling them; they are very tiny and can be easily damaged. You can start your seeds in virtually any type of tray or container, although it's recommended not to use peat pellets. Fill the container with a good seed starting mix and allow the seeds to gently rest on top of the soil. Soak them thoroughly.
2. Allow germination
Cover your seed tray with a clear, plastic dome to trap the moisture in the soil. If you choose not to cover the tray, make sure to mist the soil every day. It's imperative that the soil stays damp at all times or the germination process will be disturbed. Not all tobacco seeds germinate at the same speed; some start showing in as little as one week, while others can take up to one month.
3. Transplant the seeds
After about six weeks, give or take a couple weeks, your seeds are ready to be transplanted. Even though the seedlings are getting air circulation now, constant soil moisture is still important. Bright, but indirect sunlight is also a necessity.
4. Move to garden
Once the shoots are 15.2-20.3cm long, your tobacco plants are ready to be transferred to their permanent home in your garden. Plant them in a straight row and space the plants about 0.5-1m apart. There should be about 1 metre of space between each row as well.
Keep in mind that tobacco plants are considered "heavy feeders," meaning they deplete the nutrients in the soil rather quickly. Rotate your garden every two years to help prevent this.
PROVIDE CORRECT FERTILISER AND WATER AMOUNTS
Now that the plants are in your garden, it's time to start giving them the nutrients they need to grow. To fertilise tobacco, you can use the same brands used for tomatoes, peppers or potatoes. Most of the nitrogen in your fertiliser should be in the form of nitrate and there should be as little chlorine as possible, preferably none.
Initially, the fertiliser should be applied in multiple locations around the plants. Some people fertilise the garden before transplanting the tobacco plants; but if you choose this route, be careful not to put a large concentration of fertiliser where the plant roots will be. From this point forward, it's best to only fertilise when needed, which is when the plant leaves lose a bit of vibrancy. Leaves should always be a good, green colour. Do NOT over-fertilise.
As far as watering goes, it follows a similar pattern as fertilising. Tobacco plants need to be watered every day for the first few days until they become better established in the garden. Once that happens, you can start watering them less. Keep the soil damp to the touch, but make sure not to overwater. It's also a good idea to use pesticides. Bugs absolutely love tobacco.
TOPPING AND WEEDING
Immediately after the tobacco plant begins to flower, but before any of the flowers actually open, you'll need to "top" the plant, meaning you have to remove the terminal bud. This allows the upper leaves to get thicker and larger. Shortly after the plants are topped, small axillary buds will start to form on the leaves. These also need to be also removed or they will reduce the plant's quality and yield. Make sure to keep the area weed free.
TIME TO HARVEST AND DRY YOUR CROPS
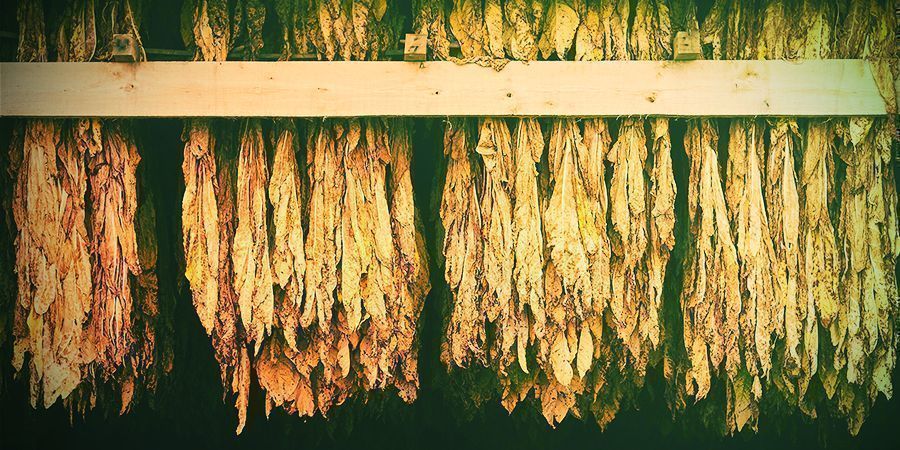
About three months after planting (and 3-4 weeks after topping), your tobacco plants should be ready to harvest. If they are, the leaves will have turned slightly yellow in colour. Cut your plants at the stalk and carefully remove the leaves, making sure to keep them intact for curing.
Hang your tobacco in a hot, humid, well-ventilated room that ranges from 20-35 degrees Celsius. Leaves should be properly spaced apart. If you don't have an area where this is feasible, some home-growers rent out curing facilities that they've built; these can be found online. Proper curing takes about 3 or 4 weeks.
There are a few other methods of curing, but these aren't used as often. Air curing is for cigar tobacco. Tobacco can also be cured by fire or sun; this is used to make chewing and pipe tobacco. You can age your tobacco, which contributes to the bold, smooth flavour, but keep in mind that this can take up to 6 years when done at home.
So there you have it! With this knowledge, the right supplies and proper techniques, you can grow your own quality tobacco at home from now on.
-
 4 min
January 21, 2022
Top 10 Tobacco Alternatives For Spliffs
Tobacco helps spliffs to burn evenly and slowly, but the high nicotine content can cause users to become overstimulated. Why not explore the vast world of herbs for a fitting alternative? The 10...
-
 2 min
March 14, 2019
Why You Should Use A Filter When Smoking
Rolling an impressive joint is an art form. That said, the basis of most good joints is using a cardboard filter. Not only does this help form a better joint, it also elevates the experience when...
-
 7 min
February 28, 2019
Companion Plants To Nurture & Protect Your Cannabis Crop
Cannabis growers need to plan carefully. This includes placing companion plants strategically around the grow. Used both for outdoor and indoor cultivation, these plants can increase yield by...
-
 4 min
September 19, 2017
How To Use Weed To Quit Smoking
Here we explore various ways you can take CBD with the intention of setting yourself free from tobacco addiction. It is not as hard as you may think to replace nicotine with weed.


 United States


