
How To Grow Cordyceps Mushrooms
Cordyceps mushrooms have long been popular in East Asia, where they serve both culinary and holistic purposes. Despite their strange looks and reputation, these edible mushrooms are some of easiest to grow at home, making them particularly suitable for budding mycologists. Here, we share a simple method for doing so.
Cordyceps is a genus of edible mushroom that is also thought to have some wide-reaching wellness benefits. The fact that it’s nutritious, tastes great, and doesn’t turn people into zombies is reason enough to introduce this fungal friend to your life. But why buy it when you can grow it yourself?
In this article, we look at how to grow cordyceps mushrooms at home. The good news is that it’s easy and bountiful, so keep reading to find out how.
Can you grow cordyceps mushrooms at home?
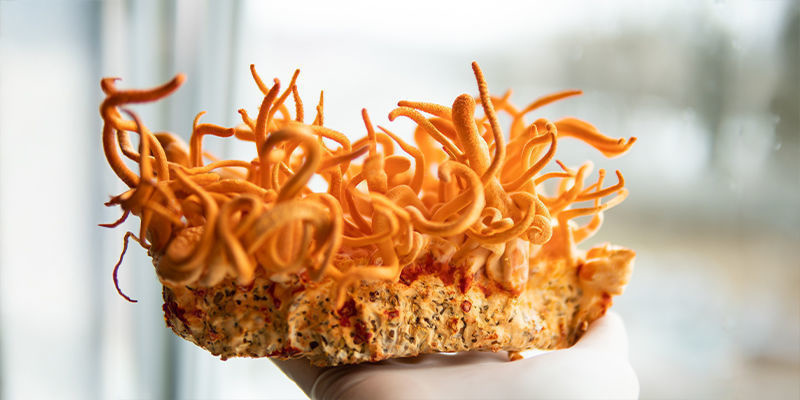
You most certainly can grow cordyceps mushrooms at home, and it’s not super difficult either. While many species of mushrooms require carefully controlled environments in order to grow, cordyceps are relatively straightforward to cultivate in a minimally controlled environment, making them perfect for the hobbyist grower.
In this article, we’ll be looking at a very simple method that involves growing them in jars or “bins”, and is about as straightforward as you can get.
Are cordyceps mushrooms difficult to grow?
As stated, cordyceps are much easier to grow than many comparable edible or medicinal mushrooms. Of course, they do require a certain substrate—you can’t grow them on anything—but this substrate is pretty easy to make, and the subsequent conditions they require are simple to create and maintain.
The simplest method involves brewing up your very own nutrient broth (delicious!) in place of insect larvae (even tastier), which is one of their natural substrates. And you’ll be pleased to hear that this is the method we’re about to show you.
Growing cordyceps mushrooms: Step-by-step guide
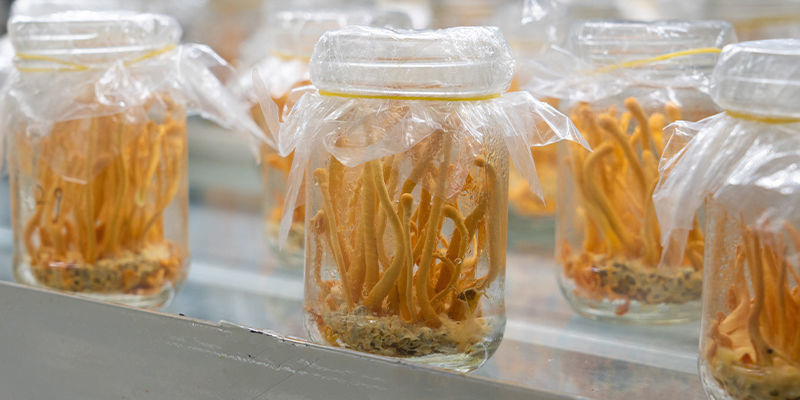
Follow along to ensure you have everything you need to carry out each step of the process properly.
Equipment
- Poly-fil (aka fibrefill)
- 12 x 500 ml jars
- Mixing spoon
- Mixing bowl
- Pressure cooker
- Latex gloves
- Isopropyl alcohol
- Paper towels
- Cordyceps liquid culture
Ingredients for nutrient broth
- 4.5 l coconut water
- 10 g tapioca starch
- 5 g magnesium sulphate
- 10 g multivitamins (crushed)
- 19 g nutritional yeast or soy peptone
- 11 g kelp powder
- 3.5 g gypsum
Instructions
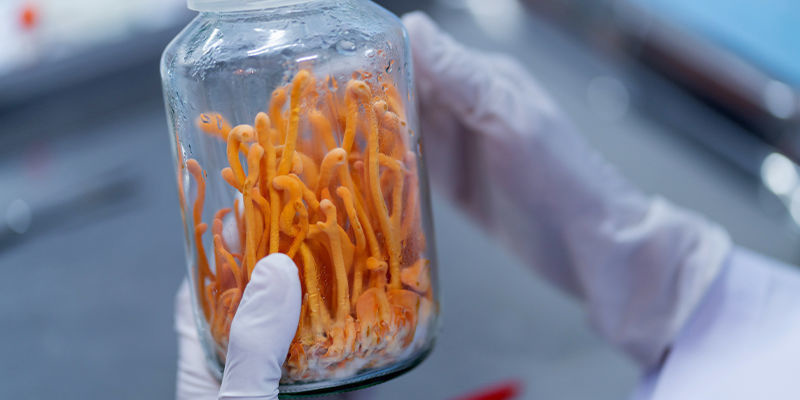
Below, find detailed instructions for growing cordyceps at home, from the creation of the nutrient broth through to harvesting.
Prepare the broth
1. First, you need to prepare the nutrient broth. This is a dense broth made from brown rice, which will replace the insect larvae that cordyceps would usually grow on.
2. Combine the dry ingredients: nutritional yeast or soy peptone, tapioca starch, magnesium sulphate, kelp powder, crushed multivitamins, and gypsum.
3. Now, add the coconut water and mix thoroughly. This mixture can be stored for up to one week in the fridge.
Prepare and sterilise jars
Next, you’ll need to add the nutrient broth and substrate to the jars, and then sterilise them.
4. Drill a hole into each lid.
5. Put a small amount of Poly-fil into each hole to create a filter.
6. Now add 46 ml of nutrient broth to 28 g of brown rice in each jar.
7. Put all jars (including lids) into a pressure cooker and heat for 45–90 minutes at 10 PSI.
8. Leave to cool overnight and then remove for inoculation.
Inoculation
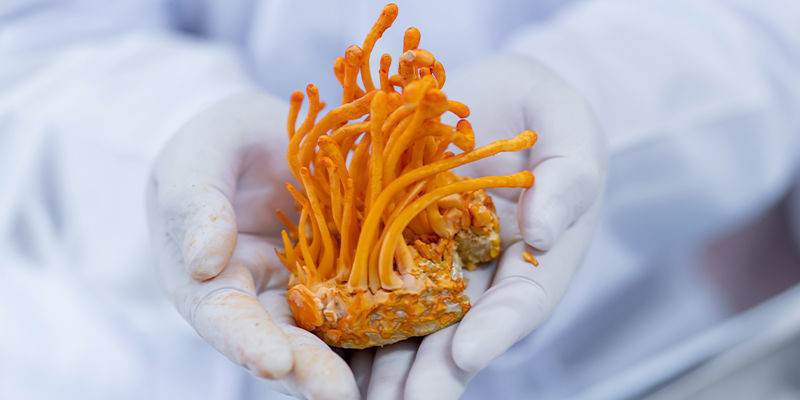
Once your jars and substrate are sterilised, you can inoculate them with cordyceps liquid culture (or spores).
9. Sterilise the syringe needle in an open flame until it is red hot. Allow it to cool.
10. Push the syringe through the Poly-fil filter until it emerges from the bottom. Inject 1–2 ml of liquid culture into each jar.
11. Sterilise again before continuing.
Incubate and harvest
Once the jars are inoculated, it’s time to leave them to incubate and colonise, after which they can be harvested.
12. Leave your jars in a stable environment with a temperature of around 20ºC and wait for the mycelium to colonise the substrate. If you used a liquid culture, this could take as little as a week; if you used spores, it could take 21–28 days if the temperature is correct. Once they begin developing, cordyceps take between two and three months to reach maturity.
13. Once they are fully developed and firm to the touch, they should be ready to harvest. Use a clean and sharp pair of scissors or a scalpel to cut near the base of the stem.
14. Use them immediately, refrigerate for short-term storage, or dry for long-term storage.
Growing cordyceps mushrooms: Troubleshooting
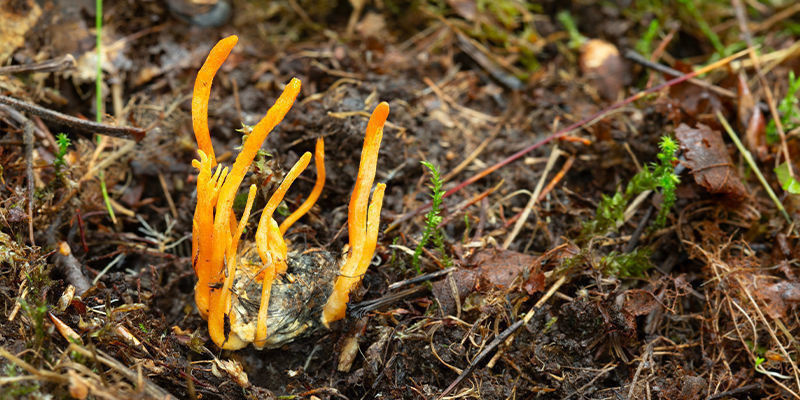
Problems are common when growing mushrooms. Below, we’ll look at a few of the most common and then understand how best to deal with them.
Contamination
Contamination is the most common problem people encounter when growing mushrooms. They are fungi after all, so they will be competing for space with other fungi and bacteria. Contamination usually occurs at the earlier stages of the process, when you are still handling the jars and equipment. There is no cure for contamination, so you need to avoid it! Be careful, sterilise everything, and don’t cut corners. No matter how hard you try, sometimes things go wrong, and when they do you’ll just have to accept it and discard whatever is affected.
Slow or stalled mycelium growth
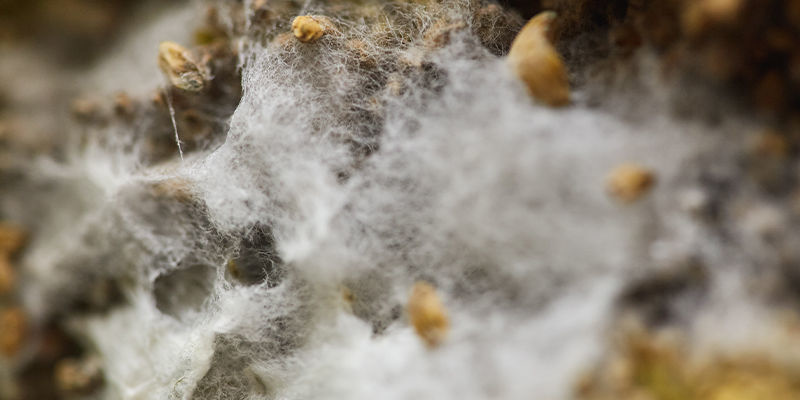
Mycelium growth can slow down, and sometimes it can grind to a halt. In almost all cases, if no contamination is present, this is a temperature-related problem. While it could be that temperatures are too high, in all probability they’re too low. So ensure temperatures sit between 15–23ºC, with 20ºC being a good middle-ground.
No fruiting bodies
If the substrate is fully colonised, then fruiting should commence—but sometimes it doesn’t. There are two common explanations for this. The first is that there is no light. While mycelium doesn’t require light, mushrooms do. Twelve hours per day of indirect light is ideal to trigger fruiting. If it’s still not working, an increase in humidity can sometimes signal to the mycelium that it’s time to start fruiting, so try that.
Substrate issues
If the substrate appears too dry or too wet, this is a problem that will need solving. If it dries off during incubation and colonisation, you can mist it to bring it back to a good level. If it’s too wet, however, this can be more difficult to remedy and will open up your mushrooms to a greater risk of contamination. For this reason, it’s best to avoid soaking the substrate in the first place.
Harvesting and using cordyceps mushrooms
Cordyceps mushrooms are typically ready to harvest when the fruiting bodies reach a bright orange colour and are about 5–7 cm long. The entire process from inoculation to harvest takes around 60–90 days.
How to harvest cordyceps mushrooms
- Timing: Harvest cordyceps mushrooms when they are fully developed, but before they begin to wilt or dry out.
- Method: Gently twist and pull the fruiting bodies from the substrate, or use a sterile blade to cut them at the base. Be careful not to disturb the surrounding mycelium, as it may still produce more mushrooms. What’s more, you should sterilise your hands or the cutting implement to avoid contaminating the mycelium.
- Drying: If you don’t plan on using them fresh, you can dry cordyceps by placing them in a dehydrator or drying them in a well-ventilated space.
4 ways to use cordyceps mushrooms
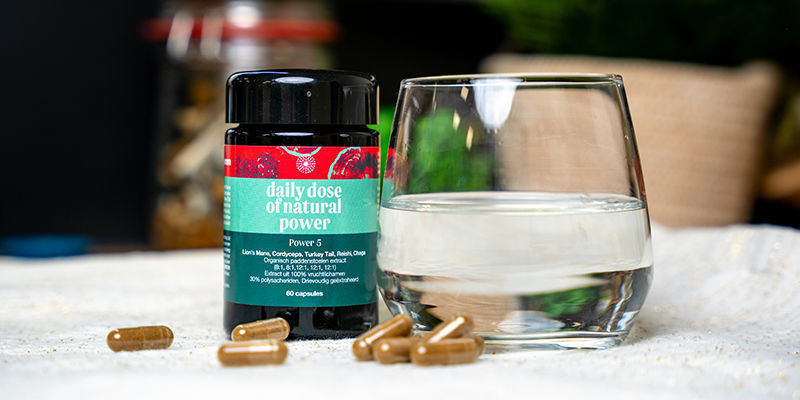
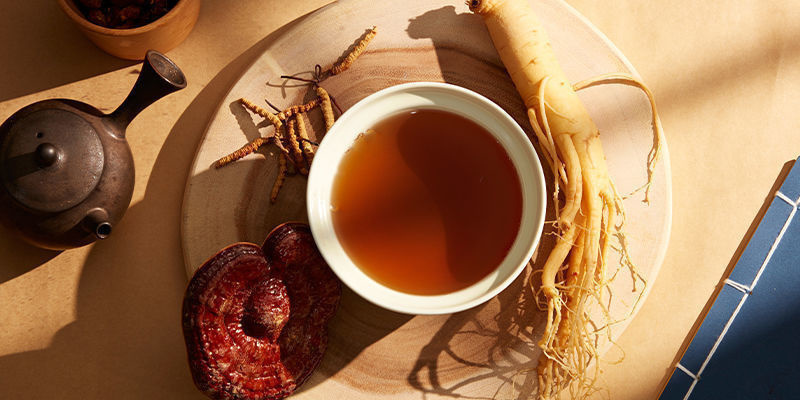
You can use cordyceps mushrooms in a number of ways. Here we outline four broad ways that you can put your homegrown cordyceps to good use!
- Teas and infusions: Steep dried cordyceps in hot water for an energy-boosting tea.
- Capsules: Grind dried cordyceps into a powder and fill it into capsules for a daily supplement.
- Smoothies and juices: Add cordyceps powder to smoothies for a nutritious boost.
- Cooking: Use fresh or dried cordyceps in soups, broths, or stir-fries for a unique flavour and added benefits.
Experience the power of cordyceps mushrooms
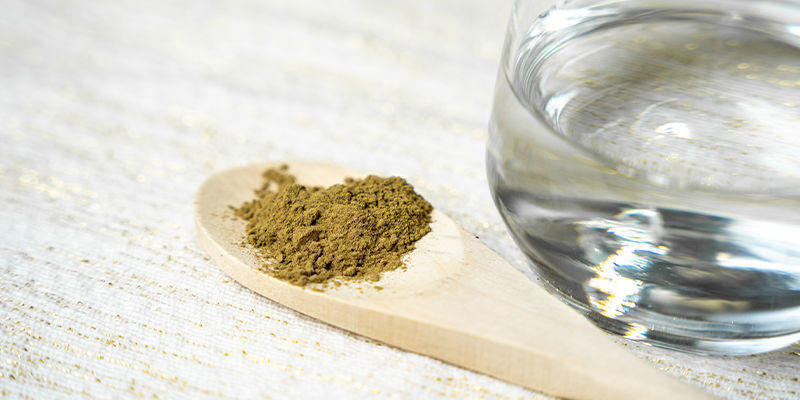
Cordyceps mushrooms have a lot going for them. In addition to being healthy and flavourful, they are one of the easier mushrooms to grow at home, making for a straightforward and rewarding cultivation journey. And you’ll still learn many skills that you’ll be able to put to good use with some more challenging fungi next time around!
Though there are many methods of cultivation, the one we’ve outlined here is perhaps the easiest, and is therefore suitable for growers of many different levels. Good luck!
-
 7 min
December 5, 2024
Which Mushrooms Are Best To Eat?
Mushrooms are some of Earth's most compelling life forms. In this article, we're focusing on 11 of the healthiest mushrooms to include in your diet. Whether incorporated whole into meals or taken...
-
 5 min
November 15, 2024
How to Build Your Own Monotub and Grow Mushrooms in Bulk
There are many ways to grow magic mushrooms, and for the biggest yields, you can't really do better than a monotub! Quick, easy, and very productive, find out how to make one here.
-
 4 min
August 10, 2024
Mushroom Edibles - The Best Way To Boost Your Wellness Routine
Mushrooms like lion's mane, cordyceps, and reishi are packed with phytochemicals that boast a long list of wellness benefits. Now, with infused mushroom edibles like chocolate bars and gummies, you...
-
 4 min
January 27, 2023
Cordyceps: What You Need To Know
With the rise of The Last of Us, cordyceps has never been more popular. But what exactly are these zombie fungi? Do they really cause disturbing effects? Fortunately for humans, not. But they do...


 United States


