How To Grow Cannabis Outdoors
Not much compares to growing cannabis outdoors. The feeling of your hands in the soil, the sun on your skin, and the sound of birds in the air just can't be beat. Watching cannabis plants sway in the wind among companion plants fills growers with pride.
Growing cannabis outside also comes with an array of benefits. The sun and rain significantly cut down on lighting and watering costs, and more space allows growers to cultivate large sativa strains and harvest much larger yields as a result. If growing weed outdoors sounds like something you’d enjoy, follow the steps below to ensure a smooth growing season and a rewarding harvest at the end of it.

STEP 1: CHOOSE THE PERFECT CANNABIS STRAIN
As one of the most important decisions of any cannabis grow, strain selection requires some careful consideration. There are hundreds of cannabis cultivars available, and each has been bred to express specific traits—from morphology to psychoactive effect. Before you choose a strain based on its effects, you’ll need to find out if it’s suitable for your climate. If you live close to the equator and experience a long growing season, you have the liberty of growing almost any strain you desire.
If you live in the colder north, however, you’ll want to choose a strain that flowers fast enough to avoid the first frost. Fast-flowering indica-dominant photoperiods are a viable option, but autoflowering strains will provide the fastest results and don’t rely on a seasonal change in light exposure to start pumping out flowers.
You’ll also want to consider what size of plant you want to grow. If you have lots of space and are seeking maximum yields, a towering sativa strain will be ideal. If you want to keep your operation low-key and stealthy, a bushy indica auto is a good choice.
With the practical considerations taken care of, focus on what kind of buds you want to be smoking. If you love getting super high, select a high-THC variety. Perhaps you like to keep things clear-headed and mellow? In that case, select a CBD-rich strain or a variety that produces both cannabinoids in equal quantities.
STEP 2: GERMINATE YOUR CANNABIS SEEDS
After selecting the ideal strain for you, it’s time to germinate the cannabis seeds! Cultivators can get a head start on the growing season by starting their seeds indoors. By the time the last frost passes, your seedlings will be well on their way to becoming strong vegetative plants. In Northwest Europe, cultivators can usually move their plants outside after Ice Saints, but this timeline varies depending on climate.
There are several ways to germinate cannabis seeds. All of these methods share three things in common: darkness, moisture, and humidity. As long as you meet these demands, most seeds will germinate just fine.
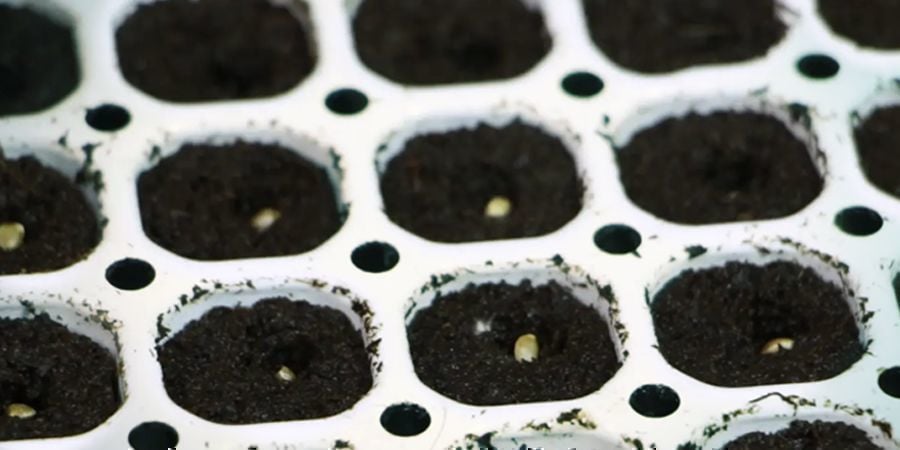
The simple paper towel method provides consistent results. It involves placing seeds between two wet sheets and storing them in the dark for several days. Alternatively, you can always sow your seeds directly into small pots of moist soil and wait for them to rise through the surface. At Zamnesia, we prefer to use Smart Start. This kit includes a germination tray and a specialised Stimulator Mix that contains essential microbes involved in the germination process. Overall, it provides the perfect environment to maximise germination rate.
STEP 3: DETERMINE WHERE YOU’RE GOING TO GROW, AND PREPARE THE SPOT IF NECESSARY
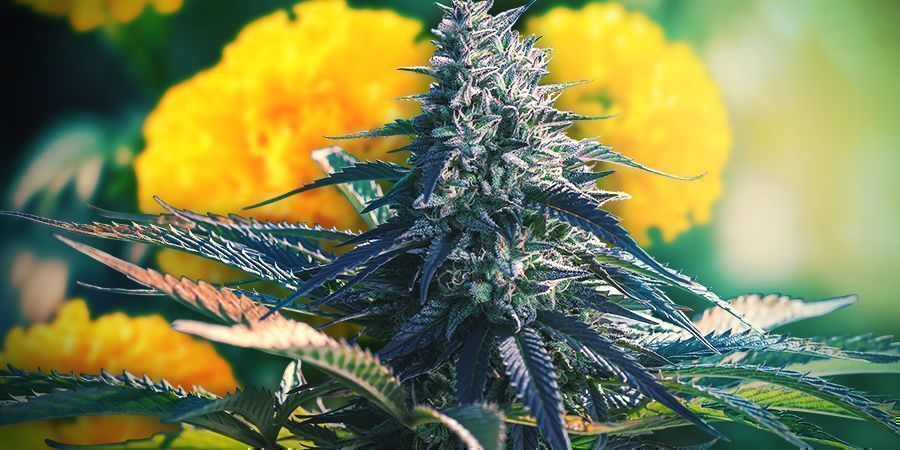
While your seeds are germinating, you can use your spare time to find the best spot in your garden. You’ll want to grow your plants in a sunny location protected from strong winds and storms. Mould can ruin a perfectly good canopy of buds. Make sure your plants are in an area where they receive a nice breeze, as stagnant air can facilitate mould growth. Any south-facing location will be ideal for maximising sun exposure.
If you don’t have the luxury of a garden, you can always grow your plants outside on a balcony or terrace using the same logic. If you prefer to hide your plants, you might want to conduct a guerrilla grow instead. Growing in this fashion involves cultivating plants in the wild to avoid detection.
Once you’ve found your spot, consider sowing companion plants that will pop up when you get around to moving your weed outside. These beneficial plant species will help mask the smell and sight of your crop, repel pest insects, and attract beneficial bugs.
STEP 4: PREPARE YOUR SOIL WITH A FERTILISER
Now that you’ve found an ideal spot, it’s time to make some plant food! Just like humans, cannabis plants require a well-balanced diet. Their roots extract minerals from the soil that help them build proteins, conduct photosynthesis, and bloom flowers. If these minerals are lacking, plants will develop deficiencies, grow slowly or produce poor yields.
Starting out with a high-quality living soil will help your plant achieve optimal health and the best results. Soil contains more than just nutrients. A healthy living soil will contain all of the fungi, bacteria, and beneficial microorganisms needed to team up with your plants and help them grow. You can make your very own soil by simply starting a compost bin in your garden.
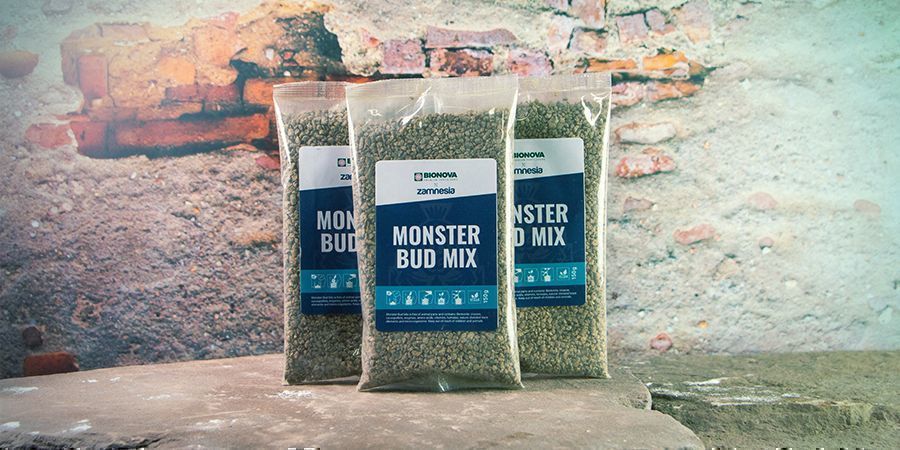
If you’re new to gardening and need something for the coming season, we recommend buying potting soil and amending it with Monster Bud Mix. This organic, vegan blend contains all of the nutrients plants require from the seedling stage all the way to harvest time. Simply mix 150g into every 22l of substrate, and you’re good to go!
STEP 5: TRANSPLANT YOUR CANNABIS SEEDLINGS AND TAKE THEM OUTDOORS
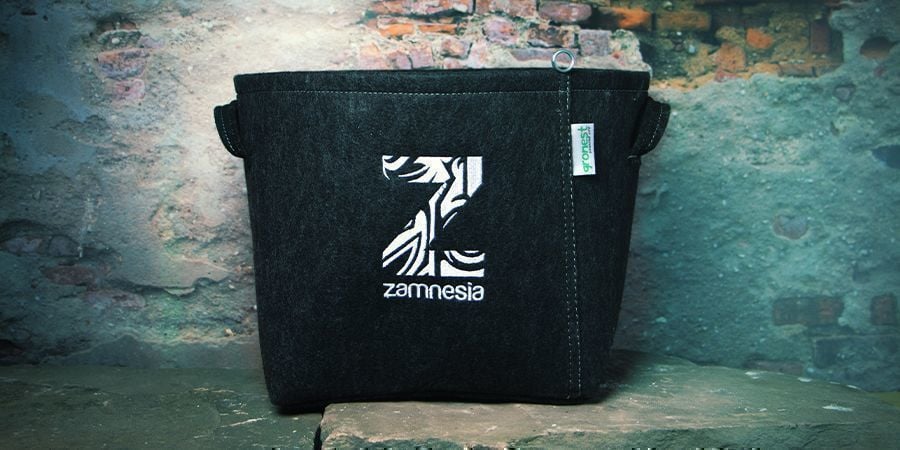
After the last frost has passed, your plant will be ready to enter the elements. You can either transplant your seedlings directly into the soil or into a pot filled with the growing medium you prepared in step 4. Any pot of a suitable size will do, but geotextile fabric pots offer a host of advantages such as increased airflow and root system hydration.
Thanks to their speedy rate of growth, you can transplant autoflowering seeds directly into their final pots. However, slower-growing photoperiod strains need a bit of time to adapt to their new homes. Gradually introduce them to larger pots as they outgrow the last, and stop once you've reached the desired container size.
Make a hole in the centre of the growing medium. Place your hand over the top of the seedling pot and flip it upside down. Give the sides of the pot a gentle squeeze until the root block slides out. Place your seedling in the hole and cover the root block with soil. Give the pot a good watering to welcome your plant to its new abode, but don't overdo it. Position the newly potted plants among the companion plants in your chosen spot.
STEP 6: TAKE GOOD CARE OF YOUR PLANTS BY GIVING THEM WATER AND NUTRIENTS
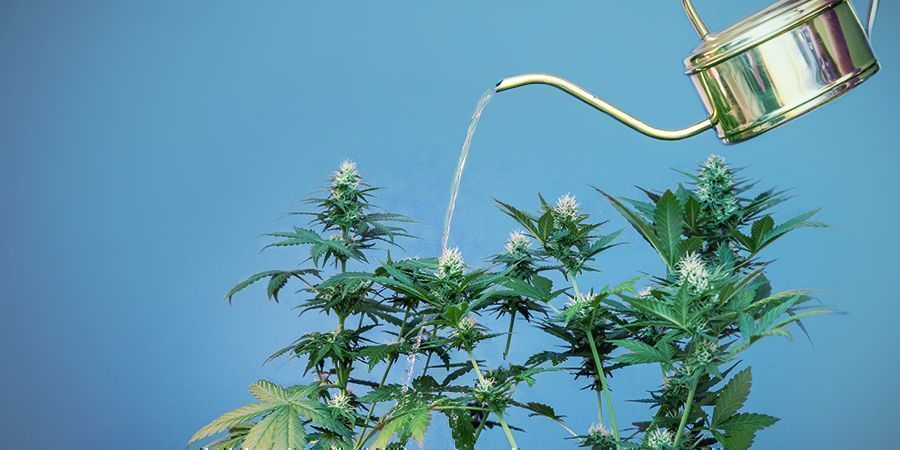
Cannabis plants don’t require much. Just make sure you give them enough water and food, and they’ll practically take care of themselves. However, it’s important not to overdo either of these practices. After completely saturating the soil, wait for the top inch of soil to become dry before you water again. Too much water can prevent roots from breathing and cause them to rot, as well as inhibit them from absorbing nutrients.
If you’re using a quality compost or Monster Bud Mix, your plants will have all the food they require. However, if you’re using a growing medium low in nutrients, you’ll need to add them throughout the growing cycle. Grab a good-quality organic fertiliser mix and follow the instructions on the label. Compared to photoperiods, autoflowers prefer fewer nutrients in their substrate—usually ¼ or ½ of a normal nutrient schedule.
STEP 7: PROTECT YOUR CANNABIS PLANTS FROM MOULD/PESTS AND KEEP AN EYE ON LEAVES
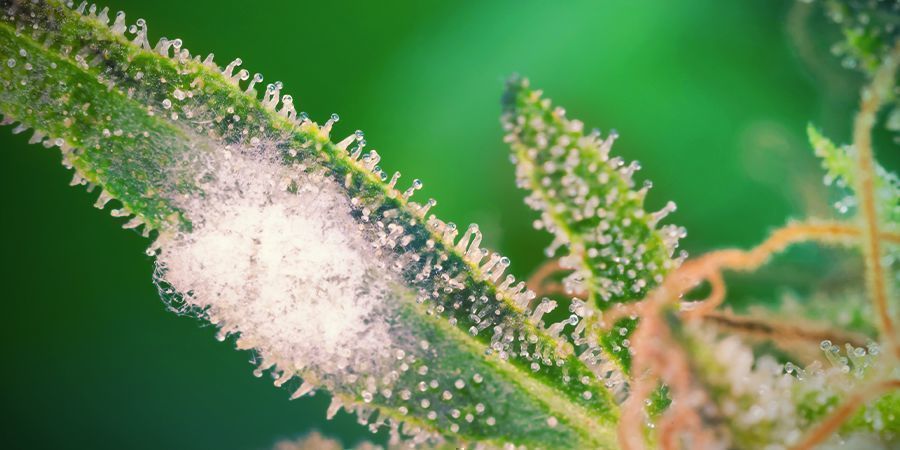
We’re not the only species that enjoys cannabis. Several types of insects and larger lifeforms also feed on cannabis plants, if given the chance. But don't worry! You can easily prevent these incidents—just follow the simple techniques below.
Routinely check your plants—stems, tops and bottoms of leaves, and buds—for pest species. You can remove them by hand, or consider introducing beneficial insects, such as ladybugs, to eliminate them from the growing space. You can use these techniques to learn how to identify and prevent infections such as bud rot.
Nutrient deficiencies can also influence your crop. Luckily, cannabis plants are quite good at communicating through their leaves. Use this guide to identify and treat specific deficiencies.
Deficiencies don’t always mean that something is missing from the soil. Cannabis requires a certain pH to uptake nutrients. If the pH becomes too high or too low, nutrient lockout can occur. It’s worth using a pH meter to test your soil. Learn how to adjust your soil pH here. Although assessing pH can be helpful, it's not entirely necessary, especially during your first grow.
STEP 8: IF YOU WANT, YOU CAN TRAIN YOUR CANNABIS PLANTS TO INCREASE YIELD
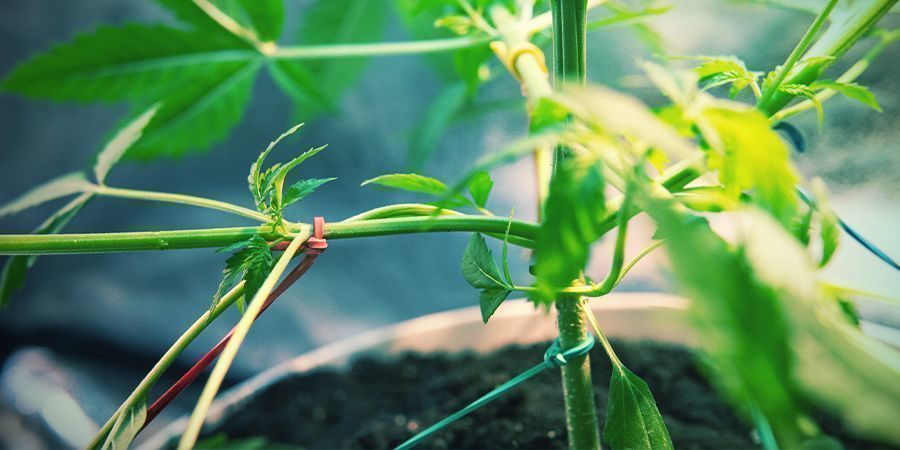
Training provides a great way to boost yields. It isn’t necessary, but it helps keep plants under control, supports bigger yields, and boosts light exposure. A beginner method known as low-stress training (LST) involves gently tying down the main stem and subsequent branches to expose the canopy to more light and encourage lateral growth. As such, LST results in many evenly sized bud sites, as opposed to a large central cola surrounded by smaller flowers.
Main-lining offers a more aggressive form of training. It enhances yields by allowing growers to control the shape of the plant. It involves topping a plant above the first node to create two distinct stems. The offshoots of these primary stems all grow to an equal height and have plenty of space to develop. Growers can choose to create anywhere between 8–32 of these independent bud sites.
NOW, IT’S ALL ABOUT PATIENCE
Follow the steps above to achieve a rewarding and successful outdoor harvest. After you’ve checked all of these steps off, it simply becomes a waiting game. Don’t forget to conduct your routine checks, and you’ll have a healthy harvest in no time!


 United States


