
How To Make Cannabis Tincture: Step-By-Step Guide
Cannabis tinctures typically fall to the wayside in a world of BHO and supercritical CO₂ extraction. However, this ancient method of extraction remains the easiest way to make your own potent formulas at home. Choose between high-proof alcohol or vegetable glycerine to pull valuable cannabinoids and terpenes out of your weed flowers.
Cannabis tincture serves as an easy and cheap extract to make at home. Although simple in nature—especially compared to the likes of CO₂ extraction—the process of making tinctures produces high-quality and potent end products. Whether you’re working with high THC or high CBD strains, tinctures work to condense cannabinoids and terpenes into a potent, cheap, and simple formula.
What Is Cannabis Tincture?
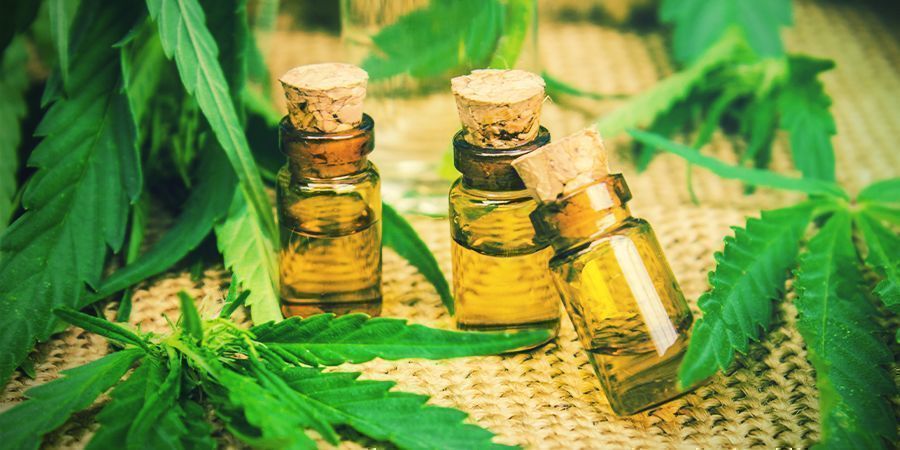
Tinctures span back thousands of years into human history. In fact, these concoctions date back as far as the invention of distilled alcohol. Civilisations such as the ancient Egyptians used alcohol to soak medicinal herbs and extract their valued properties. European cultures also employed this method of working with plants hundreds of years ago to create more effective medicines.
Tinctures are still used today to extract desired phytochemicals from plants, resulting in concentrated formulas that offer more benefits than raw plant matter alone. In essence, tinctures are very simple. They involve soaking plant matter in a bath of alcohol, often over a period of several weeks.
As a solvent, alcohol works remarkably well at pulling alcohol-soluble phytochemicals out of plant matter and into a molecule-rich solution. In the case of cannabis, most of the chemicals of interest within the resinous flowers are alcohol-soluble, including cannabinoids, terpenes, waxes, flavonoids, and chlorophyll.
What Are the Benefits of Cannabis Tincture?
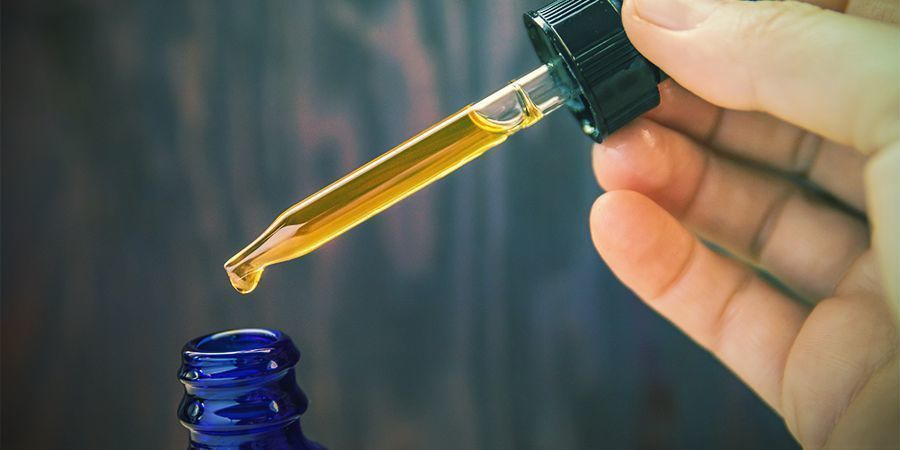
Where to begin? Cannabis tinctures offer a range of impressive benefits that make them extremely useful to home growers in particular. Check out the primary benefits of cannabis tinctures below.
 |
Cannabis Tinctures Are Discreet |
Cannabis tinctures offer a much more stealthy way of dosing cannabinoids throughout the day. Instead of sparking a joint in the parking lot on your lunch break or hitting a vape in the toilets, simply stay in your office chair and squirt some tincture directly under the tongue. No smell. No hassle. No raised eyebrows.
To make things even more discreet, add some tincture drops into a flask of coffee or some fruit juice before you leave the house. This way, you won’t even need to explain what’s in that little dropper bottle you’re carrying around.
 |
Cannabis Tinctures Offer Rapid Effects |
Tinctures can be administered both orally and sublingually. If you swallow the drops straight away, you’ll go the oral route. This way, cannabis takes longer to set in yet produces longer-lasting effects. In contrast, by squirting tincture under the tongue and holding it there, you’ll send cannabinoids directly into the bloodstream. Known as sublingual administration, this route offers almost immediate effects.
 |
Cannabis Tinctures Are Easy to Dose |
Unlike smoking or eating edibles, you’ll know exactly how much tincture you’re receiving in each dose. By knowing how much cannabis you started out with, and by using the millimetre marker on your dropper, you’ll have a pretty accurate measure of how much THC or CBD you’re consuming every time you unscrew the bottle.
 |
Cannabis Tinctures Are Super Easy to Make |
On top of the aforementioned benefits, cannabis tinctures are super easy to make at home. Simply fill a mason jar with cannabis buds, cover with a solvent, and wait a few weeks.
Choosing Between High-Proof Alcohol and Glycerine

When making a tincture, you have two main solvent options available: alcohol and glycerine. Both come with their own benefits and downsides.
High-Proof Alcohol
High-proof alcohol serves as the most effective solvent for making tinctures. This substance binds effectively to cannabinoids, terpenes, and other phytochemicals. Using high-proof alcohol makes the most of the beneficial molecules locked away in your cannabis flowers, leaving little behind.
However, high-proof alcohol does have some downsides. Some users don’t like the taste of alcohol in the end product. Others might find it hard to procure high-proof alcohol, depending on where they live, as some states and countries restrict access to this resource.
Glycerine
Vegetable glycerine offers a good alternative for those that can’t access high-proof alcohol, or simply don’t like using it. This clear liquid stems mostly from soybean, coconut, or palm oils. Its odourless nature and sweet taste make tinctures much more palatable. However, glycerine simply doesn’t bind to cannabis phytochemicals as effectively.
The middle ground involves making a tincture with both alcohol and glycerine to enhance the absorption rate. In this case, you'd ultimately evaporate off most of the alcohol to leave behind a glycerine-dominant tincture.
How to Make Cannabis Tincture
You’ll be happy to hear that making your own cannabis tincture could not be easier. Simply gather the following ingredients, follow the directions, and enjoy your cannabinoid-rich creation.
Ingredients
- 30 grams cured cannabis buds
- 2 cups high-proof alcohol or vegetable glycerine
Hardware
- Weed grinder
- Parchment paper
- Baking tray
- 2 Mason jars
- Dropper bottles
- 2 Coffee filters
- Cheesecloth
- Measuring cup
- Elastic band
- Small funnel
Directions
With all of the necessary ingredients and equipment in place, you’re ready to make your very own tincture!
-
Before making any cannabis preparation, you need to decarboxylate your weed. This fancy term simply describes the process of activating your buds. By heating them up to a certain temperature, you’ll convert the non-psychotropic cannabinoid acid THCA into the psychotropic THC (or CBDA into CBD if you’re using buds rich in cannabidiol).
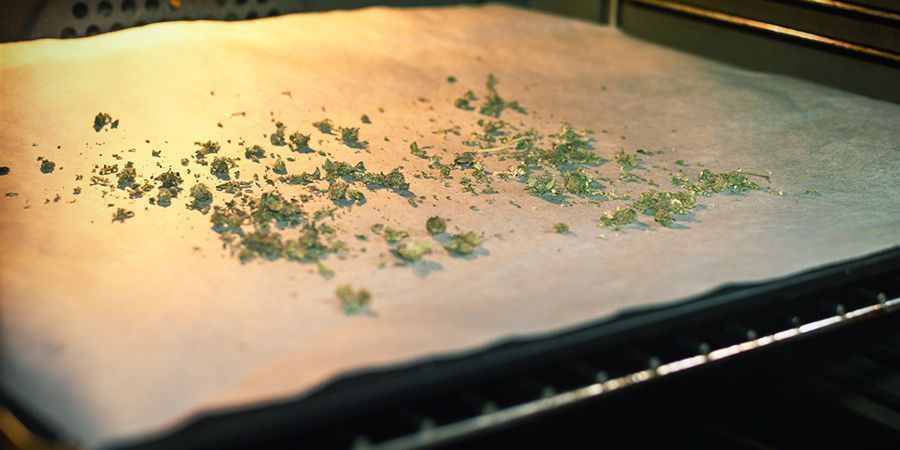
Before you decarb your bud, grind it up into a coarse powder. Once complete, preheat the oven to 110°C. Line your baking tray with parchment paper and scatter your ground cannabis over the surface. Place it in the oven for 30–45 minutes to decarb your flowers. Afterwards, remove it from the oven and allow it to cool.
-
Next, place your cooled, decarboxylated weed into your mason jar. Add enough glycerine or high-proof alcohol to submerge the surface of the ground weed—approximately 2 cups. Seal the jar and place it in a cool, dark place for 6–8 weeks. The longer you leave it to sit, the more potent it will become (up to a certain extent). Shake the jar for around one minute each day to agitate the mixture and help dislodge trichomes from the plant matter.
-
After 6–8 weeks, your tincture will be ready to filter and use. Use the elastic band to secure a double layer of cheesecloth over the other mason jar. Pour the tincture through the cheesecloth, removing the build-up of debris as you go.
Now, clean the mason jar you used to extract the flowers. Using the elastic band, secure two coffee filters over the now clean jar and filter the tincture back into it. This second filtration will remove finer particles of plant matter and leave you with a cleaner end product.
-
Prepare your dropper bottles and use a small funnel to fill them up. Store in a cool, dark place until you choose to use them.
How to Make Your Cannabis Tincture Stronger With Percolation
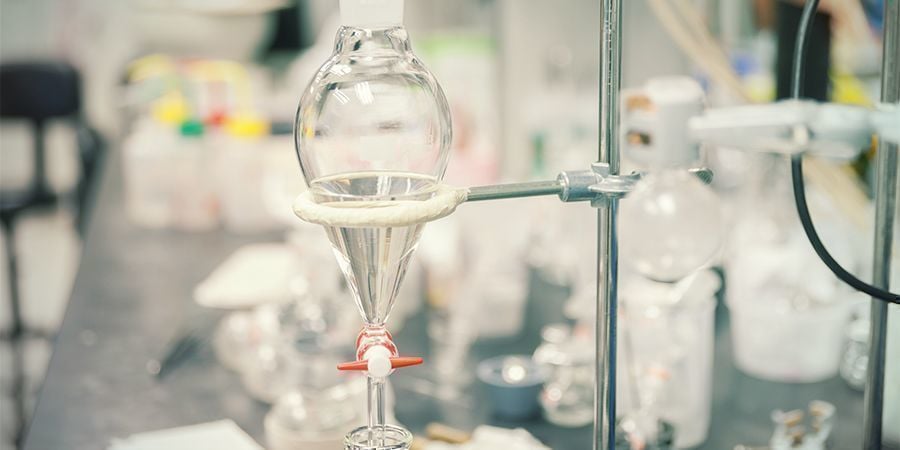
If you’ve gained experience making tinctures traditionally and want to step up your game, consider investing in a percolator setup. The percolator method of making tinctures enables hobbyists to dramatically reduce the time it takes to create these extracts. Say goodbye to 6 weeks of waiting, and hello to your tinctures in only 48 hours.
How to Run Percolation
Although slightly more complicated than the traditional method, percolation tinctures are still quite simple to make when compared to other extraction techniques. With enough space in your kitchen, a couple of pieces of glassware, and the right ingredients, you can easily do this at home.
Ingredients
The ingredients for percolation tincture-making are the same as the traditional method. However, you won’t be able to use glycerine with this technique.
- 30g cured cannabis buds
- 150ml high-proof alcohol
Hardware
The following pieces of equipment make the percolation process possible, and much more simple:
- Laboratory stand with clamp
- Mason jar
- Stainless steel valve
- Glass column (or empty 1.5-litre wine bottle)
- Bowl
- Glass dropper bottles
Directions
Regarding the glass column, you have two choices. You can either purchase one from a scientific glass company (which can be quite expensive) or simply convert a clear 1.5-litre wine bottle. Simply cut off the base with a wet tile saw, attach the valve to the bottle opening, and you have yourself a functional glass column.
-
First things first; you need to grind and decarb your weed. Follow the same process described above.
-
Next, place your flower into a clean bowl and add enough high-proof alcohol to rehydrate and moisten it. Set aside for 24 hours and let the flower material expand.
-
Secure your glass column into the clamp with the neck facing downwards. Position a mason jar under the valve outlet and make sure to close the valve. Place your bud inside the column and add the rest of the alcohol.
Now you have two choices. If you’re in a rush, start to feed the tincture into the mason jar below. If you have time on your hands, let the mixture sit for another 24 hours to enhance the potency of the extract.
-
Once soaked, open the valve slightly and let the tincture drip into the mason jar below, drop by drop, over the course of several hours. Once full, begin loading up your glass dropper bottles with the tincture. Set an afternoon aside to test your tincture and enjoy the effects for the first time.
Cannabis Tincture Hints and Tips
These tips and tricks will help you improve the quality of your tinctures, enhance their shelf life, and use them as efficiently as possible.
Add Cannabis Tincture to Your Favourite Drinks |
Although sublingual administration works faster, the oral route allows for some great flexibility. Add tincture drops to soups, coffee, tea, juice, or smoothies to add some serious taste to the experience.
Use Miron Glass Dropper Bottles |
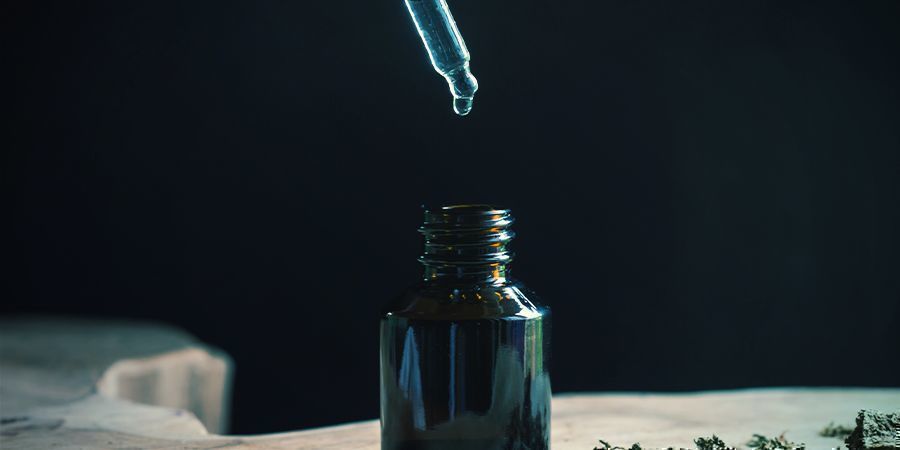
Miron glass dropper bottles feature a blue colour that helps to protect cannabinoids and other phytochemicals from the degrading effects of natural light. Although we suggest storing your tinctures in a cool and dark place, these bottles will help to protect the contents when you remove them from this location.
Find Your Sweet Spot |
We recommend starting out with a single drop of tincture under the tongue. Add additional drops every 10 minutes or so until you begin to feel the desired effect. Once you hit a point that feels pleasant without being overwhelming, you've found your sweet spot. Record this dose and use it as a baseline for future tests.
-
 6 min
27 October 2023
How To Decarb Your Cannabis: 3 Methods
Decarboxylation (Dee-car-BOX-ee-lay-shun) is the process of activating cannabis by applying sufficient heat. It causes the cannabinoids in weed to change from their inactive storage form to their...
-
![10 Ways To Grind Cannabis Without A Grinder [2025 Update]](https://www.zamnesia.com/uk/modules/prestablog/themes/responsive/up-img/slide_1165.jpg?caf944d1febfc09552745fdff7015a5c) 5 min
25 October 2022
10 Ways To Grind Cannabis Without A Grinder [2025 Update]
This is the weed grinding survival guide that's been missing for from your life. Chock-full of alternative methods for grinding cannabis without a grinder. Covering the entire gamut from the...
5 min
25 October 2022
10 Ways To Grind Cannabis Without A Grinder [2025 Update]
This is the weed grinding survival guide that's been missing for from your life. Chock-full of alternative methods for grinding cannabis without a grinder. Covering the entire gamut from the...
-
 8 min
10 October 2022
How To Use Cannabis To Improve Sleep
Le cannabis est utilisé à bien des escients, y compris la promotion d'un sommeil sain. Mais bénéficie-t-il réellement au sommeil ? Est-il plutôt nocif ? Quels composés précis du cannabis sont...
-
 4 min
4 September 2020
How To Make Your Own Herbal Tinctures At Home
Tinctures are alcohol extractions that are very easy to prepare and even easier to use! There is no real limit on what herbs you can use to make tinctures. Read on to find out which ones come...
-
 4 min
19 November 2019
Why Using A Sublingual Cannabis Tincture Is The Best
Tinctures have been used for centuries to concentrate the active constituents of herbs, and the result is a dropper bottle full of condensed molecules. Today, sublingual cannabis tinctures can be...
-
 4 min
29 January 2018
How To Properly Dry And Cure Cannabis Buds
Drying and curing cannabis is a crucial step if you want to obtain the best bud possible. Curing allows for the refinement of the fragrance and potency of your cannabis, fine tuning it to perfection.
-
 4 min
17 October 2016
An Ultimate Guide To Grinders
An exhaustive guide on grinders. You will find out how to best choose a grinder so it suits your needs; also, you will find information on what to look for and what to avoid.


 United States


