How To: Injection Port Lids & Bags For Mushroom Cultivation
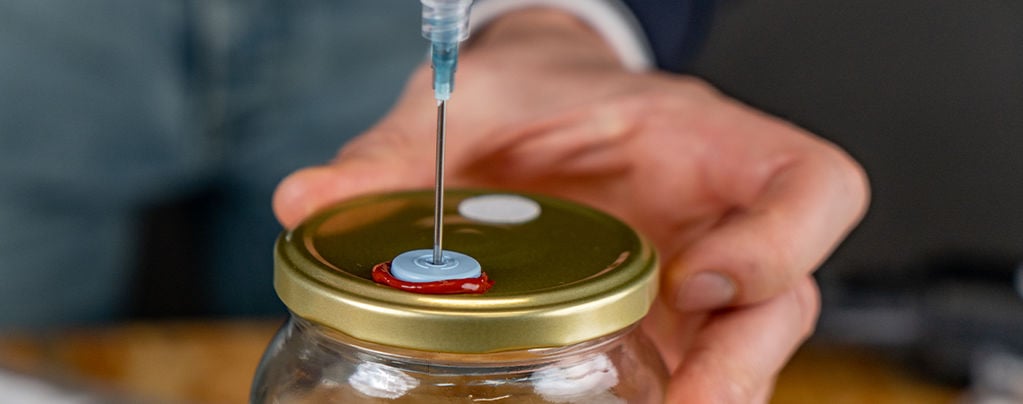
Keeping contaminants out of your jars and spawn bags is essential when growing magic mushrooms. Using self-healing injection ports is a very effective means to help you on your quest for cleanliness. Here we show you how to do it!
Contamination is the enemy of magic mushroom cultivation. One slip, and a whole grow can be ruined. Though contamination can take place at pretty much any point during a grow, the earlier stages are much more vulnerable, as the mycelium has not yet become dominant.
After we’ve sterilised our jars and substrate, the time has come to inoculate them. But you can’t just open up the jar and inject the spores or liquid culture, as this will let in a whole host of fungi and bacteria that will probably spoil the operation. Therefore, we need a solution.
In this article, we look at self-healing injection ports, or SHIPs. These allow you to inject spores or liquid culture into a jar/spawn bag without exposing it to the outside world at any point. Find out more below.
What is a self-healing injection port (SHIP)?
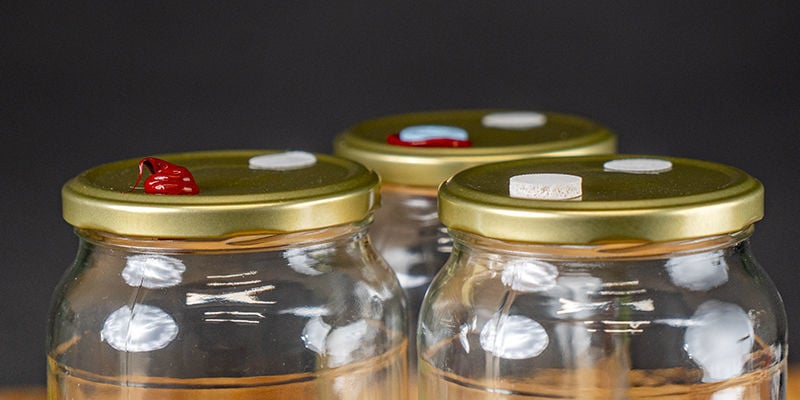
A SHIP is an incredibly useful development in the world of mushroom cultivation. These ports allow needles to enter and leave an environment without opening that environment up to the world (which creates the risk of contamination).
Most commonly, SHIPs are used to inoculate already sterilised substrates. These substrates are not only the perfect habitat for magic mushroom spores to develop, but also many other fungi and bacteria. Self-healing ports mean that mushroom spores or mycelium can be injected without the risk of other fungi and bacteria entering too.
How do self-healing injection ports work?
SHIPs are made from soft materials that seal immediately after being punctured. This means that you can pierce through them with a needle, but they will seal closed again as the needle is withdrawn. This allows cultivators to inject spore and mycelium solutions into jars and bags. Furthermore it's also possible to utilise this method the other way around to suck up spore solutions and liquid cultures from jars.
How to make self-healing injection port jar lids
Adding a SHIP to the lids of your jars is not only incredibly helpful when it comes to avoiding contamination, but also pretty simple too. There’s nothing particularly difficult involved, and it doesn’t cost much money.
There are a few different options available to you, with our favourite being adhesive self-healing injection ports.
One key point to note is that all parts of your jars, including the self-healing ports, need to be heat and water resistant. This is because, before you inject any spores or liquid cultures, you need to autoclave everything else: jars, substrate, and SHIPs.
“Autoclaving” essentially means steaming something under great pressure, usually in a pressure cooker (or, in industry, in a dedicated autoclave). We do this to sterilise everything, thereby giving our mushroom spores the greatest chance of dominating the substrate.
If you don’t already know, you’ll soon come to understand that hygiene and sterilisation are absolutely key to successful mushroom cultivation. After all, that’s why we use SHIPs in the first place!
Apply an adhesive self-healing injection port
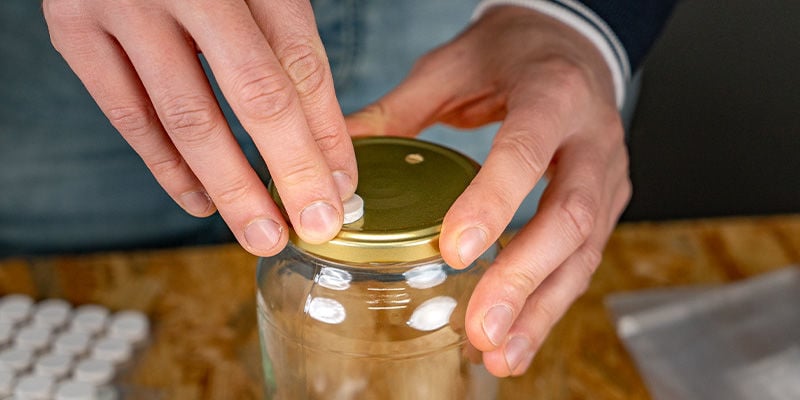
Ready-made adhesive SHIPs are probably the best way to go. These are specifically designed for this purpose, making them safe and effective; they are also very cheap.
The material from which they are made can vary, but so long as your adhesive SHIPs are sourced from somewhere reputable, you can be certain that it's a reliable self-healing material. The underside of the main body will be coated in a strong, heat and water-resistant adhesive—usually 3M glue. This material will adhere to the lids of your jars easily, and won’t let go when it is autoclaved.
To use them, you simply drill or punch a hole in the lid of your jar and stick one of these onto it—then it’s done!
Apply a blob of RTV silicone
![]()
Alternatively, you can make the ports yourself using RTV (room temperature vulcanising) silicone. This type of silicone can be applied from a bottle and left to set at room temperature. Once set, it is heat and water resistant, and reliably self-healing.
Though this is also a very good option, it tends to be more expensive than purpose-built ports. However, if you have many SHIPs to make, then silicone can end up being the cheapest option. A bottle of RTV silicone is expensive, but you get a lot out of it. If you're only making a handful of SHIPs, then silicone won't be financially worth it. If, however, you intend to make a very large amount, it might be the way to go.
Another thing to be aware of is that it takes between 24 and 48 hours to properly set, meaning you have to allow some time before you can progress with your grow.
Insert and fix a premade rubber injection port
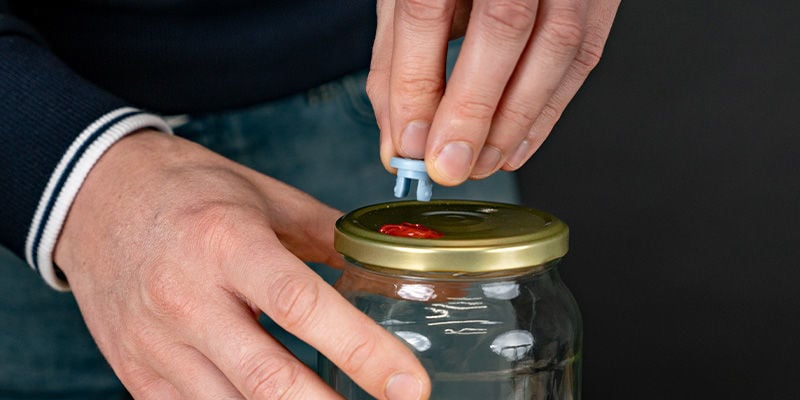
Finally, you can also use a purpose-made rubber injection port. Though this sounds tempting, and probably quite easy, it’s actually the most hands-on method. What’s more, it requires additional RTV silicone or another adhesive to bind it to the lid.
To apply these, you need to drill a hole in the lid of the jar, and the diameter must be large enough to fit the rubber port. Then, you must fit the port. To properly seal it, you must also use glue or silicone.
Where this method wins is that it looks great if performed effectively.
Don’t forget to add filters to your jar lids
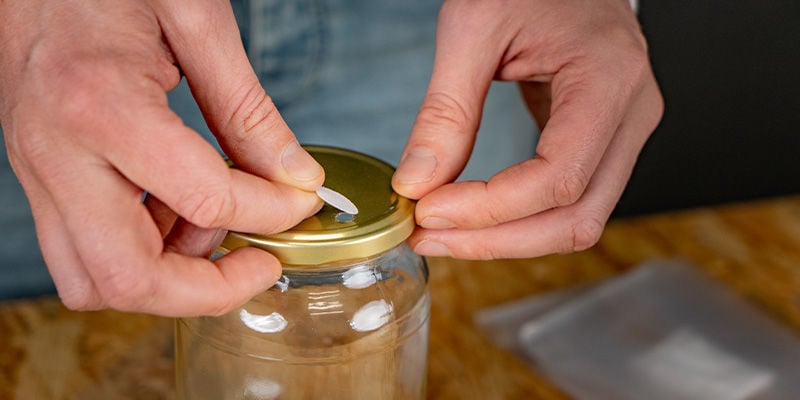
Alongside holes for injecting, the lids of the jars will also need holes for gas exchange. Mycelium respires, using oxygen and exhaling carbon dioxide—just like us.
But air needs to be the only thing going in and out of these holes, so you can’t just leave them open. In order to allow for gas exchange but prevent contamination, you need to cover these holes with a microporous material that also contains a water and heat-resistant adhesive.
Fortunately, there are simple solutions.
We recommend to use purpose-made adhesive filters. These are made from a microporous material and contain autoclavable adhesive. Adherable filters are often both hydrophobic and oleophobic which makes them extra safe for autoclaving. Usually, these filters cover a 6mm wide hole, so drill your holes accordingly!
Another professional and commonly used solution would be using synthetic filter discs, often abbreviated as SFDs. They are reusable, durable and have a high filtration rate.
A third, but possibly less reliable option would be using micropore medical tape. Opinions differ on this one and it might work well for you. Just be aware that micropore tape is officially not meant to be sterilized by steam. Besides this, 3M claims that micropore tape is not meant to filter or block microorganisms.
How to inject through the filter
Now, this method is not perfect, and using a self-healing port is a better option. As they’re not self-healing, the filters will be permanently perforated if you pierce them. However, you can also inject straight through a filter, and then immediately place another filter over the top to solve this issue.
If you can use a different option, that’s probably better. But if you only have microporous tape/filters at hand, then this can work too. Just be aware that the risk of contamination is greater with this option. One way to mitigate the risk of contamination is to use a glovebox or laminar flow hood. These are still-air environments, which means the chance of hostile spores drifting in is reduced.
Can you also apply SHIPs to spawn bags?
It may be that you’re not using jars at all, and wondering what can be done if you’re using spawn bags instead. Well, it’s much the same, except you might need to use some transparent packaging tape as well.
Apply a blob of RTV silicone and cover with tape
![]()
First, you can repeat the RTV silicone method as outlined above. But there is an extra step when applying it to spawn bags. Whereas silicone holds easily enough to jar lids, it’s much more prone to falling off of bags.
So, in order to hold it in place, you can use packaging tape. When packaging tape is autoclaved, it might discolour quite dramatically. But this isn’t a problem, so long as it holds the injection port in place.
Apply an adhesive self-healing injection port
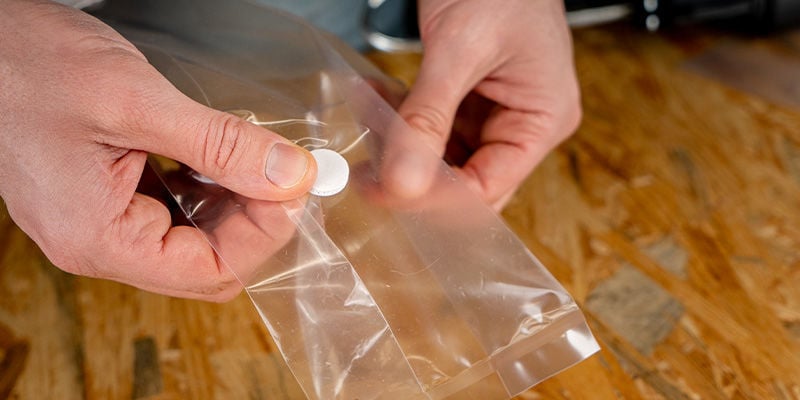
Alternatively, you can use an adhesive SHIP. If you’re lucky, you might get away with sticking them straight onto the bag. However, they might come loose or fall off. Even if they come loose a tiny bit, this can totally negate their ability to seal the environment. To avoid this, it might be worth, once again, using packaging tape to make sure they’re secure.
A different approach: ready-made spawn bags with SHIPs
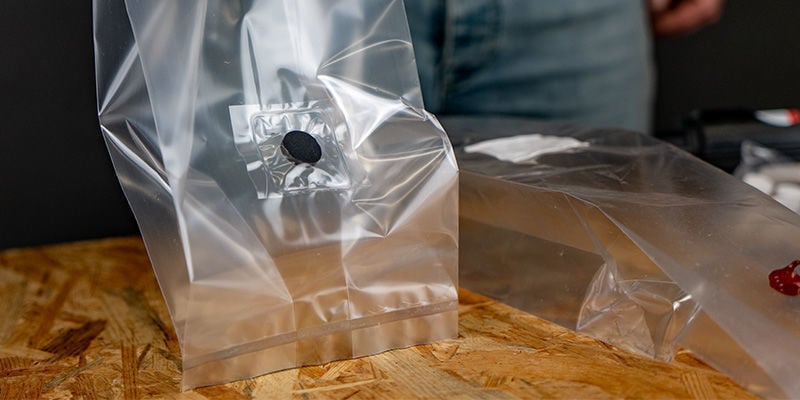
You can also just buy spawn bags with silicone SHIPs already securely attached. This is by far the easiest method, and might be preferable when using spawn bags. Keeping the injection ports secured can be a little tricky, so buying a ready-made one makes life much easier.
This option is a little more expensive than making them yourself, but is much, much simpler.
How to use a self-healing injection port
Using SHIPs is very easy. The most difficult part of the process is keeping everything clean. Mostly, this comes down to motivation.
Most importantly, you need to clean the injection port itself with alcohol wipes. Do this thoroughly; if it hosts fungal spores or bacteria, you might just push these straight through when you inject.
Second, you need to sterilise the needle of your syringe. Do this by holding it in a flame until it is red-hot. Let it cool before using it, as you might destroy the port.
Following these steps, it’s worth properly cleaning your hands with antibacterial soap and wearing a face mask. You might also consider cleaning the entire room with water mixed with 10% bleach.
Bathrooms are well-suited to inoculations, as they are easy to clean and tend to have little air movement. Wherever you do it, close all the doors and windows.
Once everything is clean, you can inject your jars/spawn bags with spore solution or liquid cultures. To do this, simply push the needle through the port, push the plunger, and remove the needle. All going well, the port should seal back up afterward, meaning you don’t need to do anything!
How often can you use a self-healing injection port?
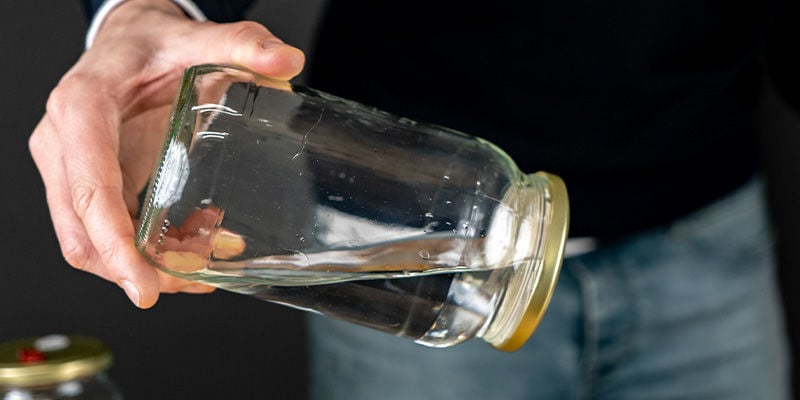
Over time, injection ports will become so damaged from use that holes will appear. If they are pierced again and again, eventually the material will fall apart, and it will be unable to seal back up after use. Although, you should get many uses out of them before this happens.
To test the integrity of ports, fill a jar or spawn bag with water and close it. Then, turn it upside down. If there are holes in the injection ports, then you will see water running out of them. If all the water stays inside, then the ports are able to be used again.
Self-healing injection ports: Keep contaminants out
Self-healing injection ports are a must for mushroom cultivation. Without them, the chances of contamination become much higher. Considering how cheap and easy they are to apply, there are really very few (if any) reasons not to use them.
Once again, we advise simply using ready-made adhesive ports, as they’re the simplest and most effective option. But if you can’t get hold of any, the other options are very good too.
Whichever you go for, good luck!
-
 5 min
15 November 2024
How to Build Your Own Monotub and Grow Mushrooms in Bulk
There are many ways to grow magic mushrooms, and for the biggest yields, you can't really do better than a monotub! Quick, easy, and very productive, find out how to make one here.
-
 5 min
29 July 2024
How To Store Magic Mushrooms
If you want your shrooms to stand the test of time, then you'll need to not only dry them properly, but store them adequately too. While not difficult, it is important to get this right if you want...
-
 3 min
18 November 2022
What Is Mushroom Spawn (And How To Make It)?
Mycology is like a super power. Once you've learned the skill, you can easily grow kilograms of your favourite mushrooms. One key milestone is learning to make mushroom spawn. This material can be...
-
 5 min
26 April 2022
How To Harvest Magic Mushrooms
Now the time has come to harvest your magic mushrooms, you're almost there. Mastering this stage is fairly simple, but crucial if you want to reap the rewards of all your hard work. Find out how...


 United States


