Understanding The Hydrometer: The Secret To Brewing Great Beer
A hydrometer might seem like a pretty sophisticated and complicated tool in your brew kit. However, it's actually quite simple to use and tells you some key info about the fermentation of your wort and beer.
Have you looked into brewing your own beer? If so, you’ll be familiar with a hydrometer, a little thermometer-like instrument used to measure the density of the brew both pre and post-fermentation. Let's take a closer look at hydrometers and how they work.
BEER BREWING 101: WHAT DOES A HYDROMETER DO?
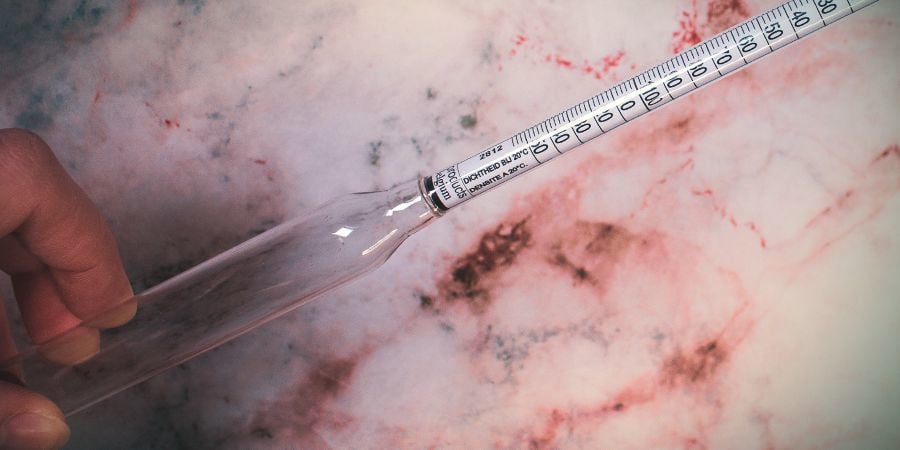
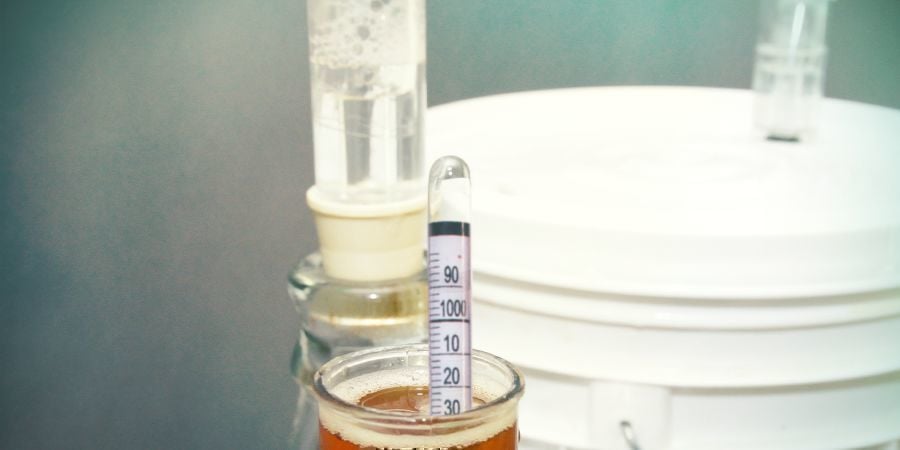
A hydrometer is a small glass measuring tool that usually has two parts: a stem with measurement markings and a bulb containing mercury or lead.
Hydrometers can be used for a wide variety of purposes. When brewing beer or making wine, however, hydrometers are used to measure the specific gravity of a liquid before and after fermentation. This measurement can then be used to estimate the ABV (alcohol by volume) of the beer/wine you're making.
A hydrometer can also help ensure that your brew is fermenting correctly. As the sugar in your brew is converted into alcohol, the specific gravity will drop. A steady hydrometer reading over numerous days is a sign that your beer has finished brewing.
 view Hydrometer Vinoferm: 3 Scales (Beer)
HOW DO HYDROMETERS WORK?
Ask a chemist about your hydrometer, and they’ll tell you that they work by measuring the gravity of a liquid. Unfortunately, that description might be a little difficult to wrap your head around. So, try to think of it like this:
Hydrometers basically measure the amount of dissolved sugar in your wort and/or beer. These sugars come from the malt extracts, grains, and other ingredients used to make your brew before fermenting it. The higher the amount of sugar in your brew, the higher your hydrometer’s reading will be.
WHAT DO HYDROMETERS TELL YOU ABOUT YOUR HOME-BREW?
The hydrometers you get in home-brew kits may produce up to three different readings:
-
Specific gravity
-
Sugar percentage (sometimes called “balling”)
-
Potential alcohol
Both specific gravity and sugar percentage measure the concentration of sugar in wort, and tell you a lot about its fermentation.
Before you start fermenting your wort, its sugar content will be at its highest. This means that the specific gravity reading on your hydrometer will also be at its highest.
If you were to measure your wort during the first days of fermentation, you’d notice its gravity readings drop progressively. This is because the yeast in your wort is working hard to convert sugars into CO₂ and ethanol.
Once the fermentation process has ended though, the readings of your hydrometer will steady out. That’s because, by this time, the yeast in your brew has finished breaking down sugar. The reading you get at the end of fermentation is called final gravity, which tells you that your beer is ready to bottle.
Finally, your hydrometer can also be used to give you an idea of the final alcohol content of your beer. More on that below.
HOW TO USE A HYDROMETER
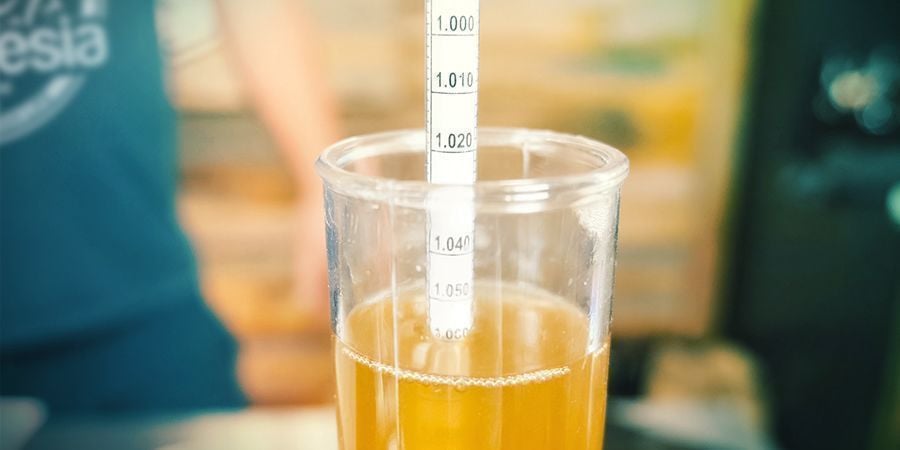
Using a hydrometer is simple:
-
First, you’ll need a wort sample. To do this, take a sample from your wort before fermenting and place it in a hydrometer test jar. All of this material should come with your home-brew kit. Just make sure you sanitise all your equipment properly before taking your sample.
-
Next, place your hydrometer into the sample and spin it to ensure it doesn’t stick to the side of the testing jar.
-
Now, take the gravity reading from where the surface of the wort intersects with the hydrometer. DO NOT take the reading right at the edge of the hydrometer or the edges of the testing jar, as the liquid here tends to lip upwards slightly.
-
Discard the sample. Never pour a sample back into your fermenter as you risk contaminating your wort and losing your entire brew.
You’ll want to take two hydrometer readings of your brew. The first should be done before adding yeast to your wort. This first reading is called the original gravity reading (OG). Your second reading should be taken roughly 7–10 days after starting fermentation. This will give you your final gravity reading, or FG.
TIPS FOR AN ACCURATE HYDROMETER READING
-
Hydrometers are most accurate at around 15°C. If your sample isn’t at the right temperature, use a hydrometer temperature correction chart to adjust your readings. Most home-brew kits will come with one of these charts.
-
Always sanitise your equipment before taking a sample.
-
Always discard your samples.
NOTE: DON’T OVER-TEST YOUR WORT/BEER
A lot of beginner brewers want to test their beer constantly. However, every time you sample your wort/beer, you risk exposing it to harmful bacteria that could ruin your final product. Hence, it’s recommended you only test your beer twice: once before pitching (adding your yeast for fermentation) and again after the fermentation process has finished.
HOW TO CALCULATE THE ALCOHOL VOLUME OF YOUR BEER

Once you have your OG and FG readings, you can get a rough estimate of the alcohol content of your beer. If your hydrometer measures potential alcohol, simply subtract the second reading from the first. For example, if your wort had a potential alcohol reading of 8% and your fermented beer has a reading of 4%, you can estimate that your final product will have an approximate ABV of 4%.
If your hydrometer doesn’t have these readings, you can still calculate your beer’s alcohol volume by subtracting the FG from OG and multiplying this figure by 131.25. For example, if the OG reading of your wort was 1.045 and the FG is 1.012, your beer will have an ABV of roughly 4.5% (1.045-1.012 = 0.033 x 131.25 = 4.48%).


 United States


