
How To Transplant Hot Pepper Plants
Growing chilli plants is highly rewarding and, if done right, can produce bountiful harvests of tasty hot peppers. Transplanting is a crucial skill when it comes to chilli cultivation, and we're here to tell you all about it.
When growing pepper plants, it’s uncommon to germinate them in their final pots. Instead, we tend to germinate pepper seeds in seedling trays, and increase their pot size in orchestra with the plants' growth.
This process is known as transplanting, or repotting. While simple, the art of transplanting seedlings is an absolutely essential part of most horticulture. Here we show you how to transplant pepper seedlings into bigger pots, and how to transplant more mature pepper plants into their final, outdoor pots.
What is transplanting?
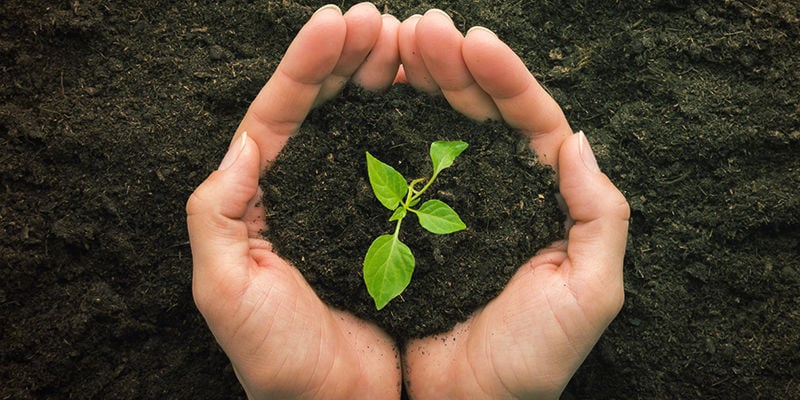
Transplanting is the practice of moving a plant from one pot into a bigger one. This process is used to facilitate more abundant growth. For instance, you will definitely need to transplant pepper seedlings from their germination pots into bigger pots. Often, this process happens twice: once indoors, and once out.
Failure to transplant at the right time will cause plants to become rootbound in the soil. This is when the roots become too big for their environment, which then stunts development and can be difficult to reverse. So it’s best to avoid this!
While not particularly difficult, it’s a procedure that requires care and good timing to avoid issues such as transplant shock. Moreover, if you then intend to move your pepper plants outdoors, you’ll need to harden them off first so they can acclimate to their new environment.
When to transplant pepper seedlings
Knowing the best time to transplant will mitigate the risk of shock and ensure a healthy transition. Fortunately, there are some simple signs that it’s time to repot your young pepper plants.
Indoors
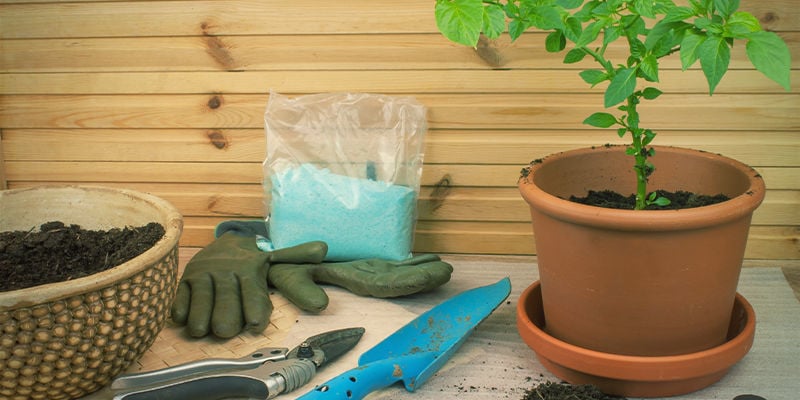
If you’re keeping your pepper plants indoors, then all the cues of when to transplant your seedlings come from the plants themselves.
The reason we transplant seedlings is to give their roots more space to grow, which in turn means the aerial portion of the plant can flourish. But how do you know when a pepper seedling needs to move to a bigger pot?
The easiest method is to count its leaves. Once a seedling has four or more true sets of leaves, then the time to move it into a bigger pot has come. Generally, the plant will be around 10cm tall at this stage, and will have germinated 3–4 weeks ago. As healthy plants all follow similar growth patterns, using these signs is a sure way to repot your pepper seedlings at the correct time.
However, there are a couple of varieties that may not follow these patterns. So another way to ascertain whether the time to transplant has arrived is to see if any roots are protruding from the bottom of the pot. If they are, then they are close to outgrowing their current pot and will be grateful for a larger one!
Note: This is also the stage at which you should begin to feed your plants.
Outdoors
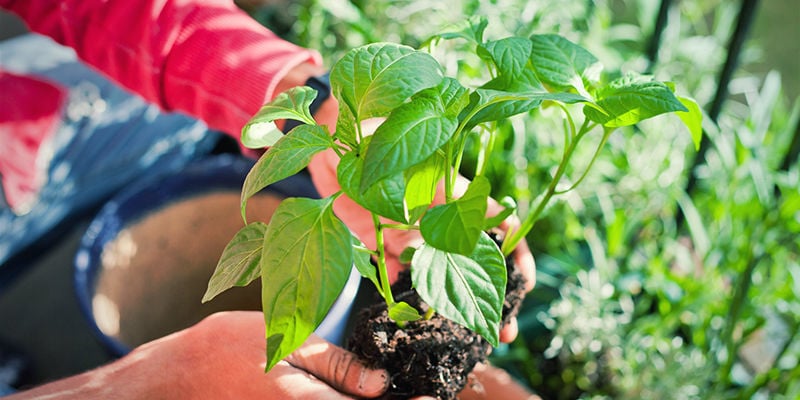
Knowing when to transplant outdoors is a little different. Pepper plants need to be a little hardier to transition outdoors in most climates, as they naturally grow in hot, hospitable places.
That said, after around 2–3 months of growth, you should think about moving your peppers outdoors. But that’s not all; the weather needs to be right as well. A frost can stunt or kill off pepper plants fairly easily, so you need to be sure the last frost has passed—usually at the end of May. To be sure, wait around three weeks after the last frost to know that you’re unlikely to get a surprise cold snap.
If they’re mature enough and the weather is good, your pepper plants are ready to move outdoors.
How to transplant hot peppers into bigger pots
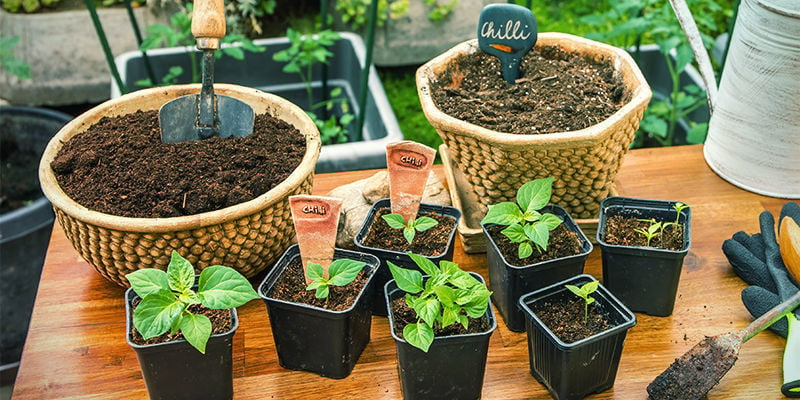
Transplanting pepper seedlings into larger pots is not overly difficult nor complex, but you will need to be careful. Especially when very young, plants are sensitive, and damage or shock can cause lasting issues or even prove fatal. So be tender with them!
Equipment
- Potting soil
- Larger pots: these can be a step up, or your final pots, depending on how you choose to grow
- Gloves (optional)
- Labels
- Pruning shears
Instructions
Here's how to transplant chilli seedlings into larger pots.
Step 1: Label the pots (optional)
If you’re growing multiple types of chilli peppers, then it’s worth marking the new pots with the type of plant so you don’t mix them up!
Step 2: Prepare the space
As with all things in life, preparation will make your life much easier. Clear a space, and if you’re indoors, perhaps lay something down that you can work on top of and potentially catch any spillage. Moreover, once you begin removing your pepper seedlings from their old pots, you want to put them straight into their new homes to lessen the shock.
Step 3: Pre-moisten the soil
Using only a little water, moisten the soil. You don’t want it to be wet and muddy; just a little damp and sticky will be perfect!
Step 4: Fill pots with a bottom layer of soil
Now, place around 2–3cm of soil into the bottom of your new pots. This needn’t be too compact, as the plant’s roots will grow down into it.
Step 5: Remove the seedlings
To do this, first gently squeeze the seed cell (the part of the pot that the seedling is growing in) to loosen the soil.
Then, turn it upside down while holding the plant between the middle finger and index finger, or index finger and ring finger, with the palm of your hand covering the soil—it should just slide out. Be very gentle at this point, as you don’t want to damage the stem.
Step 6: Loosen the roots
This is only necessary if the root ball appears very dense or rootbound. If so, gently roll it between your palms, just enough to loosen it up a little. This will help the roots expand into their new home.
Step 7: Replant them
Place the seedling’s root ball into the new pot and fill it with soil. Don’t compress it much; just let it naturally fall into place around the plant. Fill it to about 1cm below the rim of the pot.
At this point, don’t let the seedling’s leaves touch the soil, as this can cause bacterial or fungal infections. If need be, remove a little soil to keep it away from the leaves.
Step 8: Pack down and top off
Once filled in with soil, now you can gently compact it. Again, be gentle. You don’t want a dense rock of soil; you want good drainage and aeration. Then, place a loose top layer of soil on—just make sure it doesn’t touch the leaves!
Step 9: Water
Water it lightly to help the soil fall into place and hydrate your plant.
Step 10: Prune additional seedlings
Occasionally, multiple seedlings will sprout in a single seed cell. As these begin to grow, the roots of the two plants will compete for limited space, and both will suffer. Choose the smallest, weakest-looking seedling and sacrifice it using your pruning shears, so that the larger one can thrive!
How to transplant pepper plants into your garden
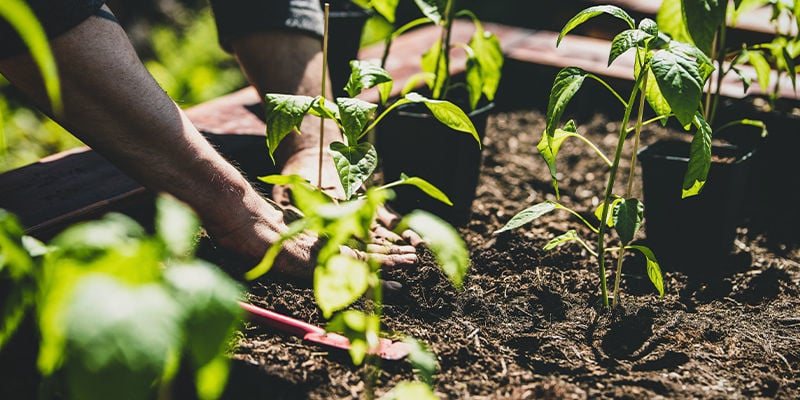
Transplanting pepper plants into a garden is a slightly different process, though just as simple. Before you do, check the weather and make sure to harden your plants off first.
Hardening off before you transplant
Hardening off is the process of acclimating a plant to a new environment. Basically, it’s used when moving plants from hospitable artificial environments to colder, windier outdoor ones.
To harden a pepper plant off, gradually introduce it to its new environment a little longer each day, for between one and two weeks. Then, if it appears healthy after spending a whole day and night outdoors, it’s ready for it’s new life in the big wide world!
Equipment
- Potting soil
- Large pot
- Fertiliser
- Compost (optional)
Instructions
Fundamentally, the process is the same as transplanting seedlings into bigger pots. However, there are some technical differences. To transplant 2–3-month-old chilli plants outdoors, here’s what you need to do.
Step 1: Harden off your plants
Follow our dedicated guide to hardening off chilli plants to ensure you do this well.
Step 2: Prepare the new container
Fill the new outdoor pot with soil. As with the first method, moisten, but do not soak, the soil. Leave around 5cm free at the top.
Step 3: Fertilise the soil
As your plants are now big and ready to begin fruiting, you want to give them access to plenty of food. Following the instructions on your chosen fertiliser, add it to the soil mix.
Step 4: Add compost (optional)
Dig a space in which to place your new plant, and add a little compost to give it a nutrient-rich start to outdoor life. Though this stage is not necessary, it will help your plants produce healthy and abundant fruits.
Step 5: Put your chilli plant in its new home
Gently ease your plant and its roots (including soil) from the old pot. Turn it upside down, and it should slide out.
Place it in the hole you’ve dug in the new pot. This hole should be the same size as the pot that you’re taking it from. Once it’s in, fill any gaps with potting soil and level it off.
Step 6: Water and place in the sun
Water, to help the soil and roots settle and ensure the plant is adequately hydrated as it adapts to its new home. Now, place your chilli plants in the shade for a day to recover before positioning them somewhere they’ll get at least eight hours of direct light per day.
After that, they’re ready. Just look after them, and await your bumper crop of fresh chillies.
Can you transplant fruiting chilli peppers?
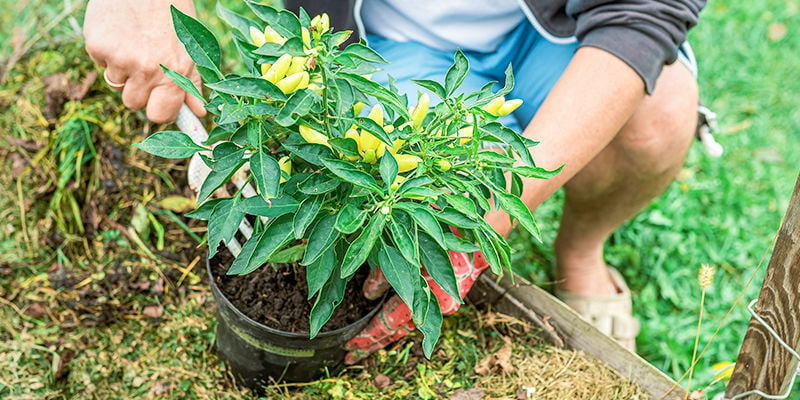
Unless there’s some reason why this is essential, it’s best not to.
Transplanting will always cause a plant some stress, and energy will be required to rectify this. Outside of the fruiting stage, this isn’t too much of a problem, but once it’s dedicating energy to creating fruits, you can do some damage if you attempt a transplant. Though it won’t be fatal, expect delayed and stunted growth if you do this.
Transplanting chillies: necessary and simple
As you can see, transplanting your chilli plants is neither complex nor costly. A little love and patience should see this process completed quickly and easily.
The most important thing to bear in mind is timing. After all, transplanting is all about moving a plant from one home to another at the right point. Take your cues from the plant and the weather, and it’s not hard to get this step right. If you do, you can be confident that your hot pepper plants will grow to be happy, healthy, and generous!
-
 6 min
24 March 2022
When And How To Germinate Hot Pepper Seeds
It's no secret that cultivating hot peppers is a hugely rewarding task that not only hones your skills as a grower, but also provides you with a great yield of spicy chillies each time. But where...
-
 8 min
18 March 2022
How To Grow Hot Peppers Outdoors
There's nothing quite like having your own supply of spicy hot peppers. And while it may seem a daunting task to grow them outdoors, we're here to show that it's really not! All you need to do is...
-
 5 min
7 March 2022
How To Fertilise Hot Pepper Plants
There is a fine art to providing your plants with all the nutrients they need. Here's a breakdown of why and how to use fertiliser to maximise the potential of your pepper plants. Trust us; your...
-
 7 min
4 March 2022
How To Grow Hot Peppers Indoors
Growing chillies might seem like a complicated task, but we're here to tell you that it really needn't be. Even if you don't have an adequate space outside to grow them, you can produce some...
-
 4 min
18 February 2022
Tips For Growing Hotter Chilli Pepper Plants
Surely it's down to chance just how hot your chilli peppers can be, right? Well, while various factors determine spice level, there are actually several things you can do to really get the hottest...
-
 5 min
24 January 2022
When And How To Harvest Hot Peppers
You've taken the time to cultivate hot peppers, giving them everything they need to flourish throughout their growing cycle. Yet, arguably the most critical moment is fast approaching; when and how...


 United States


