How To Set Up A Shisha
Are you looking to set up a perfect shisha for some relaxing hits at home? We've got you covered! Let us guide you through eight simple steps that will help you to master the task, whether you're a shisha rookie or an experienced smoker. Expect a smooth, delicious smoke with no complications. And don't worry—cannabis can be used here, too.
A shisha session can be a relaxing, aromatic ritual to enjoy with friends or alone. But how exactly do you handle this complex-looking apparatus? Don’t worry—it’s not that hard! In this article, we’ll familiarise you with all of its parts and take you through an easy step-by-step guide on how to set it up and use it.
Different parts of a shisha
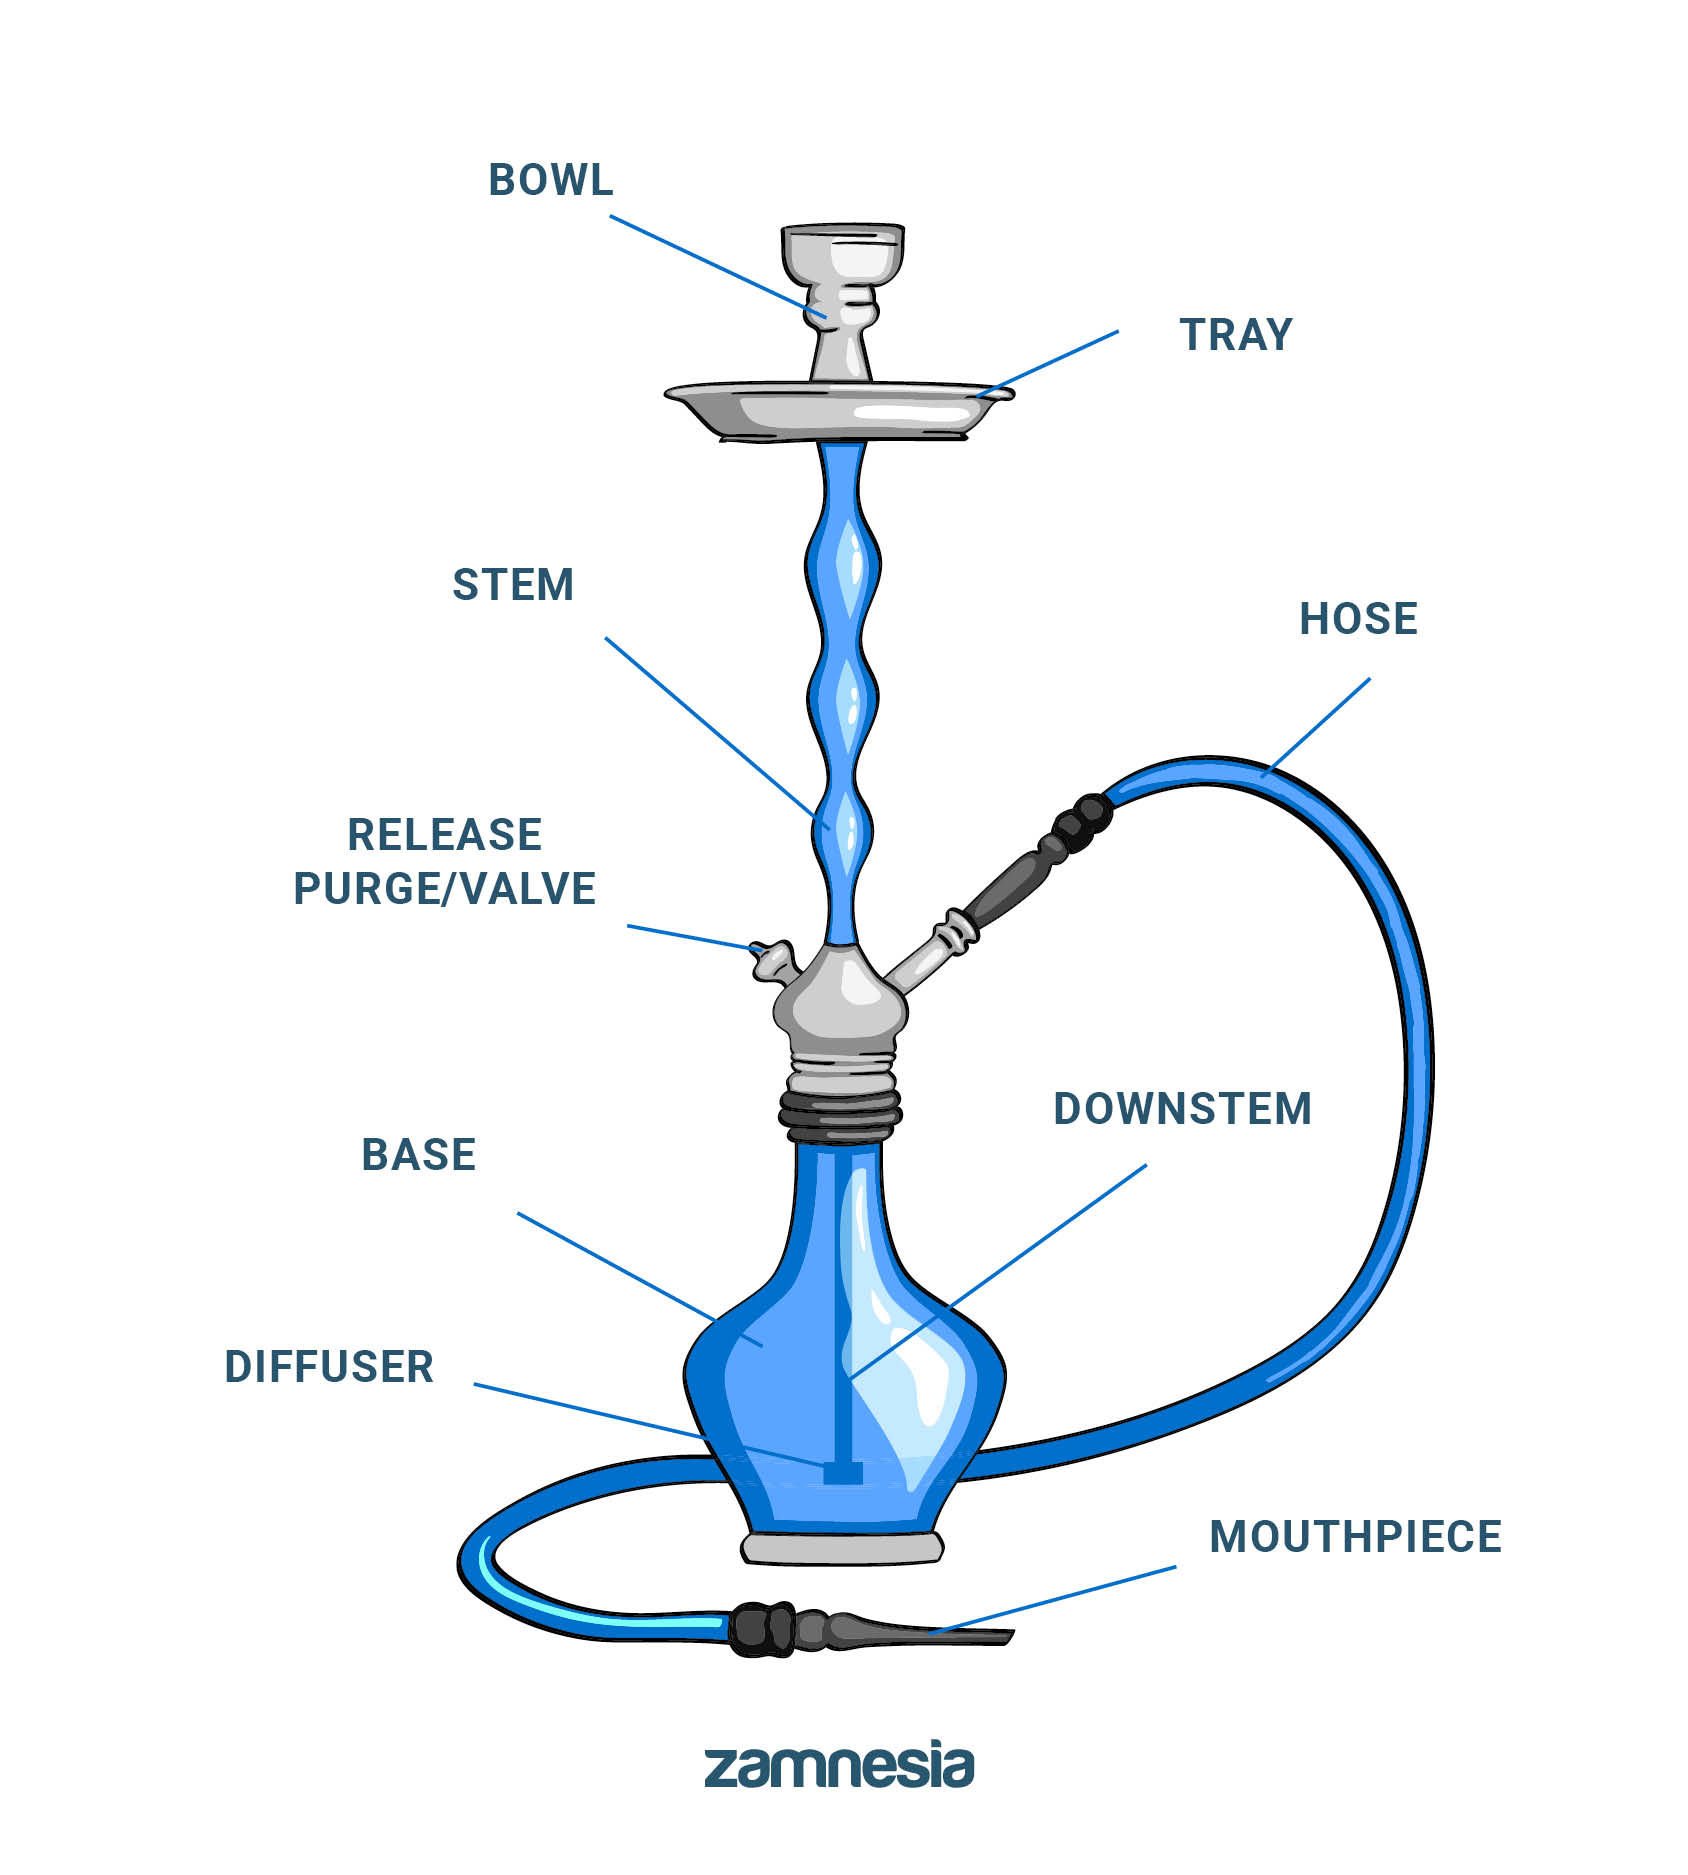
First things first—if you’re looking to set up a perfect shisha, you might want to familiarise yourself with the various parts you’ll be putting together. Here are some terms you might hear in reference to shishas:
- Bowl: Just as with bongs, the bowl of the shisha holds the smoking mix.
- Tray: Here you can place lit coals to rest, and it functions to catch fallen ash as well.
- Stem: The base, bowl, and hose each attach to the stem, which connects them all together.
- Hose: This refers to the long, flexible body of the tube that is used to smoke.
- Release purge/valve: This functions to release smoke from the base when you blow into the hose.
- Downstem: The lowest section of the stem, which is submerged in water.
- Diffuser: The bit at the low end of the stem. It breaks up bubbles, which will quiet down your smoking session and improve smoothness.
- Base: This bulbous beauty holds the water.
- Mouthpiece: The glass tube at the end of the hose that you hold.
What do you need to prepare your shisha?
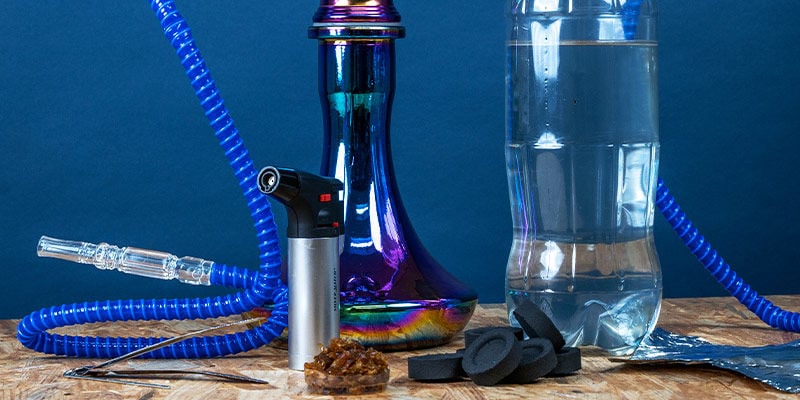
As you might have guessed, you’ll need a couple of other things before you’re ready to set yourself up for a decent smoke session. Make sure you’ve got:
- A shisha
- Shisha coals
- Shisha tongs (you don’t want to burn your precious fingers)
- Aluminium foil
- Water (tap water is all you need)
- Foil poker or toothpick
- Shisha tobacco/nicotine-free tobacco
- Lighter or electric burner
8 easy steps to set up your shisha
Now, let’s get down to business. With the following step-by-step guide, you should be able to set up a flawless shisha in no time.
1. Clean your shisha
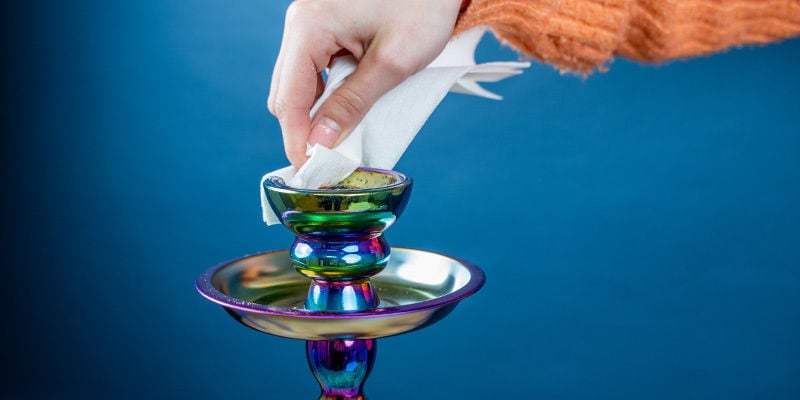
Disconnect all of the individual parts, and wash each one with water and a soft brush. However, do not wash the hoses! In most cases, they aren’t water-safe.
Consider treating yourself to a long, thin brush that will help you reach everywhere. Stores that sell shishas or shisha accessories should have a suitable one.
After cleaning, use a towel to wipe the parts dry, and leave them to air-dry.
2. Pour water into the base

Fill enough water in your shisha’s base so that it covers about 2.5cm of the downstem.
Make sure to leave plenty of room for air, which will help to dilute the smoke and make it easier to draw on the mouthpiece.
Keep in mind that it’s important to start off with cold water. For a fresh taste, you can add some ice cubes, which will make the smoke even more pleasurable.
3. Attach the stem to the glass base
Now, attach the stem to the base, submerging the downstem in the water. Make sure the fit is properly airtight.
4. Check the airflow
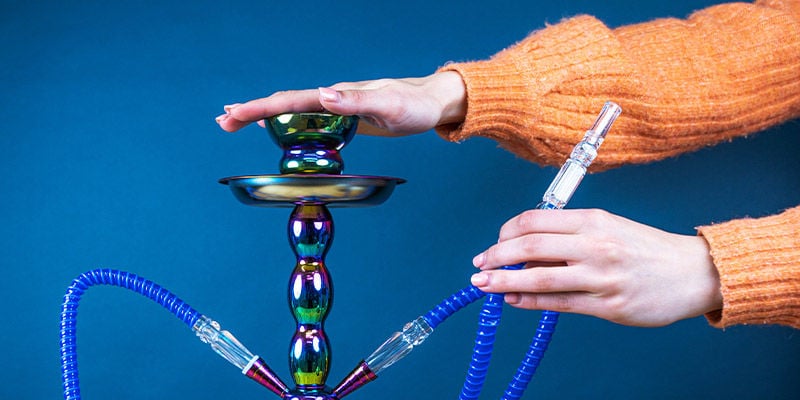
Use your hand to cover the top of your shisha and try to draw air through the mouthpiece (hose handle). If you manage to inhale any air, your setup isn’t properly airtight. Check every connection and ensure they fit tightly, then try again.
5. Prepare the hookah molasses
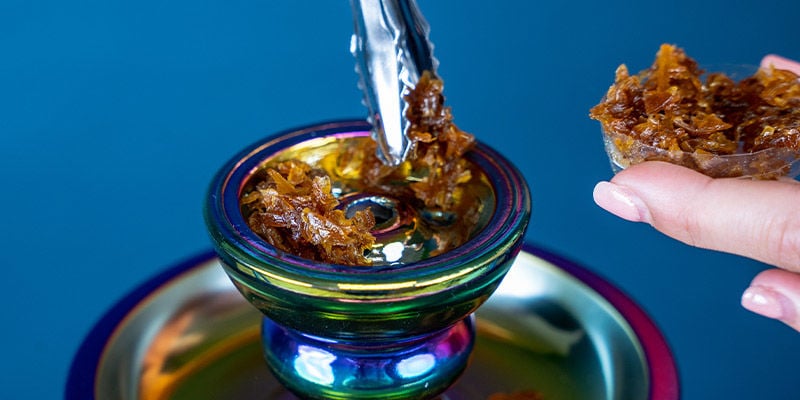
Stir your chosen tobacco or nicotine-free tobacco option. If you’re using tobacco, remove leaf veins.
Gently pack your chosen material into the bowl. Make sure to leave some space free beneath the bowl’s edge so it doesn’t touch the foil. Two or three millimetres should suffice.
Then, make a funnel in the centre of the tobacco or nicotine-free smoking mix.
Cannabis enthusiasts may pack the bowl with weed, if desired.
6. Prepare the foil
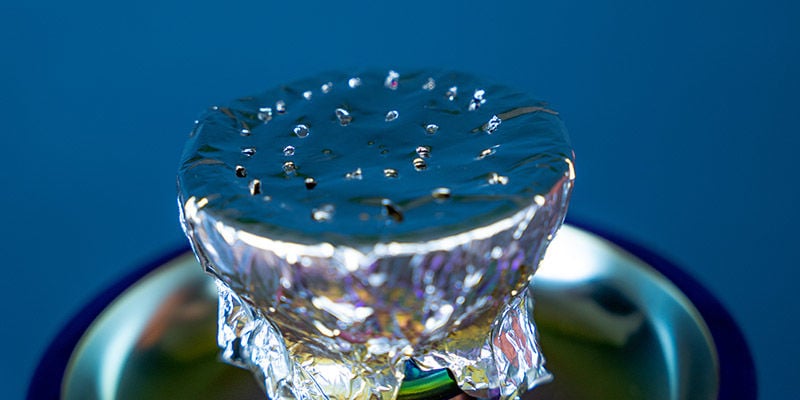
Take a piece of aluminium and fold it two times. Wrap it around the bowl’s top and stretch it taut. Now, use a poker or toothpick and poke several holes into the foil.
7. Light the coals
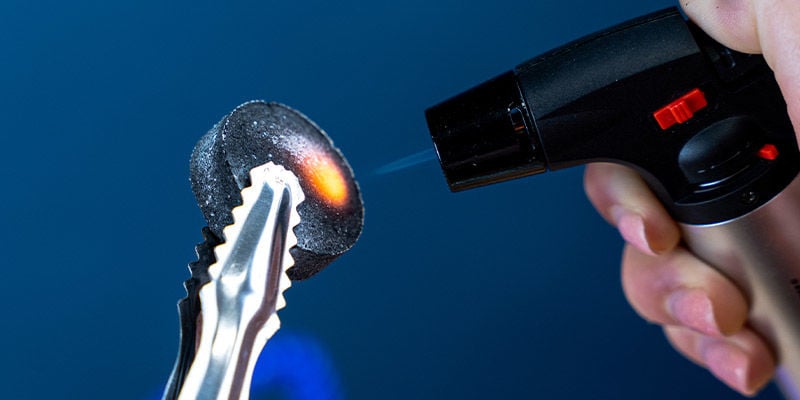
You can use two different types of coal, each of which needs a slightly different treatment. Follow the respective instructions:
- Natural coals: Heat them over a stove flame or on an electric burner. Note that the ash must never fall on a glass-ceramic stove or into the gas line! After 8–12 minutes, the coal will be glowing orange and ready to use.
- Quick-light coals: Use your tongs to hold one coal over a non-flammable area, and light it with a match or lighter. Keep lighting it until it stops smoking. After 10–30 seconds, it’ll be glowing orange and covered in light-grey ash. That’s when it’s ready to use. While this is the more convenient option, these provide a shorter smoke that is not as smooth.
8. Wait until the coals have warmed the bowl before smoking
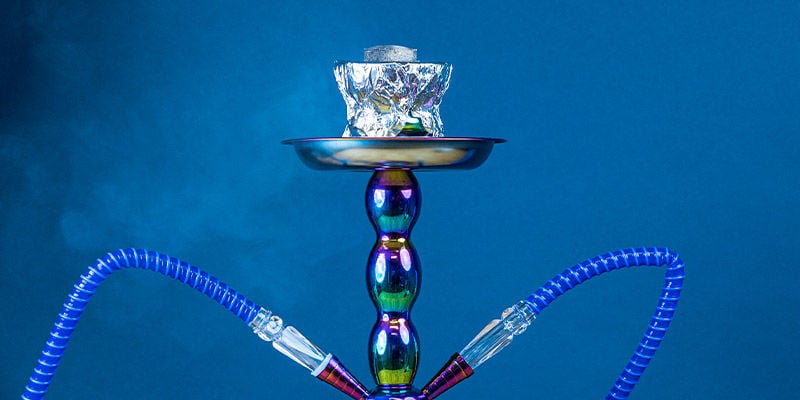
After you’ve placed the hot coals on the foil—spread evenly over the edge of the foil (don’t place them in the centre!)—give your shisha some time to warm up.
Allowing your bowl to absorb some heat will enhance the flavour and promote a smooth smoke.
Enjoy your perfect shisha session
You made it! Now, all that’s left to do is enjoy the fruits of your labour. Kick back, get hold of the handle, and draw on the mouthpiece. Inhale with normal breaths and give your hookah a break every now and then to cool down. This is a wonderful ritual to enjoy with your dear self or friends alike. Enjoy your smoke!
-
 5 min
23 May 2022
Top 10 Bong Accessories
Occasionally we can all get stuck in a rut when it comes to using a bong. Sometimes the enjoyment can fade a little, and the experience can all seem like a bit of a chore. Well, change that...
-
 3 min
17 November 2018
ROOR: Glass Bongs Made With True Craftsmanship
As part of our series Avant-Garde Entrepreneurs, today we are showcasing ROOR—renowned German manufacturer of top-of-the-line glass bongs and other products. Read on to dive into the history and...


 United States


