
How To Properly Dry Herbs At Home
Drying and storing your homegrown herbs will provide you with delicious and nutritious cups of tea for months to come. But how should you go about processing the herbs in your garden into jars filled with dried flowers, leaves, and roots? Well, you have plenty of options available! Check out the different methods below!
You poured a lot of effort into growing your own culinary and medicinal herbs at home. Now, it’s time to dry and store them! You need to give this process the care and attention that it deserves in order to preserve your stash and eliminate the risk of mould. Check out the different methods below to get the job done.
Harvest, sort, and wash your herbs
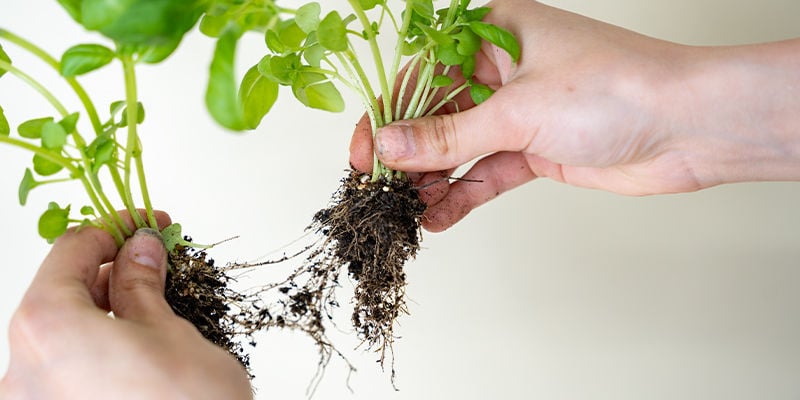
Before you set about drying your herbs, you need to harvest them, separate them by species (unless you’re making a specific blend), and give them a good wash. Follow the tips below to breeze through this process in no time:
-
Harvest your herbs at the optimal age and peak of their vitality. Research the herbs you're growing to determine the correct time. You’ll miss out on bigger yields if you harvest too early, whereas some species start to lose their flavour and become bitter when they become too mature.
-
Sort through your roots, leaves, and flowers thoroughly. Remove overly damaged leaves and roots, as well as those that show signs of mould.
-
Spray down large roots with a hose to remove chunks of soil. Submerge leaves and flowers in a bucket of water and let soak before straining.
Different methods of drying herbs
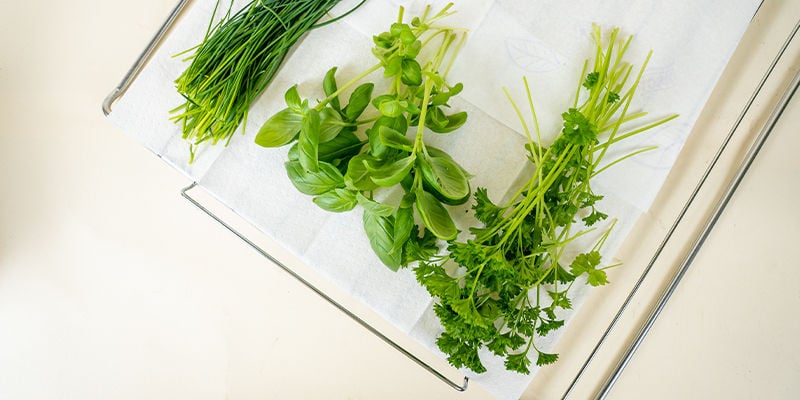
Now that your herbs are harvested and cleaned, it’s time to get them dry for long-term storage. There are a host of different ways to go about this process. If you’re on a budget, you can use simple tools that you already have around your home. If you’re a budding herbalist with a passion for all things botany, then you have the choice of investing in devices that make this process even more efficient. Explore the different ways to dry out your herbs below.
Food dehydrator
Food dehydrators are a handy and efficient way to dry herbs. If investing in one seems a bit too much, know that you can also use them to dry out almost any food item you can think of. The best reasons to opt for a food dehydrator include:
- Reliability: These devices produce consistent airflow that dries herbs out evenly, without leaving excess moisture in parts of your stash.
- Speed: Using a food dehydrator results in quicker drying times than other methods, including air drying.
- Convenience: Most models are vertically stacked, allowing you to quickly dry out herbs without taking up much space.
Aim to dry out your herbs on a low setting to preserve volatile constituents. Set your device to run at 35–46°C for four hours.
Microwave
Most of us have a microwave in our kitchen, which makes this option extremely accessible. Microwaving herbs to dry them also serves as one of the quickest methods. Simply spread out your herbs on a microwave-safe dish and dry them for 1–3 minutes. Stop the microwave every 30 seconds to check on the herbs to prevent cooking them. The downside? It’s easy to burn and ruin herbs using a microwave. Make sure to constantly monitor them during the process to prevent this disaster from occurring.
Oven drying
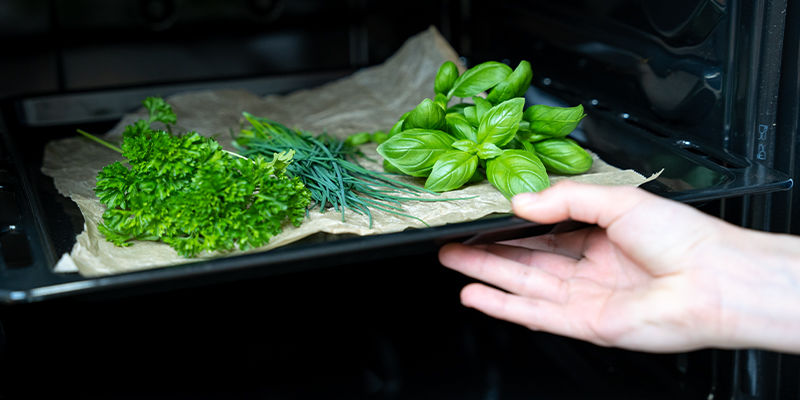
Commonplace in every kitchen, ovens are also an easy, cheap, and simple way to dry out herbs. They outperform dehydrators when it comes to speed, but less thorough airflow means some leaves, roots, and flowers will dry quicker than others. If you opt for this method, start by lining a baking tray with some baking paper and spreading out your herbs evenly. Crank the heat up to 82°C for 2–4 hours and leave the door slightly ajar to allow moisture to escape. Check on your herbs every 30 minutes to prevent burning, and swap the places of those that are dry with those still clearly high in moisture.
Indoor air drying
If you want to take more of an economic, sustainable, and off-grid approach, then you can simply air dry your herbs. After initially processing them, place them on a rack and position them in a dry and well-ventilated area away from direct sunlight. This method takes some time but doesn’t require any special equipment. Your entire stash should become totally dry after a couple of days.
Vine drying
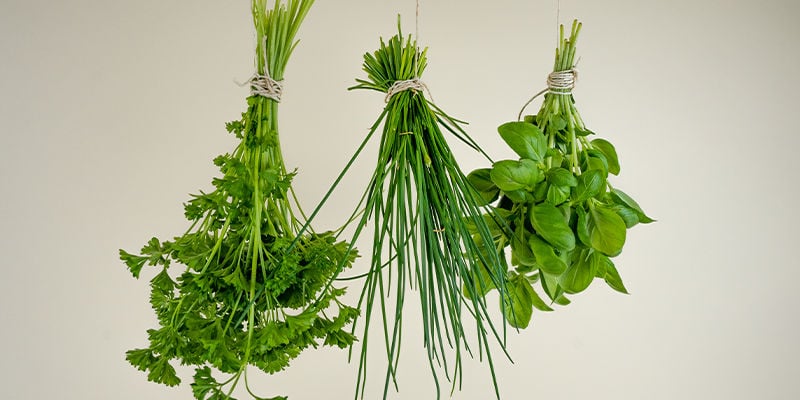
This old-school method works exceptionally well. Simply cut your herbs at the base and hose them down. Next, hang them upside down in a warm, dry, and well-aerated space not exposed to direct sunlight. Once dry, you can simply run your thumb and forefinger down each branch, over a tray, to collect leaves.
Can I store dried herbs in the freezer?
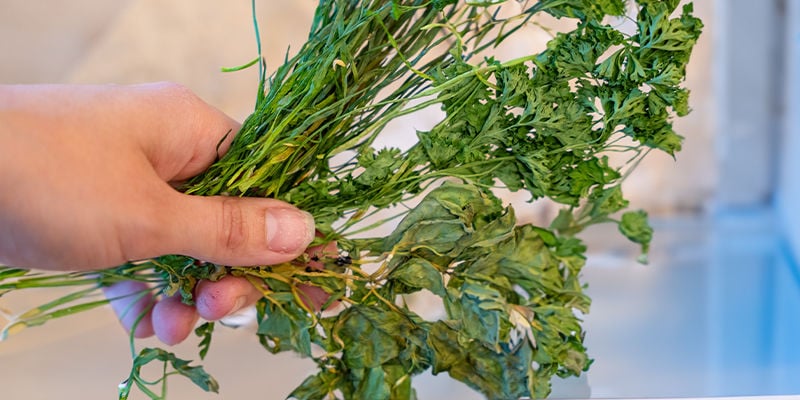
You can, but should you? Placing your dried herbs in the freezer comes in considerably handy when you’ve run out of jars or storage space. In this environment, they’ll keep for a long period of time. However, freezing dry herbs does pose several problems. First, it can cause your stash to lose its desirable flavour and aroma—two of the main reasons you decided to grow them in the first place. If dried poorly, they’ll also become a soggy mess when you get around to defrosting them. Only freeze your dried herbs as a last resort.
How long do dry herbs last?
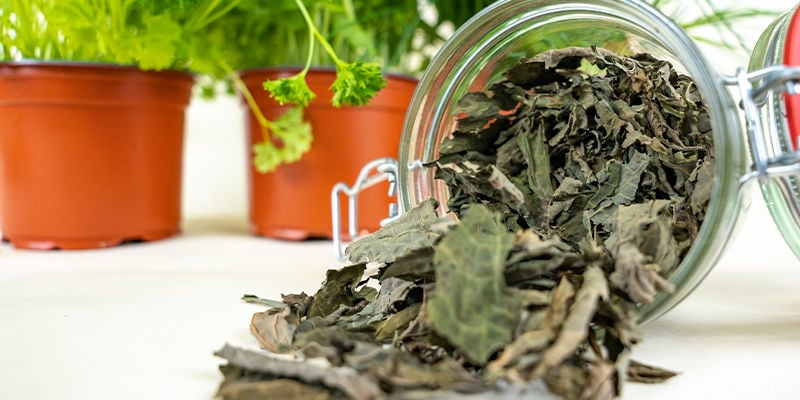
You’ll be happy to hear that, once you’ve properly dried and stored your stash, you’ll have access to plenty of herbs for the foreseeable future. Dried herbs will store for up to two years in a cool and dry environment outside of direct sunlight. Aim to keep them in airtight glass jars in a pantry or cupboard. Ideally, keep them outside of the kitchen where moisture levels spike during cooking. With that said, you still need to exercise caution. Routinely check for signs of mould, especially before consuming your stash.
Which drying method is best?
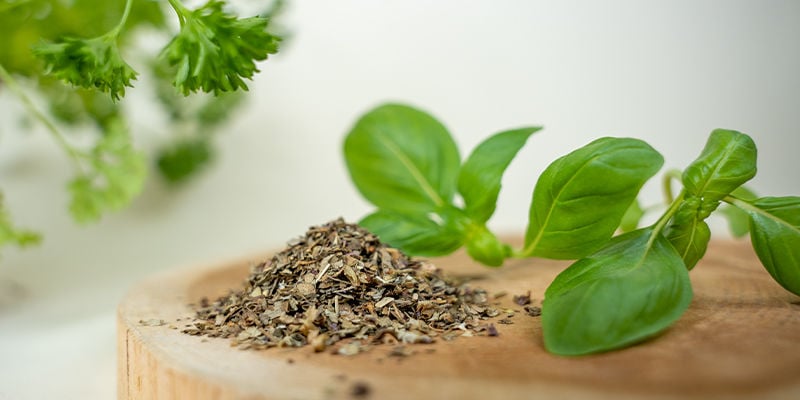
It all comes down to personal preference. As you now know, there is a range of options available when it comes to drying your homegrown herbs. Food dehydrators score highest when it comes to even airflow, and they outperform traditional methods, such as air drying, when it comes to speed. Ovens and microwaves are superb budget options, but they do come with the risk of burning your herbs during the drying process. If you like to keep things simple, you can always air dry or vine dry your herbs to achieve a good result—you’ll just have to wait a little longer.
Successfully dry your first batch of herbs
No matter which method you choose, you’re now fully equipped with the knowledge to dry and store your own herbs at home. Pick the method that appeals to you the most, or experiment with several different options to see which one you get on with best!


 United States


