
Ghost Pepper (Bhut Jolokia): How To Grow And Use
Ready to put your spice limit to the test? The ghost pepper is synonymous with massive heat, but it also has some big flavours to showcase too. If you've ever wanted to cultivate these chilli peppers at home, now's your chance. With our simple, easy to follow guide, you can have premium quality, potent peppers at your disposal. Prepare yourself.
Alongside the jalapeño and habanero, the ghost pepper is often regarded as one of the most popular hot peppers available today. However, its rise to prominence is no happy accident. With factors including exceptional heat, flavour, and ease of growth in their favour, they certainly tick a few boxes when it comes to growing them at home. This guide will give you a thorough breakdown of how to cultivate, store, and, most importantly, enjoy ghost peppers at home. Whether you're new to the task or a bit of a seasoned pepper professional, we've got you covered.
What Is a Ghost Pepper?
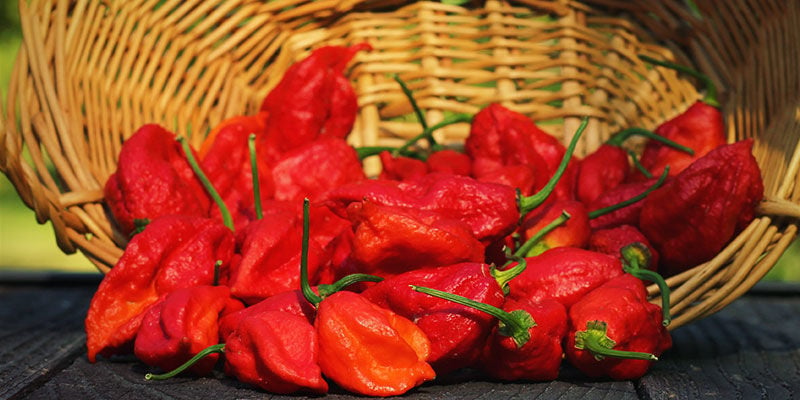
Otherwise known as bhut jolokia red and Naga jolokia, the ghost pepper originated in the northern Indian region of Assam, and has since made its way around the world to delight and shock many chilli connoisseurs. The name itself comes from a mistranslation of the word “bhut”, with Westerners believing it was the Hindi word “bhoot”, meaning spectre or ghost, hence “ghost pepper”.
A hybrid of the Capsicum chinense and Capsicum frutescens hot pepper varieties, the ghost pepper synergises the heat and flavour from its parents to produce a uniquely spicy profile.
Bhut jolokia is a hugely popular chilli, even winning the title of the world's hottest pepper between 2007 and 2011, until the scorpion chilli took its place. But by no means is the ghost pepper a slouch when it comes to heat. It certainly hasn't lost any of its potency (but more on that later).
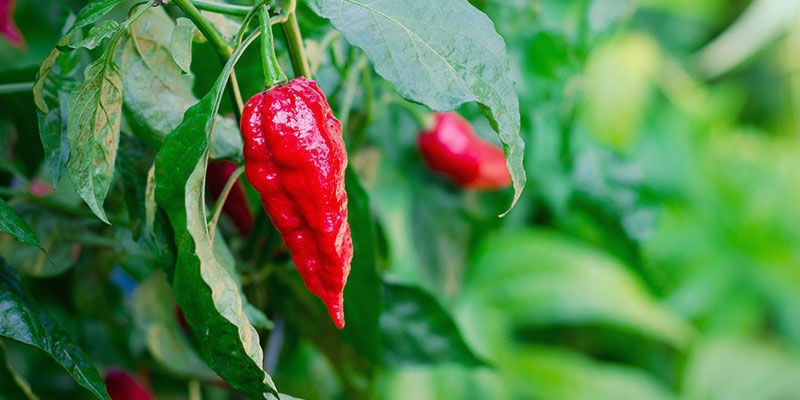
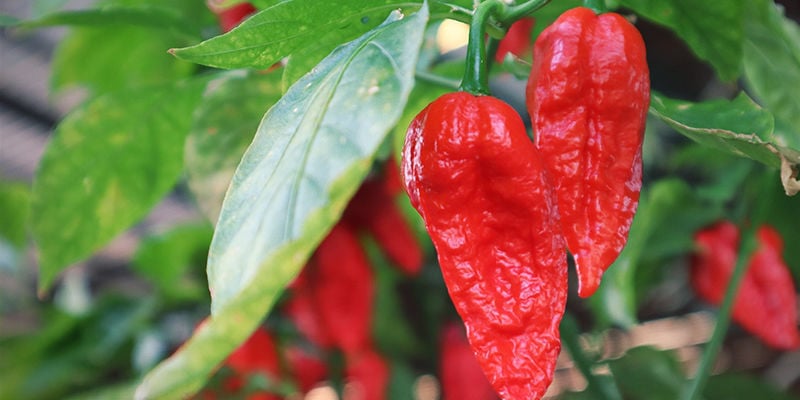
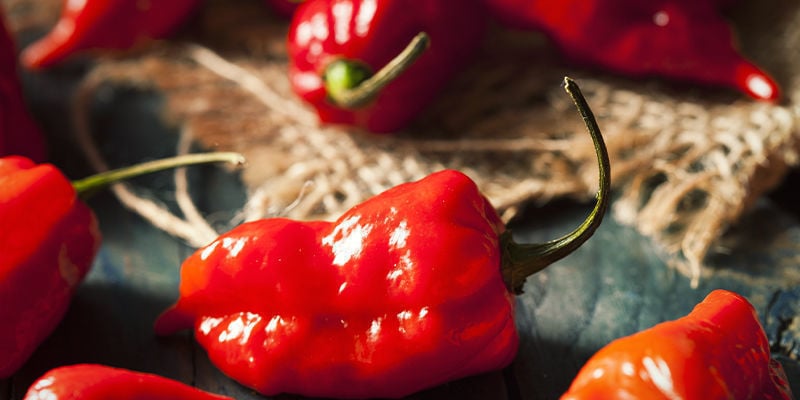
The appearance of the ghost pepper can vary greatly. As there is no uniform size for the fruit, it can take on many different shapes and colours during its growing cycle. On average, a fully ripened pepper will measure anywhere between 5.95 and 8.54cm. The surface of the fruit can differ in texture as well. Some peppers will have a rough feel, whereas others will be completely smooth. Depending on ripeness, ghost peppers will take on a red, yellow, or even orange colour.
How Hot Are Ghost Peppers?
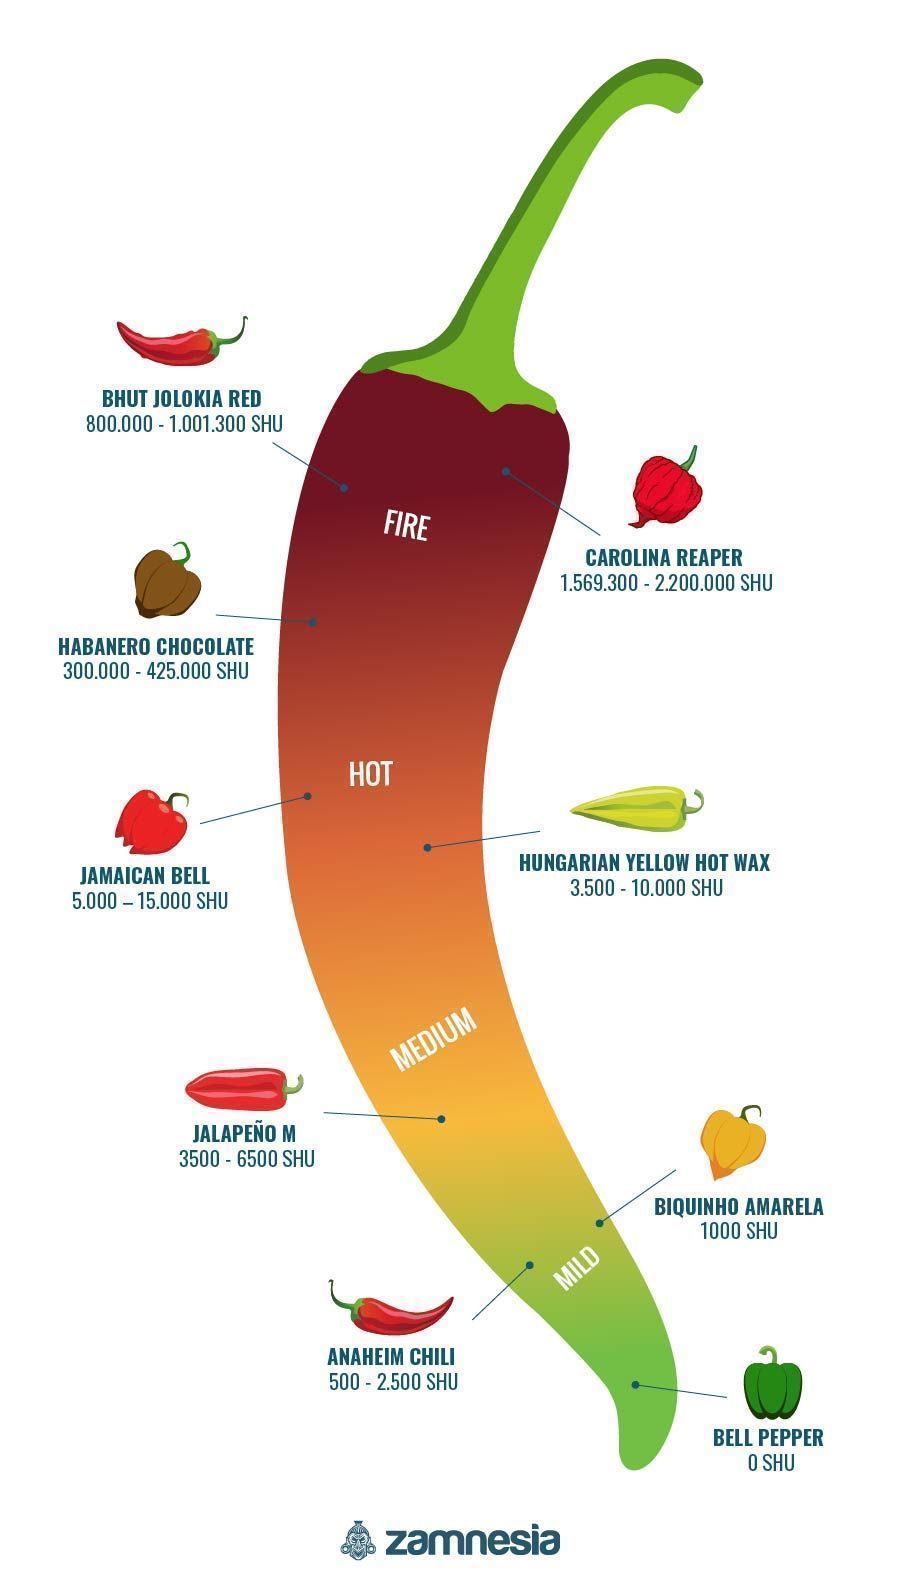
As mentioned, bhut jolokia held the title of the hottest pepper in the world from 2007 to 2011 in the Guinness Book of World Records. This is certainly the highest accolade that can be bestowed upon this scorching pepper. With a Scoville rating of well over 1 million heat units, the ghost pepper is an estimated 400 times hotter than your standard Tabasco sauce, and nearly 300 times hotter than the jalapeño.
You may be thinking, “Why is this such a sought-after chilli if it's so hot?”. Well, the ghost pepper not only brings the heat, but also great flavours. It is often used to add a hot yet flavourful element to a wide variety of dishes. Of course, there will always be those chasing the hottest chilli they can get their hands on, and this is a pepper that will certainly put them to the test, and then some.
How Long Do Ghost Peppers Take To Grow?
At this point, we've got your mouth watering at what this spicy Capsicum companion is capable of. But how long do you have to wait to get your hands on them? Ghost pepper plants have a relatively long growing cycle, and can take up to 150 days from seed to be fully ready and ripe for the picking. So this means that a little bit of preparation is required at the beginning to ensure they're golden for the duration of the grow.
As a rule of thumb, it's best to start your pepper plants off indoors at least 8–10 weeks before the last chance of frost or cold weather in your area. This means that when the peppers are moved outside, they can “hit the ground running” by soaking up as much sun and warmth as possible, ensuring a smooth growing process.
How To Grow Ghost Peppers
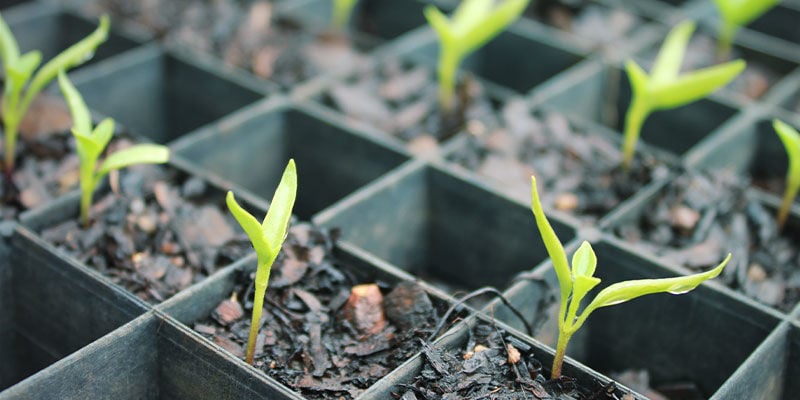
So, how do you go about growing ghost peppers from home? You may be surprised to learn that it's an easier endeavour than you might expect. Typically, these peppers perform better in sunny, warm, and humid conditions, similar to their native Assam. However, if you find yourself living in milder climes, don't worry; you can still cultivate bhut jolokia and achieve some successful harvests, albeit it helps to have a few tricks up your sleeve. All you need to do is follow our straightforward guide to learn how to cultivate prosperous ghost pepper plants at home.
Growing Bhut Jolokia: Equipment & Supplies
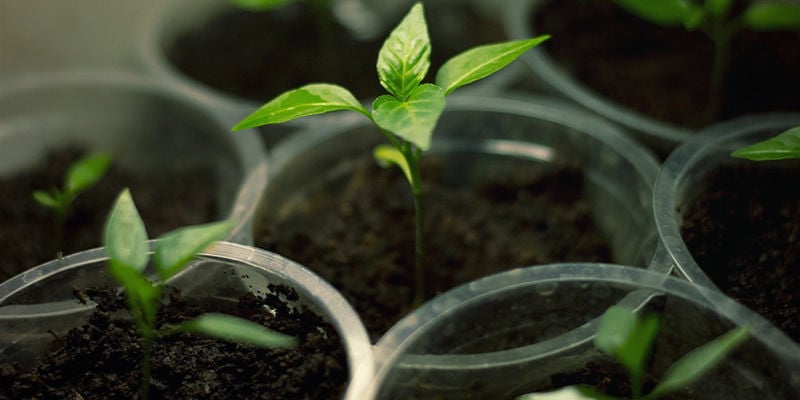
The best thing about growing chilli and pepper seeds at home is that you don't often need lots of equipment to get started. For the most part, those that have experience cultivating plants at home will already have most of the equipment necessary to grow ghost peppers.
The pepper seeds first need to be germinated in smaller seedling pots before eventually being transplanted into bigger containers as seedlings. However, if you have ample space and the right conditions, you can always plant the seedlings directly into the soil when the time is right. You can make the process of germination a whole lot easier by using Zamnesia's very own Smart Start. This pre-filled container features nutrient-rich soil with the perfect pH level for your seeds to get the best start in life.
You can always look to use a heat mat or heated propagator to really give your seedlings all the warmth they need, as this will get them acclimated to the warm weather they're soon to experience during the outdoor growing season. Otherwise, a steady supply of damp soil and the occasional tomato/pepper feed will see the plants right throughout their growing cycle.
Of course, your choice of ghost pepper seed will make a considerable difference in how the plant performs. Ghost pepper seeds available from Zamnesia offer premium and unrivalled quality.
Growing Bhut Jolokia: Steps
-
Germination is your first step. Whether you're starting in small seedling pots of your choice or using the Smart Start, place your seeds into the pots and bury them roughly an inch (~5cm) into the moist soil. From this point, it can take around 35 days for any progress to be made. Just be vigilant about keeping the pots in a warm place, and make sure they have plenty of water to stop them from drying out.
-
Once the seedlings begin to appear, you will need to act accordingly. For the most part, if you decided to use small pots to germinate in, your seeds will have plenty of room to stretch out. However, if you opted for the Smart Start pods, they won't be able to provide any additional room once the seeds have germinated. So as soon as you see any growth from the Smart Start, it's crucial to get things moving and place them in a bigger pot to allow them to flourish.
Whichever option you've chosen, as soon as you have seedlings, you can move the pots to a sunny spot by a window, or place them under some grow lights. Again, be sure to keep the soil moist by watering often, but be careful not to overdo it. Keep an eye on the seedlings as they begin to grow. Once they've reached around 4–6 inches (10–15cm) tall, it's time to transplant.
-
You have plenty of options when it comes to transplanting. If you're looking to grow in containers, make sure to pick a pot that's around 8 inches deep and 12 inches wide (~20 × 30cm). This will give your pepper plant ample space to stretch out in its new home. Alternatively, if you have a flowerbed where plants are subject to constant warmth and light during the growing season, you can plant them directly in there as well.
-
Before you remove the plant for transplanting, loosen the soil surrounding it. Make sure you wear gloves, as this is a delicate procedure, and you don't want to complicate things by contaminating your plant. Once the soil is loosened, gently twist the plant to remove it from the pot. Go easy on this step, as any unnecessary force will irrevocably damage the seedling and essentially ruin your growing project. So take your time.
-
Once your pepper plants are in their new pots or beds, it's a case of maintaining them. The same rules apply to plants as much as seedlings. Keep the soil moist, and feel free to use some tomato/pepper feed to really give them a boost of nutrients at the right moments. You may also wish to stake them so they can continue to grow in the right direction, especially in settings where there might be a little wind.
-
If you've followed the steps this far, you're onto a winner. Your ghost pepper plants will continue to flourish in the sun and warmth. Eventually, you will see the spicy fruit begin to appear.
How and When To Harvest Ghost Peppers
As your growing project continues, you will notice the colour of your peppers changing a lot. They start green, before transforming into yellow—but when they turn red and slightly wrinkled, it is the perfect signal that they are ready. But don't fret! If you're looking to harvest earlier, you can pinch them between your fingers, twist, and remove some green peppers to give them a try. They'll still offer a hot burst of flavour. It really is down to preference; but to get the true ghost pepper effect, wait until they're red and wrinkly.
How To Store Ghost Peppers
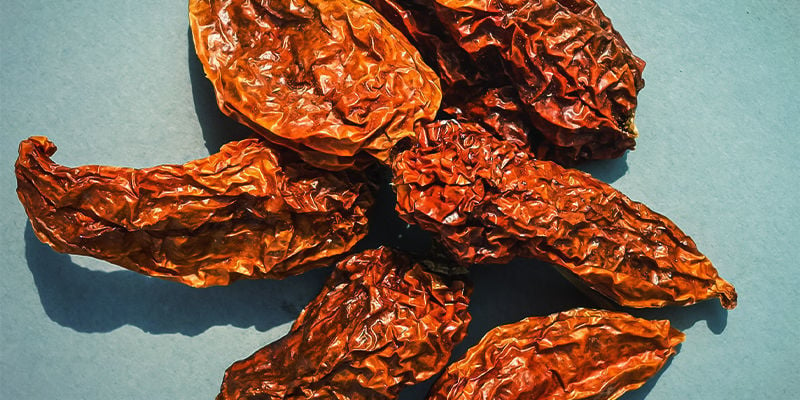
You've harvested your chillies, and we're sure you have an abundance of them! It's now time to consider storage. Options vary between the short and long term. Short-term solutions include placing your ghost peppers in a fridge or pantry until you need them. For the longer term, there are countless options available. You can look to freeze your peppers, dry them, pickle them, or have them canned or fermented. The choice really is down to you.
How To Use Ghost Peppers
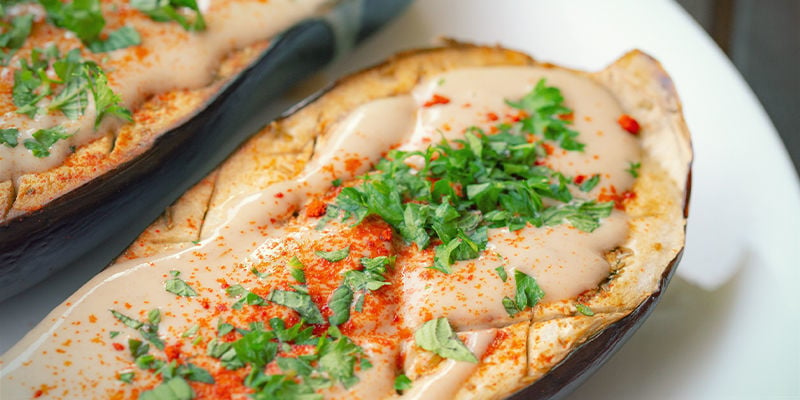
This is where the fun begins, as, of course, this is the whole reason you decided to grow ghost peppers in the first place, right? There are so many options, ranging from creating your own hot sauces to making a spicy curry. The applications of the ghost pepper are simply endless.
However, these peppers are extremely hot, so use the right level of caution when adding them to a dish or recipe. A little certainly goes a long way with these guys. It is often advised to wear gloves when cutting ghost peppers, and definitely wash your hands as soon as you're done with them. As everyone's threshold of handling heat differs greatly from the next, be mindful and cautious when offering them to friends and family.
Begin Your Ghost Pepper Cultivation Project Today
As you can see, there's plenty to love about the ghost pepper. They offer up a spicy yet flavourful experience that might not be for the faint of heart; but coupled with an easygoing and rewarding growing experience, everyone can get something special out of ghost pepper cultivation.
Of course, if you go to your local shop, you might see this type of chilli pepper on sale, but more often than not, they are overpriced, and you can't guarantee how they've been grown. For a much more cost-effective way to produce quality ghost peppers, consider picking up some seeds from Zamnesia.
-
 9 min
5 October 2021
Top 15 Hottest Peppers In The World (2025 Edition)
How does a chilli become the hottest in the world? We take a look at the 15 most potent peppers you'll want to get your hands on—or perhaps avoid, depending on how well you can handle the heat! We...
-
 7 min
6 September 2021
Jalapeno Pepper How To Grow And Use
While not as mind-blowingly hot as, say, the ghost pepper or habanero, there's still plenty to love about the jalapeño. It's arguably many people's first step into the world of spicy foods, but did...
-
 7 min
12 August 2021
Growing Peppers For Beginners In 10 Easy Steps
Growing peppers at home can be a hugely rewarding task. Harvesting your own carefully cultivated chillies to use in cooking is a great feeling. But, from seed to harvest, how do you achieve this?...
-
 4 min
5 August 2021
Hot Peppers And The Scoville Scale
There's no denying the appeal of spicy food. Whether you're keen on Mexican delicacies, Pad Thai, or Vindaloo curries, they have one thing in common; peppers.


 United States


