How to harvest cannabis plants
Harvesting cannabis plants is a crucial step in the grow cycle, but many growers overcomplicate it. This guide focuses purely on harvesting cannabis plants, giving you a clear, step-by-step walkthrough of the physical process itself.
If you're reading this, it's safe to assume that you already know when to harvest, and are primed to take the next step. Whether you're working with indoor- or outdoor-grown plants, this page will help you carry out your harvest with confidence and care.
For other parts of the post-harvest process, like trimming, drying, curing, and storage, we've got dedicated guides to help support you through each phase. Here, we're focusing solely on how to harvest your cannabis the right way. Done right, harvesting preserves the potency, flavour, and structure of your flowers.
Preparing for harvest
Before you begin cutting into your cannabis plants, it's important to have the right tools and space prepared. A clean and well-organised setup will make the entire process much smoother and help protect your buds from contamination or damage.
Essential tools
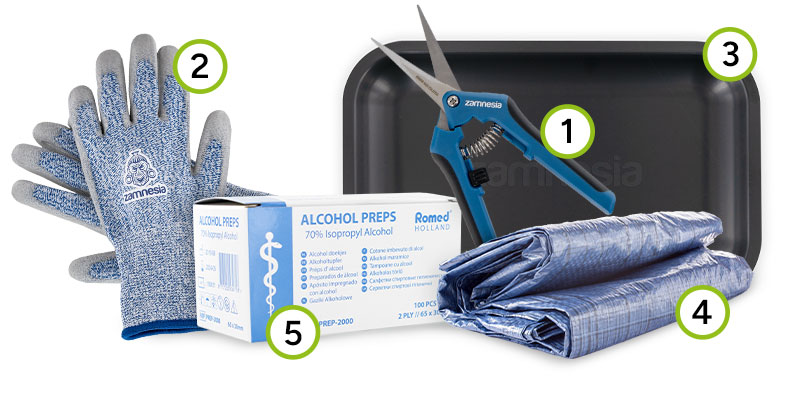
Gather the following items before you start harvesting:
- Professional pruning shears for making clean cuts without damaging the plant
- Gardening gloves to protect your hands and prevent skin oils from affecting the buds
- Clean trays or racks for placing branches
- Tarps or plastic sheets to cover surfaces and keep the harvesting area sanitary
- Alcohol wipes or a cleaning solution to sterilise tools between cuts
Setting up the harvesting area
Choose a clean, dry space to dedicate to harvesting. Lay down a tarp or cover surfaces to make clean-up easier and reduce the risk of dirt and debris getting on your buds. Good lighting and ventilation are also massively helpful during this phase.
Prepare the drying room
Once your branches are cut, they'll need to go straight into the drying room. To avoid last-minute stress, make sure your drying area is prepared well in advance, with proper airflow, temperature, and humidity control. If you're unsure how to go about your setup, check out our complete guide on setting up your drying room.
Step-by-step harvesting process
Now that you've got tools and drying space ready, it's time to begin harvesting. This section of the guide will walk you through each stage of the cannabis harvesting process, from choosing your method to cutting and handling your branches with care.
Step 1: Choosing a harvest method
There are two main techniques for harvesting cannabis: whole plant harvest and progressive harvest. Your chosen method depends on the grow setup, plant size, and bud development.
Whole plant harvest
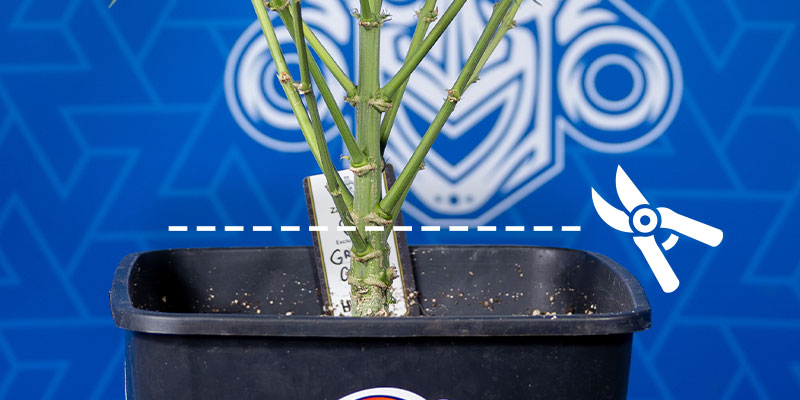
This method involves cutting the entire plant at once. To do this, cut the main stem roughly 12 cm above the soil, ideally at a 45-degree angle. Then, hang the entire plant upside down in your drying area.
This method is ideal for small grows or plants with even bud development. It also promotes uniform drying and supports a slower drying process, which can help enhance the aroma and flavour complexity of your buds.
Progressive harvest
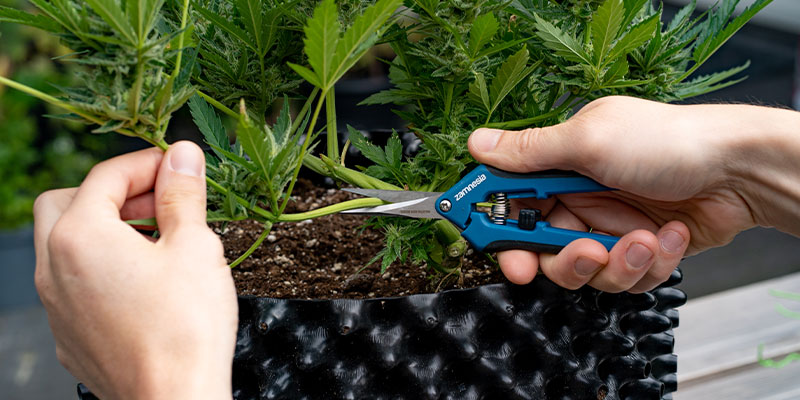
In this approach, you start by harvesting the top buds first, as these tend to ripen sooner due to their exposure to more light. You then allow the lower buds more time to mature before cutting them later.
This technique is particularly useful for larger plants or those grown outdoors, where buds tend to mature at different rates. Progressive harvesting ensures that each part of the plant is picked at peak ripeness, improving overall yield and quality.
Step 2: Cutting and handling branches
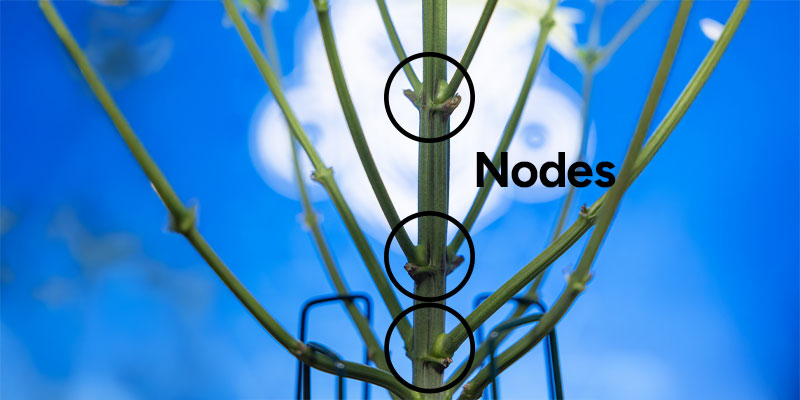
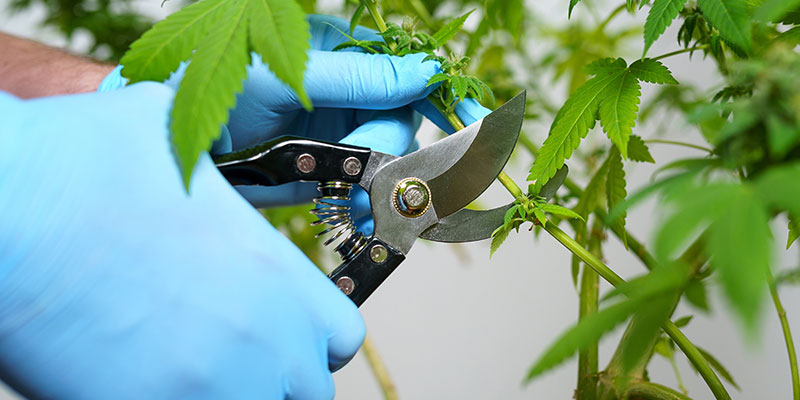
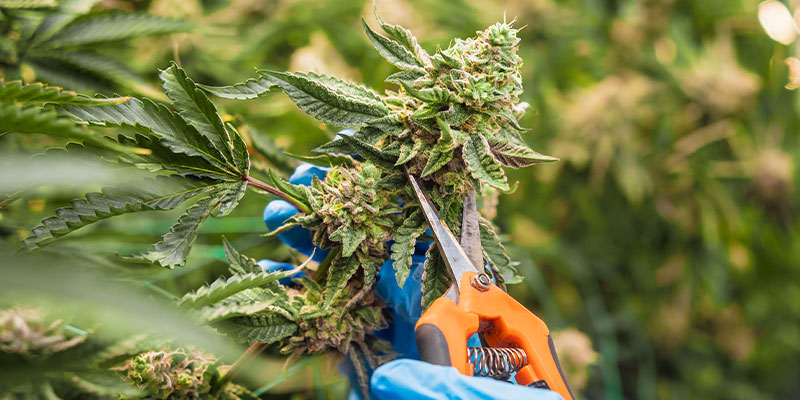
Once you've chosen your harvesting method, it's time to get cutting! Use clean, sharp professional pruning shears to avoid crushing stems or damaging delicate plant material.
- Cut each bud-laden branch near the nodes, where the branch meets the main stem.
- Try to leave the Y- or V-shaped branches intact where possible. These natural hooks make it easier to hang branches during the drying phase.
- Handle each branch gently as trichomes are fragile and can break off easily with rough contact.
- Place the trimmed branches onto clean trays or hang them immediately in your drying room to preserve quality and prevent contamination.
Common mistakes to avoid
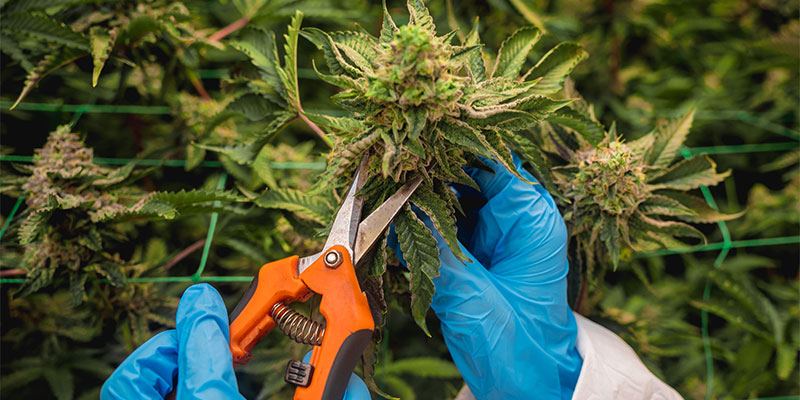
Even the most experienced growers can make simple errors during harvesting that can compromise the quality, potency, or yield of their cannabis. Avoiding these common mistakes will help ensure your buds reach their full potential.
Using dull or sticky scissors
A blunt or resin-clogged tool can cause uneven cuts and even crush plant tissue, damaging the buds and making trimming far more frustrating. Always use sharp, clean tools, and clean them regularly throughout the harvesting process.
Handling buds carelessly
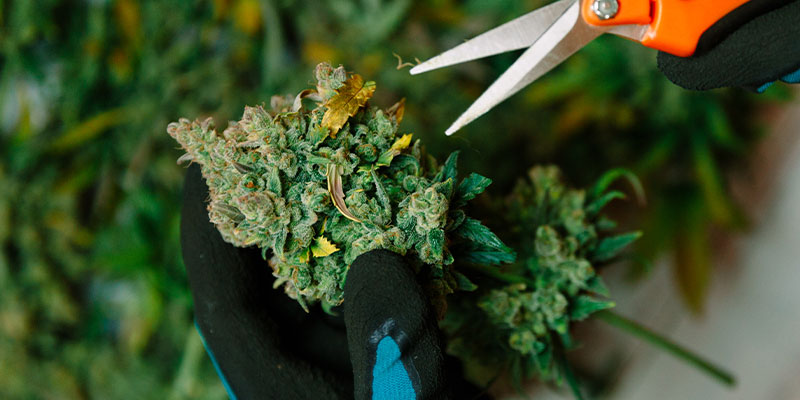
It's no surprise, but buds are delicate, and rough handling can crush trichomes, which are responsible for much of the plant's potency and aroma. Avoid squeezing, dropping, or stacking branches haphazardly; this will preserve quality from harvesting, all the way to curing.
Removing all branches at once without planning
Cutting down more branches than you have space for can lead to bruising, mould, or accidental damage. So, plan ahead and ensure your drying area is appropriately prepped and has enough room to hang or lay out each branch without any overcrowding.
By sidestepping these common errors, you'll set yourself up for a much smoother harvest and significantly better buds.
Harvest complete: What's next?
Harvesting cannabis is more than just cutting plants; it's a careful, step-by-step process that plays a significant role in preserving the quality, potency, and flavours of your buds. Choosing the right harvesting method, handling your plants with care, and avoiding common mistakes gives your prized plant the potential for the best possible finish.
Now that you know how to harvest cannabis plants properly, it's time to move on to the next important step: trimming. Follow our trimming guide to keep your buds in perfect condition and confidently continue your post-harvest process.


 United States


