
How To Prepare CVG Substrate Using The Bucket Tek
The bucket tek is an easy way to grow magic mushrooms in bulk, and a CVG substrate is an effective foundation for the process. Find out how to create your very own CVG substrate to ensure a high-quality harvest.
There are numerous ways to grow magic mushrooms at home. While some people love going the extra mile and getting the absolute best results—regardless of how much work it takes—others are happy to forego perfection in pursuit of a more leisurely process.
For the latter camp (probably most people), the bucket tek is a great option. And it should be noted that this method of bulk growing magic mushrooms can still be incredibly productive!
In this article, we show you how to make a CVG substrate using a tried and true method—the bucket tek.
How does the bucket tek work?
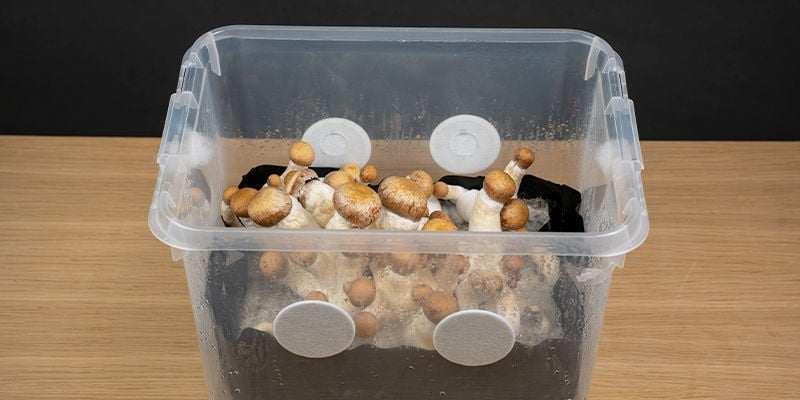
The bucket tek is a very easy way to create a large amount of substrate for growing magic mushrooms. Credit goes out to Shroomery user Damion5050 who first posted the bucket tek, Bodhisatta who adapted it into what we’ll use below, and MudaFuka who came up with the idea of insulating the bucket!
Cheap and easy, it also utilises natural materials that do not host microbial life and therefore do not come already contaminated. As a result, the substrate need only be lightly pasteurised, rather than being truly sterilised. This means that you can skip the pressure cooker with the bucket tek!
At its simplest, the bucket tek can make do with just coco coir. However, the recipe we’ll be showing you today will also use gypsum and vermiculite, as both improve the quality of the substrate, and will improve the quality of the magic mushrooms as a result.
Once assembled, bucket tek substrates can be inoculated with mycelium—often with a grain spawn—and then very soon growers can expect to pull in a very large harvest!
How do you pasteurise coco coir in a bucket?
As mentioned, coco coir does not host microbial life and therefore can be thought of as naturally sterilised. While you can just use cold water to hydrate it and use it immediately, it’s still a good idea to pasteurise coco a little, in case any stray fungal spores or bacteria found their way onto it.
The bucket tek includes pasteurisation as an actual step, rather than being a separate process. Essentially, boiling water is poured into the bucket containing the coco coir brick, and then the lid is placed on. Over the next ninety minutes, it is left, covered, to pasteurise. While it won’t be truly sterilised, this shouldn’t matter in the case of coco coir, and you’ll be good to proceed!
While you can use an insulated bucket to keep boiling water hot long enough to pasteurise, you can also wrap any bucket in an insulative material—such as a sleeping bag. By doing this, you can use basically any bucket while still keeping the water hot for long enough to ensure proper pasteurisation.
How to make bulk CVG substrate using the bucket tek
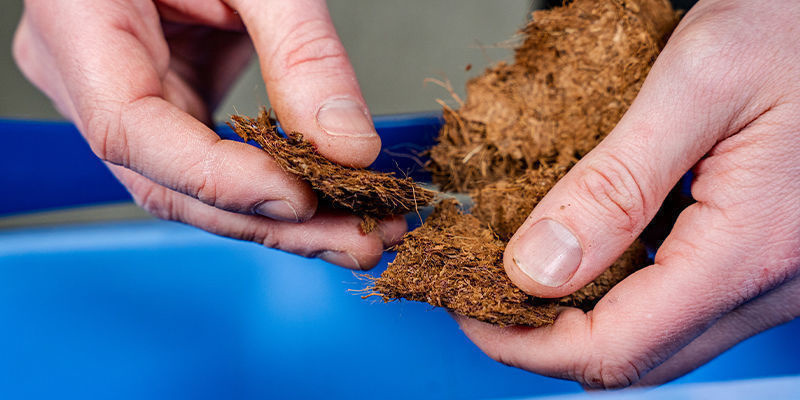
Following the bucket tek is really easy, hence it’s one of the most popular ways to create a bulk Psilocybe grow. Without further ado, let’s look at how to do it.
CVG substrate ratio
For the best results, a mixture of coco coir, vermiculite, and gypsum—CVG—is advised. The coco coir forms the majority of the substrate, vermiculite helps to control moisture content, and gypsum acts as a pH buffer and provides calcium and sulphur, which will improve the development of mycelium.
The following mixture should be used for a 22-litre bucket:
-
650g dry coco coir
-
1–2 litres vermiculite
-
Handful (around 300g) gypsum
There’s no need to be exact when it comes to the amount of vermiculite or gypsum, but stay somewhere near the measurements above. If you use a different-sized bucket, then divide or multiply the other quantities appropriately. For instance, an 11-litre bucket would reduce the quantities by 50%.
Equipment
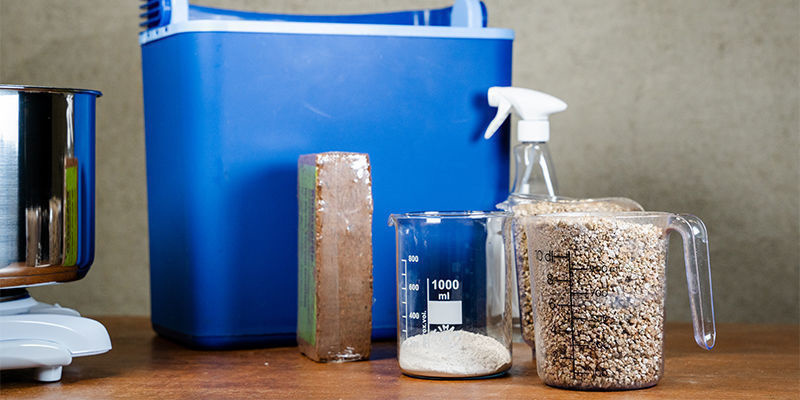
-
650g dry coco coir
-
1–2 litres vermiculite
-
Handful (around 300g) gypsum
-
22-litre bucket with lid (insulated optional)
-
3.25 litres boiling water (or 5x your chosen amount of coco coir)
-
Sleeping bag or insulative wrapping (optional)
-
Handful of used coffee grounds (optional)
Directions
Once you’ve gathered up all of your equipment, you’re ready to go. Other than leaving the substrate to pasteurise and cook, the process is quick and easy.
1. Place the coco coir in the bucket. If you’re using bricks, consider breaking them up before hydrating them, as this will make the process easier.

2. Add the vermiculite and coffee grounds.

3. Boil around 2.5 litres of water. Add the gypsum and stir it all together. Allow it to boil for five minutes.

4. Now, once the water is boiled and the gypsum is added, you can pour it over the coco coir and vermiculite in the bucket. Though you often need 5 times the amount of water to coco coir, it’s better to begin with around 3.5 or 4 times the amount, and go from there. It’s easier to add more than to remove it, and you don’t want the final mix to be too wet.

5. Place the lid on the bucket. At this point, you can wrap the sleeping bag or insulative material around the bucket to ensure high levels of heat are maintained.

6. After 90 minutes, remove the lid and stir the contents to break up the coco coir. Be careful, as there will be a lot of steam and the water will still be very hot.

7. Now, leave the bucket overnight to cool somewhere. Until the water has returned to room temperature, you cannot proceed—but no rush. Keeping it hot has two functions; it pasteurises the substrate, and it “cooks” the coco coir. Cooked coco coir appears to yield better results than raw, so don’t resent the wait!

8. Once cool, your substrate should be ready to inoculate. If it’s too wet, you can add more coco coir and mix it in. If it’s too dry, you can add water (it doesn’t have to be hot) until it’s properly hydrated.

Pros and cons of using coco coir
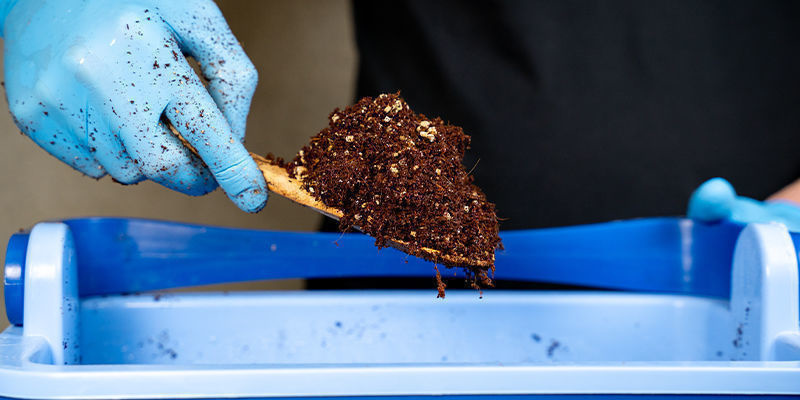
The pros of using coco coir are:
-
Cheap
-
Easy to work with
-
Doesn’t naturally harbour contaminants
-
Great structure for mycelium growth
-
Doesn’t contaminate very easily
The cons of using coco coir are:
- By itself, coco has little to no nutritional value for magic mushrooms; yields will be smaller compared to substrates that include dung/castings/straw.
You can add dung, castings, or straw to your coco coir mix to improve its ability to feed your mushrooms. However, this increases the likelihood of contamination and thus requires proper sterilisation, making the process quite different. Still, the above method including gypsum should suffice—it does for many people.
How long does CVG substrate last?
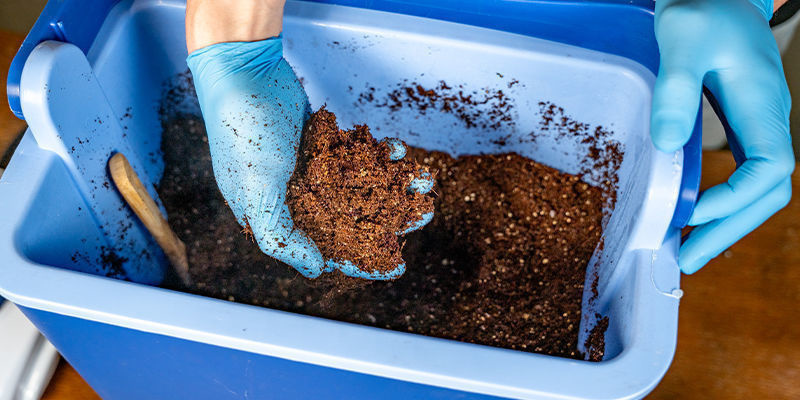
CVG substrate can last for some time—some say a week, others say months—but the longer you leave it, the greater the risk of contamination. If you make a CVG substrate that you don’t intend to use immediately, you can freeze it, then take it out and defrost it when you want to use it.
If you store it otherwise, then you should repasteurise it before use. Given that it will already be wet, you can’t do this by pouring in more boiling water. So you’ll either have to transfer it to a pot in which it can be cooked, or get it into the oven somehow.
Generally, you should aim to use it immediately.
Can you recycle CVG substrate through organic waste?
If it contains vermiculite, then this can be a problem. While vermiculite is an organic material, it’s kind of similar to stone, meaning it doesn’t degrade very easily. As such, though it’s not a pollutant, it can’t be added to organic waste, as this is usually destined to become compost—and vermiculite doesn’t compost.
If you don’t use vermiculite in your mix, then you should be able to dispose of it in organic waste.
CVG bucket tek: Easy and effective
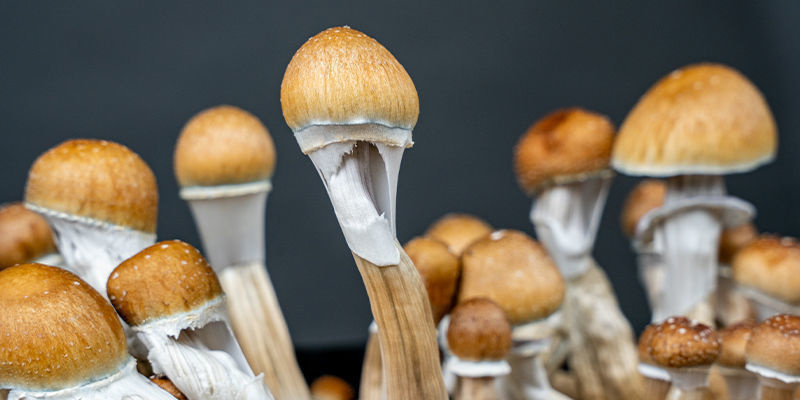
This method is a very easy and effective way to prepare a bulk substrate for Psilocybe mushrooms, and it skips the need for proper sterilisation, which makes the method desirable compared to others.
Though coco coir without dung or some other fertiliser isn’t as productive as a more fertile mix, it makes up for this drawback by being so easy, not to mention more resistant to contamination. Given how frustrating a contaminated bulk grow is, this factor makes it very worthwhile, especially for beginners or those who want an easy ride!
-
 5 min
27 April 2023
Uncle Ben’s Rice Tek: Low-Budget Shroom Cultivation
Cultivating magic mushrooms at home can be an arduous procedure. However, with Uncle Ben's tek, it becomes very easy and accessible. Find out all about it below.
-
 5 min
26 April 2022
How To Harvest Magic Mushrooms
Now the time has come to harvest your magic mushrooms, you're almost there. Mastering this stage is fairly simple, but crucial if you want to reap the rewards of all your hard work. Find out how...
-
![How To Grow Magic Mushrooms Indoors [3 Methods]](https://www.zamnesia.com/modules/prestablog/themes/responsive/up-img/slide_2060.jpg?caf944d1febfc09552745fdff7015a5c) 5 min
22 February 2022
How To Grow Magic Mushrooms Indoors [3 Methods]
Growing magic mushrooms at home needn't be difficult. Here we look into three different growing methods, ranging from the beginner-friendly to the advanced. Whichever one you choose, big, healthy...
5 min
22 February 2022
How To Grow Magic Mushrooms Indoors [3 Methods]
Growing magic mushrooms at home needn't be difficult. Here we look into three different growing methods, ranging from the beginner-friendly to the advanced. Whichever one you choose, big, healthy...
-
 6 min
30 June 2020
Everything You Need To Know About Magic Mushroom Substrates
If you’re cultivating magic mushrooms in bulk, or without a grow kit, you'll need to prepare a mushroom substrate. In this guide, you will learn everything you need to know about the right...


 United States


