Grow Magic Mushrooms With Our Outdoor Cultivation Kit
Take the uncertainty of preparing, growing, and harvesting magic mushrooms away. With a step-by-step guide and a quality cultivation kit, you can develop your very own outdoor magic mushroom patch!
To many, the thought of growing magic mushrooms is an intimidating task. Even more daunting, and flat-out dangerous, is the precarious nature of picking mushrooms at random in the woods. The Outdoor Cultivation Kit from Zamnesia is a trustworthy means to your shroom-cultivating end: a simple-to-operate kit that produces high-quality magic mushrooms. By following the steps listed below, you can develop your very own mushroom patch. Now, you may be wondering, what precisely is a cultivation kit?
WHAT IS AN OUTDOOR CULTIVATION KIT?
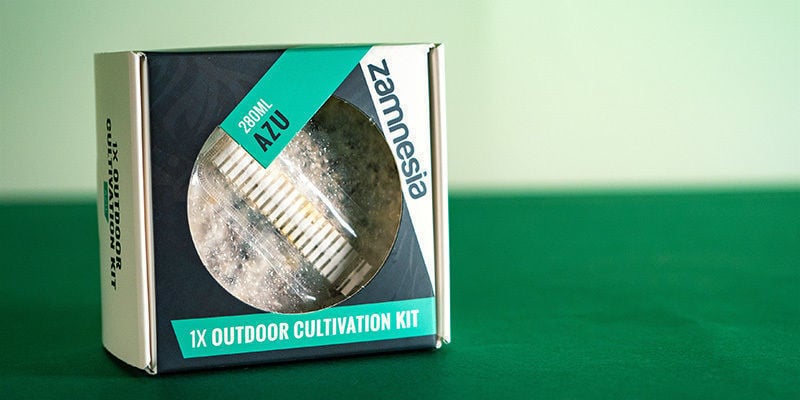
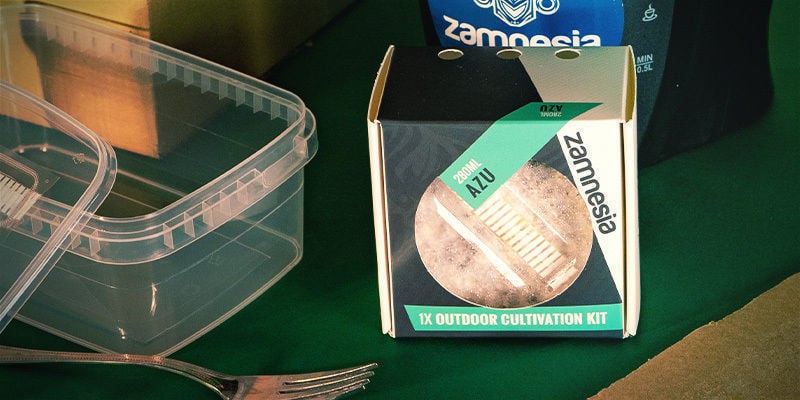
The Outdoor Cultivation Kit contains premium mycelium, ready to be introduced into your substrate and grown in your outdoor environment. Furthermore, with very little maintenance, your mushroom patch can be cultivated year after year. This kit provides the lynchpin of a successful magic mushroom grow; with just a few additional items, you will be well on your way to regular spiritual enlightenment.
When it comes to magic mushrooms, not just any old mushroom will do. That is why the Outdoor Cultivation Kit contains one of the most potent magic mushrooms available, Psilocybe azurescens. It is the active compounds within this mushroom, psilocybin and psilocin, which provide the mind-melting trips that magic mushrooms have become infamous for. Belonging to the Hymenogastraceae family of mushrooms, they grow naturally in several areas of the United States like Washington and California. When dried, they can average psilocybin levels of 1.1% and psilocin levels of 0.15%. This is an incredibly strong member of the Psilocybe genus.
PROCEED WITH CAUTION
Given that the mushroom patch you are about to cultivate is a living, breathing organism in its natural environment, there is always the very real risk that your grow area can become contaminated with other types of poisonous mushroom or fungi. The key to reducing this risk is being aware of the physical characteristics of Psilocybe azurescens. This will help ensure you are picking the right mushroom.
Psilocybe azurescens has a cap that measures roughly 30-100mm in diameter. Starting off with an acute point, this tapers out into a dome-like shape. Colouring can be distinguished as chestnut brown to caramel, slowly fading in intensity as it reaches the edge of the mushroom cap. The stipe grows from 90-200mm in length with a 3-6mm diameter. The thickness of the stipe increases as it reaches the ground, with the silky white colour fading out to a dirty brown as it enters the earth.
EASY-TO-FOLLOW STEPS
Follow these simple steps to create your own outdoor mushroom patch using the Zamnesia Outdoor Cultivation Kit.
Additional items required are as follows:
- 1-litre plastic container with lid
- 10-litre bag of small beech wood chips
- 1 medium-sized cardboard box (maximum size (cm) 30H x 30W x 15D)
- 1 plastic bag
- 1 household fork
- 1 large bucket
- Access to boiling water
INSTRUCTIONS

-
Using the 1-litre plastic container, fill it ¾ full with beechwood chips.
-
Fill the 1-litre plastic container (now full of beech chips) to the top with boiling water. Leave this for 12 hours to cool. Once cooled, drain the remaining water.
-
After washing your hands, add the contents of the mycelium container to the plastic bag. Break the mycelium apart with your hands by gently squeezing it in the bag.
-
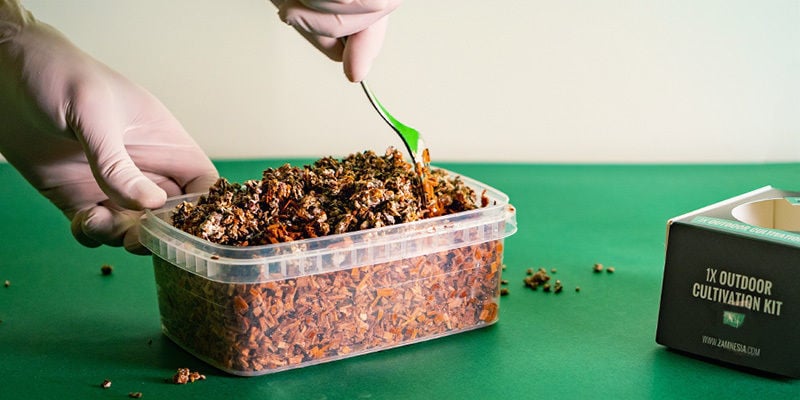
Evenly distribute the mycelium into the 1-litre container that holds the moist wood chips. Empty the entire contents of the plastic bag. Using a clean household fork, evenly mix the wood chips and mycelium.
-
Once evenly mixed, cover the wood chips with a layer of wet cardboard. Place the lid of the container loosely on top. It is vital that there is still air for your mycelium to cultivate. The lid acts as a physical barrier for protection from foreign objects.
-
Leave the container in a dust-free area for 1 month. Ensure the storage area is clean and free from any extreme sources of heat and light. The signs of full inoculation will be the mixture of wood chips and mycelium turning completely white. This is now ready to be placed outdoors.
-
Put the remainder of your bag of 10-litre beechwood chips into the large bucket. Again, fill it ¾ full and submerge the wood chips in boiling water. Allow this to cool for 12 hours, then drain.
-
Fill the medium-sized cardboard box with your damp wood chips from the bucket and the inoculated wood chips from your 1-litre container. Mix the two together with a clean household fork, ensuring they are evenly distributed.
-
Bury the open box and add a light layer of moist soil over the top (roughly 1cm deep) to increase your chances of a successful flush. Make sure the box is buried somewhere out of direct sunlight.
AFTERCARE
Thankfully, very little aftercare is required. Given that the right area has been chosen, the patch itself will grow and flourish, likely spreading without any human intervention. For optimal growing conditions, ensure that the grow site is always moist (careful positioning outside can aid this). To check, simply place your finger a few cm into the ground. If the soil is dry, then more moisture is required; just add water to remedy this. The final step is to protect against frost. This process is straightforward enough. Before the season of frost starts, cover your growing area with a fresh layer of wood chips.
HARVESTING
Your mushroom patch has been protected from the frost and provided with enough moisture to grow. Now, all that remains is harvesting. To keep the whole concept of growing magic mushrooms as simple as possible, it is easiest to pick the mushrooms as soon as they are mature. As long as they match the description listed earlier, then they are ready to be gathered. To do so, simply pull them out of the ground by hand. This can be done using your forefinger and thumb, gripping the stipe and pulling upwards.
Fruiting of magic mushrooms typically begins around November, going all the way through till the first frosts hit. If conditions are favourable, you should be able to fully harvest the patch 2-3 times within this timeline.
-
 5 min
29 July 2024
How To Store Magic Mushrooms
If you want your shrooms to stand the test of time, then you'll need to not only dry them properly, but store them adequately too. While not difficult, it is important to get this right if you want...
-
![How To Grow Magic Mushrooms Indoors [3 Methods]](https://www.zamnesia.com/modules/prestablog/themes/responsive/up-img/slide_2060.jpg?caf944d1febfc09552745fdff7015a5c) 5 min
22 February 2022
How To Grow Magic Mushrooms Indoors [3 Methods]
Growing magic mushrooms at home needn't be difficult. Here we look into three different growing methods, ranging from the beginner-friendly to the advanced. Whichever one you choose, big, healthy...
5 min
22 February 2022
How To Grow Magic Mushrooms Indoors [3 Methods]
Growing magic mushrooms at home needn't be difficult. Here we look into three different growing methods, ranging from the beginner-friendly to the advanced. Whichever one you choose, big, healthy...
-
 4 min
24 November 2017
How To Identify Different Types Of Magic Mushrooms
Looking for help identifying your favourite magic mushrooms? In this article, we take a look at the most common types of shrooms that you can encounter.
-
 4 min
23 September 2014
Creating A Magic Mushroom Outdoor Patch
Mushrooms are usually cultivated indoors, but that’s not how it has to be. With some mycelium you can easily grow a years’ supply of the sacrament in your backyard.


 United States


