How To Control Cannabis Flowering With Light Deprivation
Trying to harvest before the autumn rain or frost? Looking to achieve two harvests in one growing season? Light deprivation is a reliable and straightforward way to control the flowering phase of your cannabis plants, whether you're growing indoors, outdoors, or in a greenhouse.
When growing cannabis in the great outdoors, we tend to think we have no control over the light cycle our plants are exposed to. After all, only Mother Nature has command over when the sun rises and sets. Still, necessity breeds ingenuity, and cannabis growers are known for devising shrewd methods to overcome environmental limitations. In this case, we’re referring to a technique known as light deprivation, or “light depping” among the weed forum trawlers.
To get to the bottom of this technique, and so you can use it to your advantage, we’ll be breaking down the what, why, and how of light deprivation indoors, outdoors, and in greenhouses.
What Is Light Deprivation Growing?
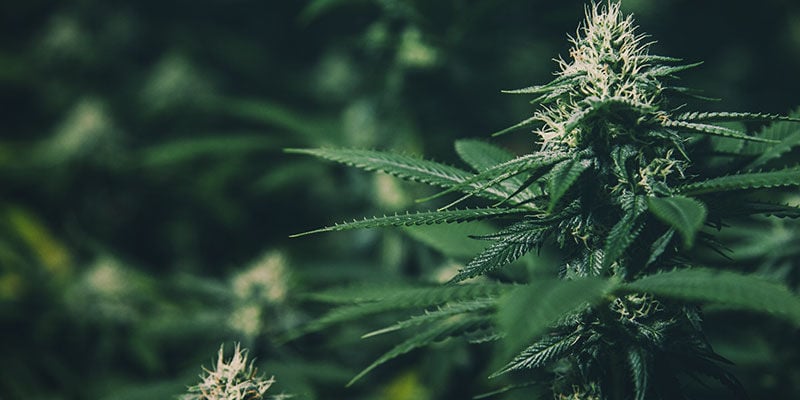
Light deprivation in cannabis growing involves restricting the number of daylight hours plants are exposed to. In doing so, plants are forced to flower earlier than they would if left to their own devices. The process can be carried out in several ways, indoors and out, but they all share a common goal of eliminating any and all outside light from reaching plants during the designated light depping period.
The process is neither exceptionally difficult nor completely hands-off; it just requires attention to detail, and consistency. This is not a tactic for the idle grower.
What Does Light Deprivation Do to Cannabis?
In nature, photoperiod cannabis moves through its life according to seasonal changes in light cycle, and won’t begin to flower until the daylight hours dwindle in late summer and early fall. But with light deprivation, the grower controls when to initiate bloom, giving them more control over the harvest date as a result.
Pros and Cons of Light Deprivation
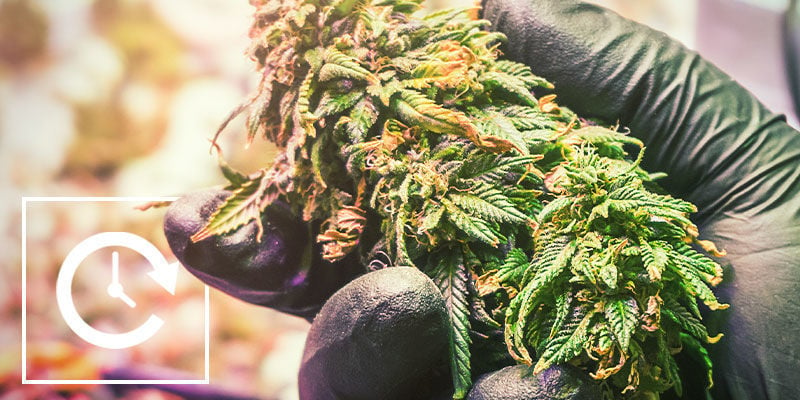
Many growers use the light deprivation technique either to avoid inclement weather in the autumn (and the threat of mould and mildew that comes with it) or to achieve multiple harvests in one growing season. Outdoor and greenhouse growers can have their cake and eat it too, benefitting from the natural power of the sun while maintaining much more control over how much light their plants are exposed to.
Pros:
- More control over harvest date
- Multiple harvests per season
- Avoid bad weather
- No need to spend money on lighting
There are some potential downsides to the light deprivation technique, most of which centre around diligence. After all, the system requires purchasing materials, setting up the structure, and daily maintenance. Moreover, any potential light leaks during the dark period can spell trouble, leading to hermaphroditism or stunted growth. Finally, the light deprivation technique simply doesn’t work with autoflowers, as they flower according to age, not light cycle.
Cons:
- Expense and setup
- Requires consistent upkeep
- Light leaks can cause damage
- Doesn’t work with autos
When to Start Light Deprivation?
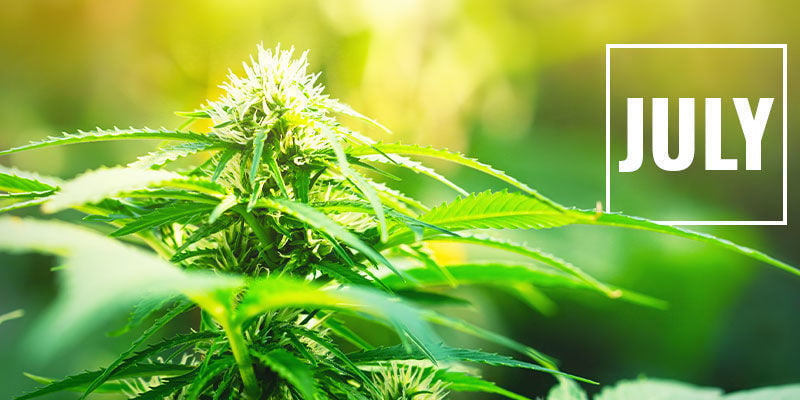
Given that plants tend to start flowering outdoors around August in the Northern Hemisphere, we want to cut that back to allow for two harvests over one season. This equates to a light depping schedule starting in July at the latest. By starting your plants off indoors under simple CFLs to gain some size, they'll be robust and ready to move outside or to a greenhouse by mid-spring. By the time summer is in full swing after the June solstice, plants can be light-depped so they finish flowering in early September as opposed to late October.
Then, after the first batch of plants is harvested, the next round can progress into bloom. At this point, the second round of plants won’t even require additional light deprivation to flower as the daylight hours will naturally be at or below 12!
This schedule, of course, is for outdoor and greenhouse growers. Indoor-only growers can induce flowering whenever they want and achieve perpetual harvests, as long as they have the space and resources.
How to Use Light Deprivation to Control Cannabis Flowering
Light deprivation as a practice is more or less straightforward. However, your growing environment will dictate the exact protocol you need to follow to ensure a successful harvest (or several!).
Indoors
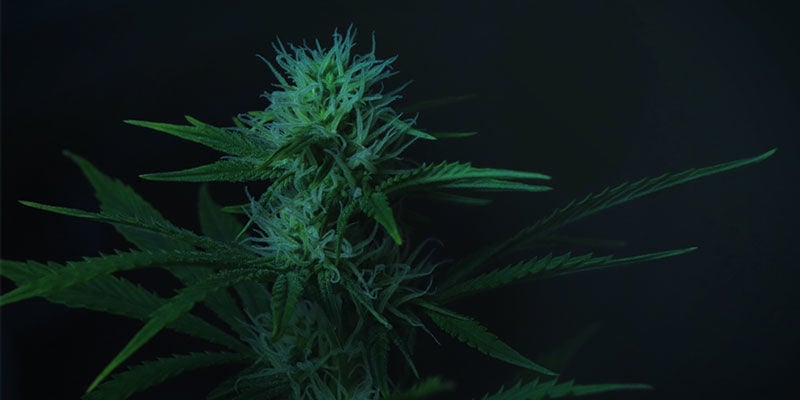
Indoors, light deprivation is the name of the game. With few exceptions (see below), indoor growers are in full control over their plants’ light cycle from the beginning till the end. Unless you’re growing autoflowers, you alone are responsible for inducing bloom, which inherently involves light deprivation.
This means changing the light cycle from the common 18/6 or 20/4 light cycle to a strict 12/12. This will induce and sustain bloom, provided there are no light leaks. This is why it’s important to make sure your grow room or tent has no holes where ambient light can peak through.
Regarding when to light dep in a traditional indoor grow, most wait until their plants have vegged for at least four weeks, or until they are at half of the desired final size. That said, you can really induce bloom whenever you want! What’s important is that, should you desire to achieve multiple harvests indoors, you’ll need to have separate rooms, or separate light-proof tents, to house your vegging and blooming specimens.
Windowsill Growing
This is one of the exceptions we referred to above. While most indoor growers use exclusively artificial light, windowsill growers harness the available sunlight to support their plant’s development. As probably the most low-maintenance light deprivation technique, all you need to do is get a sufficiently sized blackout curtain. This way, you can block out the light with little effort.
Do, however, keep in mind that any light coming from inside the house can cause problems too. This means you either need to erect a little light dep chamber to surround your plant indoors, or simply ensure no ambient light (including electronics) interrupts the dark period.
Outdoors
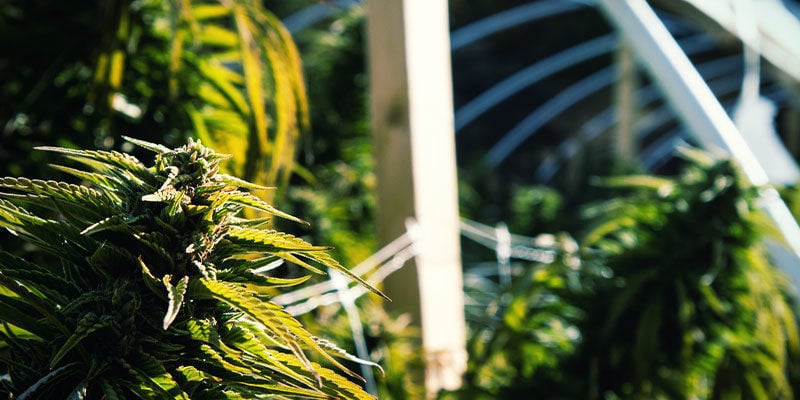
Outdoors and in greenhouses is where light deprivation requires the most tact and attention to detail. Unlike indoors, you can’t control the light cycle with the flick of a switch; you’re up against the sun.
There are a few ways you can go about using the light deprivation technique outdoors. The most basic, and potentially the least effective, method is to build a simple blackout structure to surround your plants in their containers or beds. Using PVC and light-proof material, you may be able to successfully light dep your plants without needing to erect a greenhouse or move your plants. Still, light leaks with this method are much more common, as these rudimentary structures are rarely 100% light-proof.
Hoop House
The next step up is to build a hoop house—an inexpensive version of a greenhouse, with a tubular shape. Upon assembling the hoop house structure, it’s a matter of using Panda Film and/or light-proof tarps to ensure every square inch of the house is covered.
Just keep in mind that if you want to grow in the hoop house during both the light and dark periods, you’ll need to be able to remove your cover easily so your plants can soak up the sun when it's time. Installing hooks or fasteners can help to make this process easier and more streamlined.
Something else to keep in mind when light depping is that moisture can easily build up inside the hoop house, especially during the dark period. This necessitates adequate ventilation, as humidity and moisture can be silent killers of an entire crop.
Light Deprivation Greenhouse
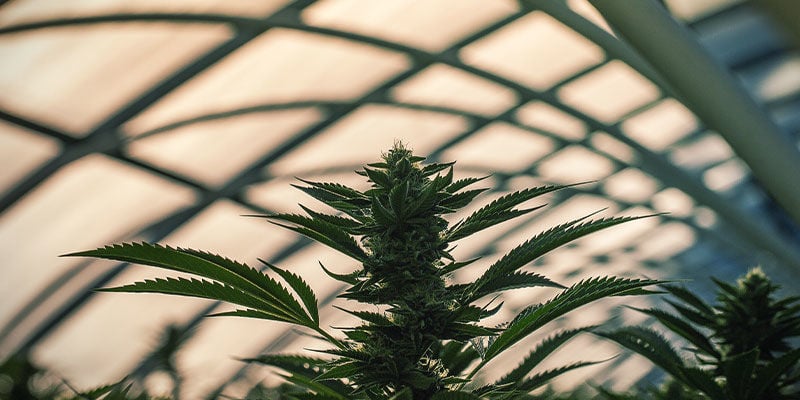
If you have the means to set up a “true” greenhouse, various approaches to light deprivation can be taken. Namely, there are more options for automating your grow, and you have more control over the environment in general. If you’re feeling really industrious, consider automating the coverage and removal of your light deprivation tarp so you aren’t personally responsible!
Most growers, though, will choose to automate other aspects of the grow, such as watering, while doing the light dep portion by hand. Like a hoop house, greenhouses can get humid, fast; and the air can get stale. To prevent this, ventilation will be necessary—something else you can automate to put your mind at ease.
Greenhouses are one of the best venues for light deprivation as they allow growers to harness the (free) power of the sun, while also offering a structure that can be completely covered to keep the light out. If your climate allows, or you have control over the temperature, you can raise your plants in your greenhouse from day one if you’re only planning on one harvest.
If you’re looking to achieve two harvests per growing season, start your first set of plants off indoors, then move them into the greenhouse to induce flowering. Once harvest comes around, the next round of young plants can be moved to the greenhouse for their turn.
As mentioned above, many growers choose to start light depping after the June solstice to take advantage of the strong light of the sun during the day, and so the second batch of plants won’t require any unnatural light deprivation to flower. Depending on your climate and the setup of your greenhouse, you can start light depping as early as mid-spring, though most like to give their plants a bit of time to gain some size before inducing flowering. It all depends on the scale and intention of your setup.
Light Dep — Advanced Tips
Light depping might involve some basic science, but it’s really not as difficult as it may sound, even outdoors. Still, there are some important aspects to always keep in mind that can make or break your success.
Morning or Evening — Keep a Consistent Schedule
Hands down, the most crucial factor to consider before light depping is when you’re going to do it. Your plants will require 12 consecutive hours of darkness to induce and continue flowering. Not only that, but the schedule must be consistent.
Now, that said, it technically doesn’t matter what time of day you decide to light dep, at least in terms of progressing through the flowering phase. This means you can cover your plants for a few hours in the evening or in the morning.
In terms of sunlight, some growers argue that certain light dep schedules are more effective than others, as they allow for more or less intense periods of sun exposure. Depending on your climate and available light, you may wish to harness the hot hours in the late afternoon, or block them out.
Use 100% Light-Proof Materials
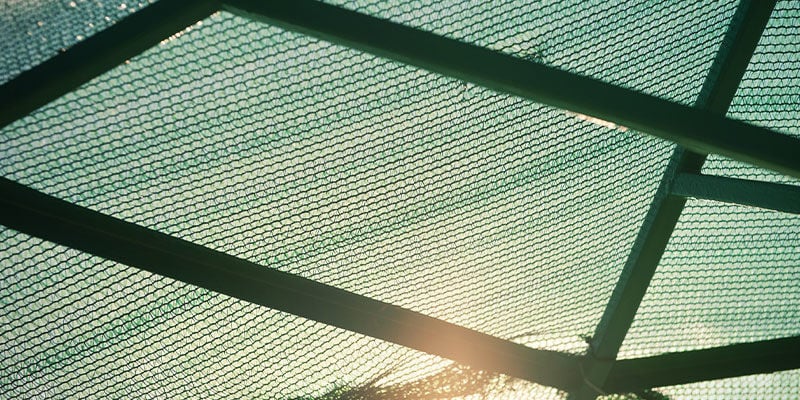
What’s the point of light depping if your materials aren’t actually light-proof? Don’t spend time and money on anything that’s less than perfectly suitable for the job. This doesn’t mean you need to spend tons of money on the endeavour, though. Blackout curtains, light-proof tarps, and Panda Film can all be sourced for a reasonable fee, and are worth their weight in gold. Conventional curtains and tarps just won’t cut it.
Check for Light Leaks
Despite our best intentions, light leaks can happen to the best of us, especially those without an automated system. To see if any light is reaching your plants during their dark period, enter your greenhouse, hoop house, or PVC structure either immediately before removing your tarp/covering (if depping in the morning) or right after placing it on (in the evening). If you can see any light coming through, quickly get to work using light-proof tape or film to cover the holes or tears.
You'll want to perform these checks periodically throughout flowering to ensure full coverage.
Ensure Adequate Ventilation
We’ve mentioned it a couple of times already, but poor ventilation is the main threat waiting to thwart the eager light-depper. Greenhouses and hoop houses are especially subject to this threat, even without tarps covering the outside. The addition of these materials can lead to excess humidity and can throw off other environmental factors like temperature and CO₂.
Mould and other pathogens love high humidity and stagnant air, so get an airflow and exhaust system going to make sure you’re equipped. Automating ventilation is arguably even more important than automating light deprivation itself.
Optimise the Flowering Phase
You’re already going through the trouble of using light deprivation, so why not optimise the flowering phase of your cannabis in other ways? Training and pruning methods can help boost yields, make better use of space, and take advantage of a short vegetative period.
For instance, growing in a SOG (many small plants grown close together) already dictates a very brief vegetative period, making it the perfect candidate for light deprivation and multiple seasonal harvests. Similarly, plants can be made shorter but more productive using topping, main-lining, and simple LST.
-
 6 min
6 June 2024
The Flowering Phase Of Cannabis Cultivation
The flowering stage is when the exciting stuff really starts to happen—you begin to see your trichome-laden buds take shape! Getting everything right during this stage is a surefire way to achieve...
-
 7 min
4 June 2021
5 Problems That Can Occur During Cannabis Flowering
Getting the very best out of your bud requires care and attention. But then, why else would you be growing? From ensuring adequate nutrient levels and lighting conditions to the best ways to cover...
-
 5 min
7 March 2021
7 Factors That Could Affect Cannabis Flowering
The light cycle isn't the only variable that affects when cannabis plants bloom. Read on to learn about seven external factors than can accelerate or delay the flowering phase, so you can...
-
 4 min
16 April 2020
How To Speed-Up Cannabis Flowering And Harvest
You don't have to wait months upon months to smoke your home-grown weed. You can manipulate the growing cycle to ensure your buds are ripe and ready in a matter of weeks.


 United States

